SOL Staking Validator Nodes
Solana validators process transactions and participate in consensus to make the Solana blockchain network more secure and high-performance. Shakudo provides fully managed validator nodes. Check out our website for more information.
Before getting started
Once your validator is setup you will recieve three links from Shakudo:
Validator app page
Solana Beach page
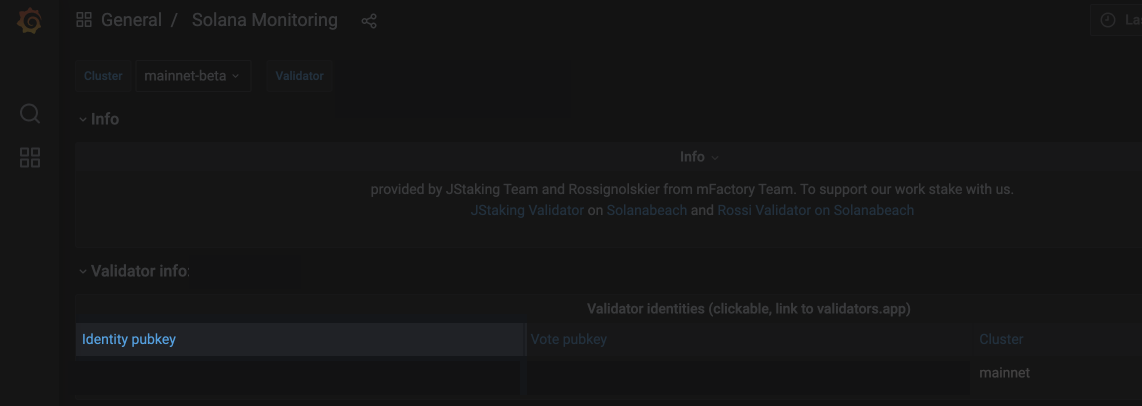
Grafana dashboard page
The voting account address corresponds to the Identity pubkey shown on your Grafana dashboard. You would need to send voting fees (SOL) to that address to keep the validator voting. Currently (last update: Jul 22, 2022) about 12 SOL per month is needed to keep the validator voting.
Self-stake
Self-staking is the most common way of staking for validator owners.
Check out this link for general information by the Solana foundation on self-staking.
The self-staking wallet has the same withdraw key as the validator. It will have the ability to withdraw funds from the validator.
Getting started
- Once you are ready to stake you have to create your withdraw key.
Self-serve: We send you a set of command lines to run on a terminal and walk you through the steps in a video call with screen-share when you are executing these commands. You’ll have the withdraw key at the end and will store the key in a ledger wallet to keep your fund safe.
If you need any help with this step, the Shakudo team is available for assistance.
Once you have a withdraw key you can create a self-staking account with that key.
Check out the Solana documentation on create a stake account using CLI.
Once the account is setup you can delegate stake to the validator.
The Solana official documentation to delegate stake from CLI can be found on the delegate stake page here.
Self-serve for regular wallets
Install Solana on the terminal
sh -c "$(curl -sSfL https://release.solana.com/v1.10.31/install)"Check the version
solana --versionGenerate a keypair and copy the public key and store it for safekeeping. You will need it any time you want to perform an action on the stake account you create next.
solana-keygen new --no-passphrase -o stake-account.jsonCreate a stake account
solana create-stake-account --from <KEYPAIR> stake-account.json <AMOUNT> \
    --stake-authority <KEYPAIR> --withdraw-authority <KEYPAIR> \
--fee-payer <KEYPAIR><AMOUNT>tokens are transferred from the account at the "from"<KEYPAIR>to a new stake account at the public key of stake-account.json.The stake-account.json file can now be discarded. To authorize additional actions, you will use the
--stake-authorityor--withdraw-authoritykeypair, not stake-account.json.note
the
--stake-authorityand--withdraw-authorityshould be the withdraw key pair from the nodeView the newly created stake account
solana stake-account <STAKE_ACCOUNT_ADDRESS>Delegate stake
The stake authority
<KEYPAIR>authorizes the operation on the account with address<STAKE_ACCOUNT_ADDRESS>. The stake is delegated to the vote account with address<VOTE_ACCOUNT_ADDRESS>.solana delegate-stake --stake-authority <KEYPAIR> <STAKE_ACCOUNT_ADDRESS> <VOTE_ACCOUNT_ADDRESS> \
--fee-payer <KEYPAIR>Observe changes to stake account
solana stake-account <STAKE_ACCOUNT_ADDRESS>
Self-serve for hardware wallets
For self-serve setup follow the steps below to set up your validator. We will first install Solana CLI and set connect to a ledger wallet. Then we will set up staking account.
note
This is for hardware ledger case. For regular non-hardware ledgers look at the section above, self-serve for regukar wallets.
Install Solana on the terminal
sh -c "$(curl -sSfL https://release.solana.com/v1.10.31/install)"Check the version
solana --versionFind a keypair
solana-keygen pubkey usb://ledger?key=0If the command above can't find any key it's probably because your zsh doens't like the question mark. Run this instead
unsetopt nomatch
source ~/.zshrc
Find the pubkey with either one of these
solana-keygen pubkey usb://ledger
solana-keygen pubkey usb://ledger?key=0
solana-keygen pubkey usb://ledger?key=1
solana-keygen pubkey usb://ledger?key=2
Manage Multiple Hardware Wallets
solana resolve-signer usb://ledger?key=0/0Set up staking account with new withdraw key
solana create-stake-account --from <FUNDING_LEDGER_WALLET_KEYPAIR> stake-account.json-pubkey <AMOUNT> \
    --stake-authority <FUNDING_LEDGER_WALLET_KEYPAIR> --withdraw-authority <NEW_LEDGER_AUTHORIZED_KEYPAIR> \
    --fee-payer <FUNDING_LEDGER_WALLET_KEYPAIR> --keypair <NEW_LEDGER_STAKE_ACCOUNT>
For example:
This is stake 5 sol on the validator with key 6.
solana create-stake-account --from usb://ledger\?key=1 usb://ledger\?key=6 5 --stake-authority usb://ledger\?key=1 --withdraw-authority usb://ledger\?key=7 \
    --fee-payer usb://ledger\?key=1 --keypair usb://ledger\?key=6
Change withdraw keys for validator, the authorized-withdrawer-keypair.json need to be the local path of the keypair file
solana vote-authorize-withdrawer-checked --fee-payer <FUNDING_LEDGER_WALLET_KEYPAIR> --url m <VOTE_ACCOUNT_ADDRESS> <OLD_AUTHORIZED_KEYPAIR> <NEW_LEDGER_AUTHORIZED_KEYPAIR>For example:
solana vote-authorize-withdrawer-checked --fee-payer usb://ledger\?key=1 --url m <VOTE_ACCOUNT_ADDRESS> authorized-withdrawer-keypair.json usb://ledger\?key=7Stake on validator with new staking account
solana delegate-stake ~/validator-stake-keypair.json ~/vote-account-keypair.jsonFor example:
solana delegate-stake usb://ledger\?key=6 ~/vote-account-keypair.json -k usb://ledger\?key=1