Develop-to-Deploy Workflow
This guide explains how the main Shakudo platform building blocks connect in a normal development lifecycle.
It focuses on four pieces:
Use this page when you want to go from interactive development to a running workload on Shakudo.
The flow at a glance
Log in to Shakudo
    ↓
Open a Session
    ↓
Manually connect to GitHub and clone a normal Git repository
    ↓
Develop and test inside the Session
    ↓
Commit and push to GitHub
    ↓
Link that repository in Shakudo Git Repositories
    ↓
Wait until the repository status is IN_SYNC
    ↓
Choose the deployment target
    ├─→ Job: finite or scheduled execution
    └─→ Microservice: long-running app or API
    ↓
Create or restart the workload
    ↓
Validate logs, status, and endpoint behavior
1. Log in to Shakudo and open a Session
Start by logging into your Shakudo cluster.
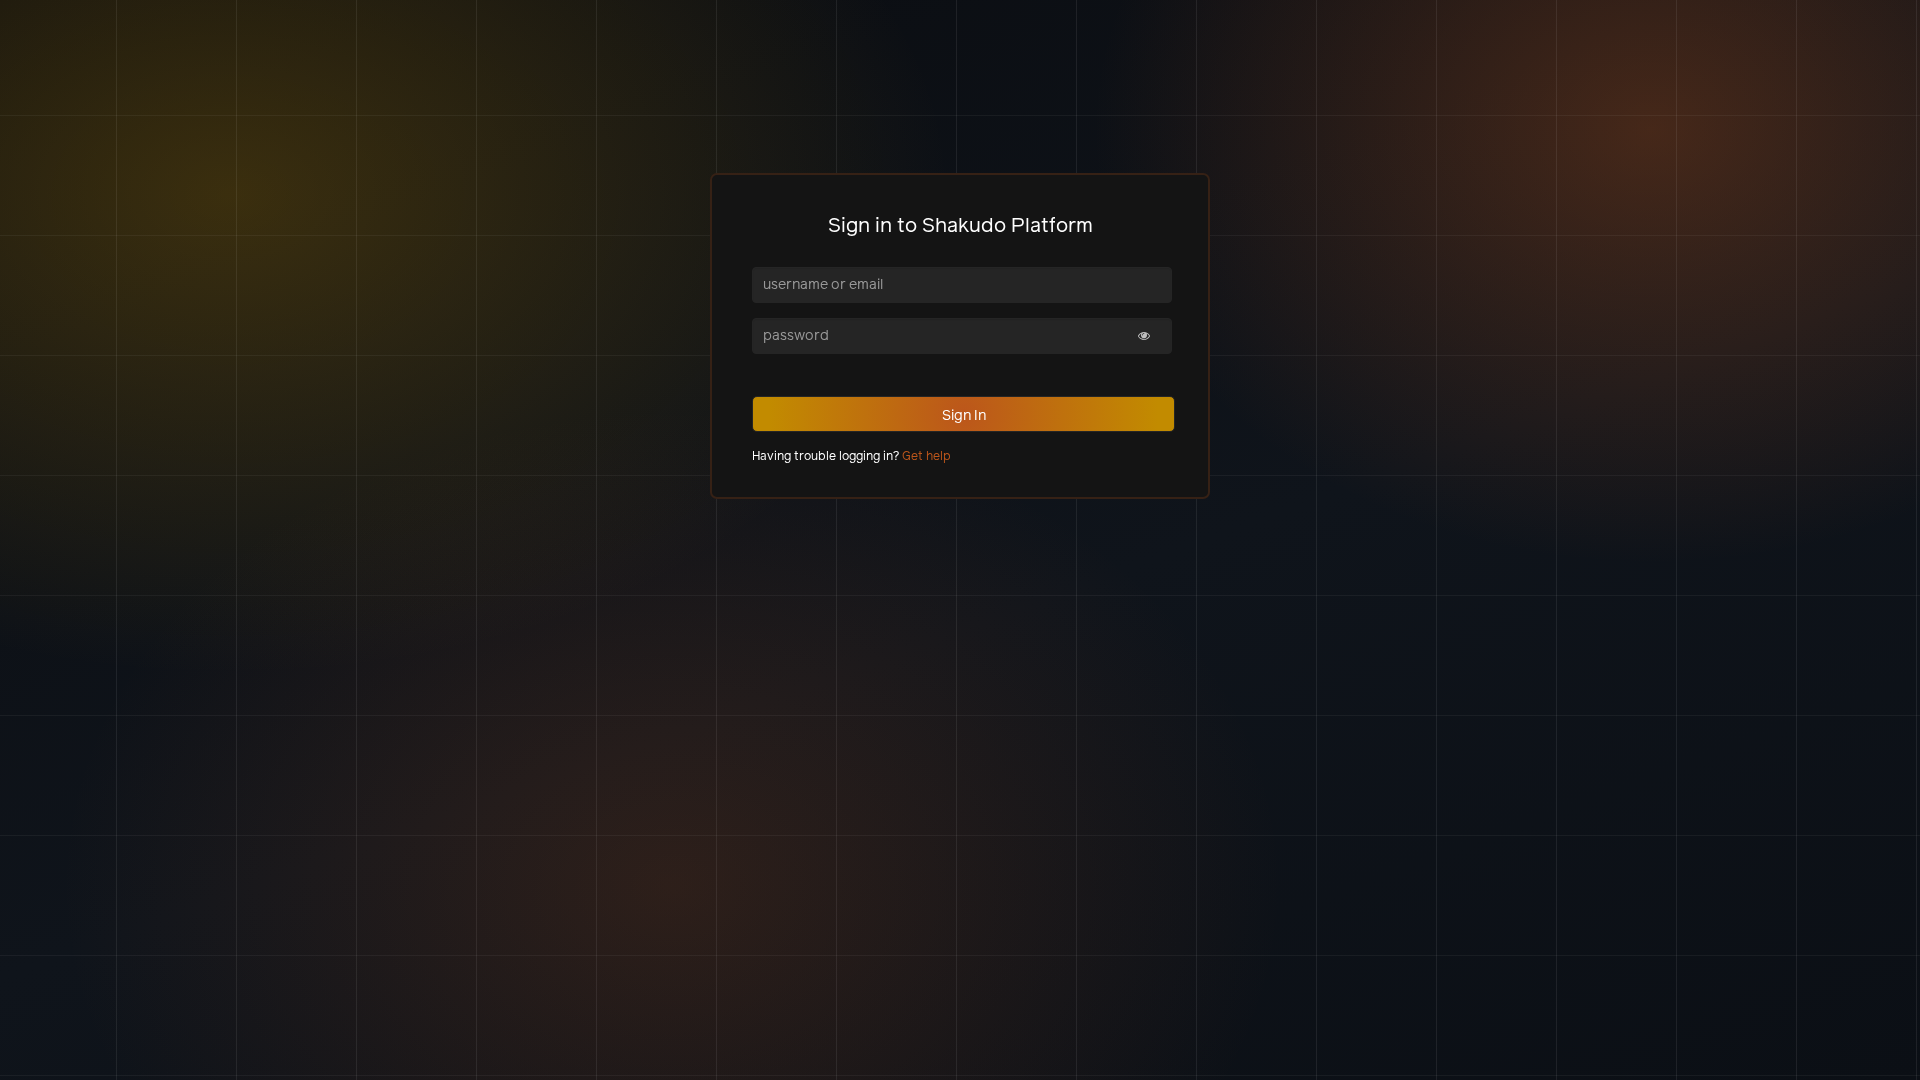
Enter your username and password.

After login, you land on the platform home page.

Next, open your existing Session or create a new one. In this example, we used an existing VS Code web session.
If you see a workspace trust prompt, accept it before continuing.
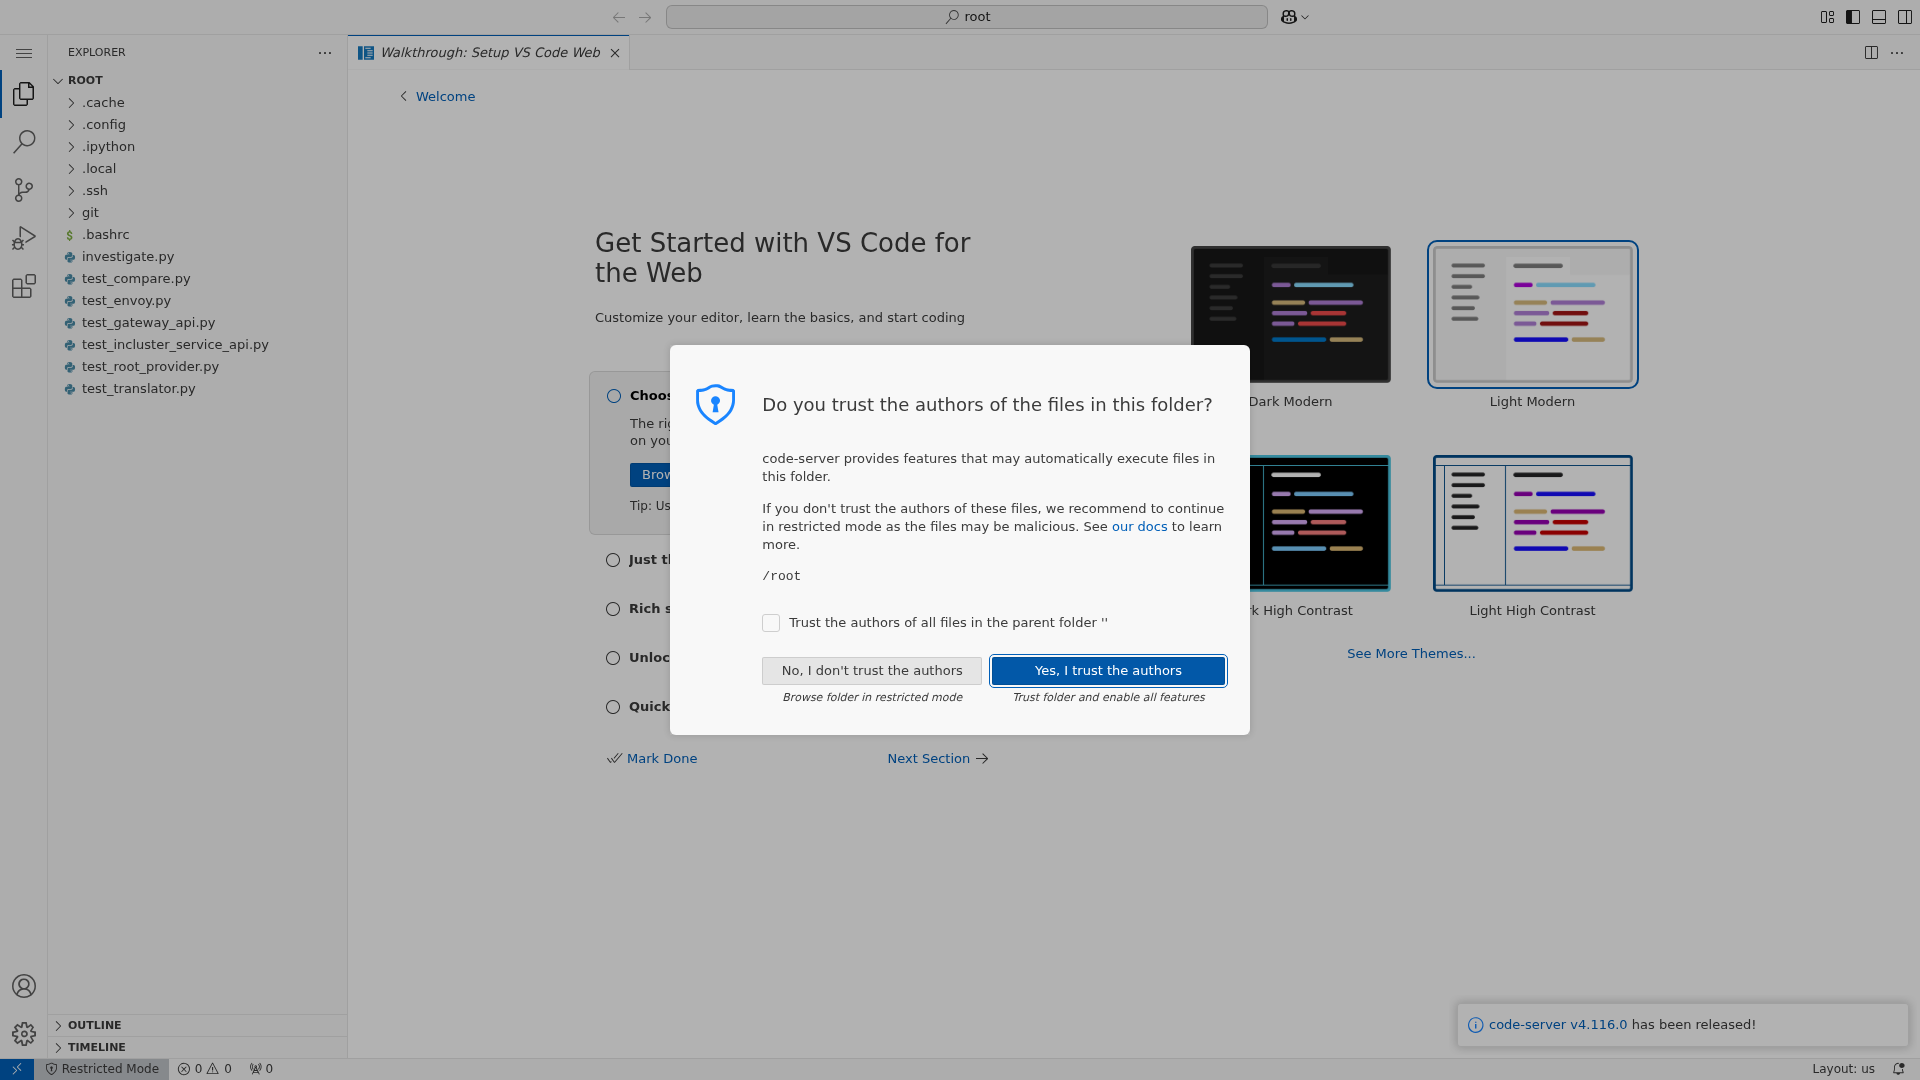
Once the Session opens, you are in your development environment.

2. First important distinction: normal Git repo vs Shakudo Git Repository
This distinction is the most important idea in this workflow.
A normal Git repository
A normal Git repository is your code repository on GitHub, GitLab, or another Git provider.
Examples:
https://github.com/devsentient/shakudo-examples- your own private application repo
- a team-owned repo for dashboards, APIs, or jobs
This is where:
- your code lives
- commits and branches live
- pull requests happen
- you normally use
git clone,git add,git commit, andgit push
A Shakudo Git Repository
A Shakudo Git Repository is not the same thing as your normal GitHub repo.
It is the platform-side linked record inside Shakudo that tells the platform:
- which external repo to pull from
- which branch to watch
- which auth method to use
- whether the repo is currently in sync
So the normal GitHub repo is the source of truth for your code, while the Shakudo Git Repository is the platform connection that lets Jobs and Microservices fetch that code.
Short version
- GitHub repo = where developers work with code
- Shakudo Git Repository = how the platform knows how to pull that code
Do not mix these up.
3. Put your code in Git
After you open a Session, the next step is to connect your development environment to the Git repository that contains your code.
This repository is usually tied to a specific Git provider account or organization, such as:
- your personal GitHub account
- a team or company GitHub organization
- a GitLab or Bitbucket workspace
Typical examples include:
- a public repository such as
https://github.com/devsentient/shakudo-examples - a private application repository under your team organization
- a shared internal repository for jobs, services, dashboards, or APIs
Common ways to connect a Session to Git
There are several standard ways to connect a Session to Git, depending on your repository and security model.
Option 1: Clone with HTTPS
Use this when the repository is public, or when your organization uses HTTPS-based Git access.
Example:
git clone https://github.com/devsentient/shakudo-examples.git
Option 2: Clone with SSH
Use this when your repository is private and your Git provider expects SSH key authentication.
Example:
git clone git@github.com:your-org/your-repo.git
In this case, access is tied to the SSH key configured for your account.
Option 3: Use an editor-integrated clone flow
Many users prefer to connect through VS Code Web or another editor interface inside the Session. This is functionally equivalent to cloning from the command line, but presents the workflow through a guided UI.
In this example, we used the built-in clone flow in VS Code Web.
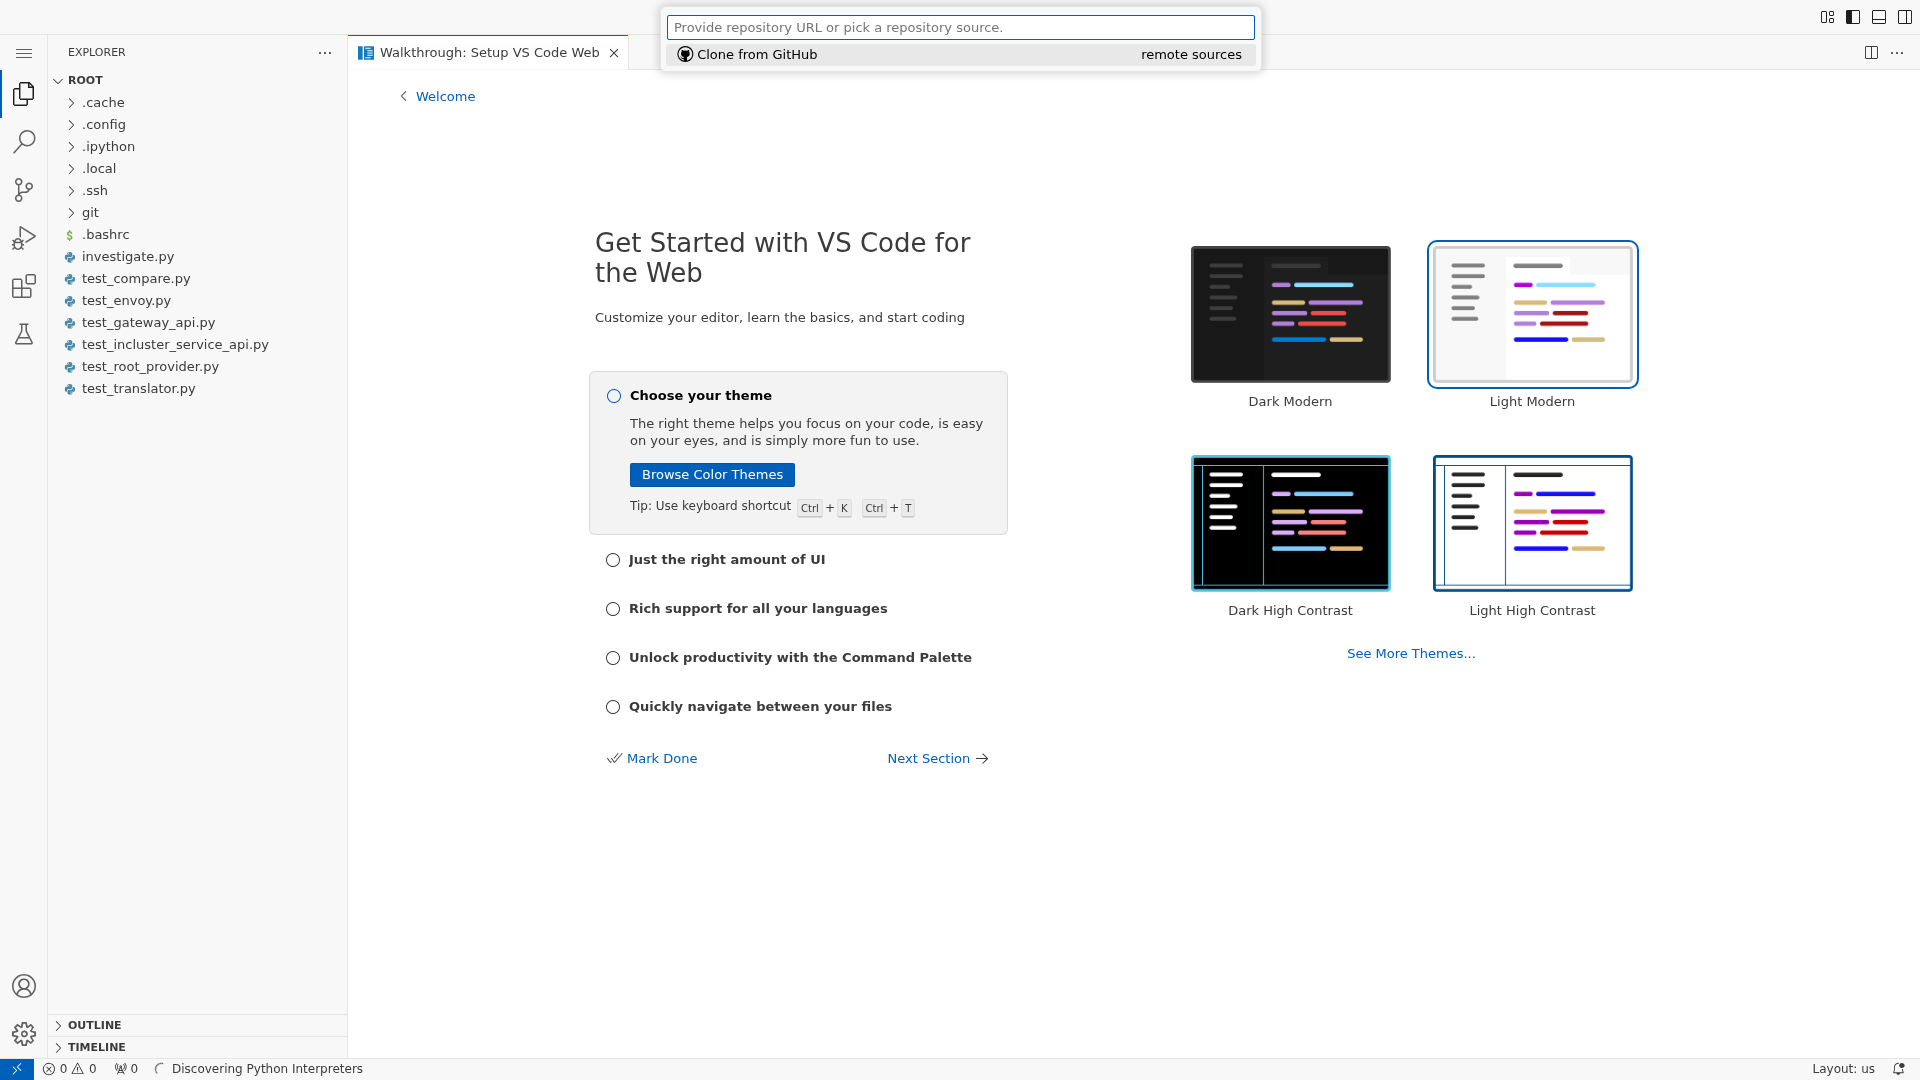
After cloning, the repository becomes available inside the Session filesystem.

What this step does
At this point, you have connected your Session to a normal Git repository.
That means you can now:
- pull code into the Session
- edit files locally
- create branches
- commit changes
- push updates back to your Git provider
This step is part of the normal development workflow. It does not yet make the repository available to Shakudo Jobs or Microservices.
4. Develop and test inside the Session
Once the repo is cloned, you can work like you would on a normal development machine.
Typical actions inside the Session:
- open files
- edit code
- run shell commands
- install dependencies
- run local tests
- inspect outputs
For the example repo used in this walkthrough, the Job entrypoint is:
- repo:
devsentient/shakudo-examples - script:
job-simple/run.sh
That script is intentionally simple:
echo "Hello, world!"
This is useful for learning because it isolates the platform flow from application complexity.
5. Link the repository in Shakudo Git Repositories
After you have a normal GitHub repo, the next step is to connect that repo to the Shakudo platform.
Go to the Git Repositories panel.
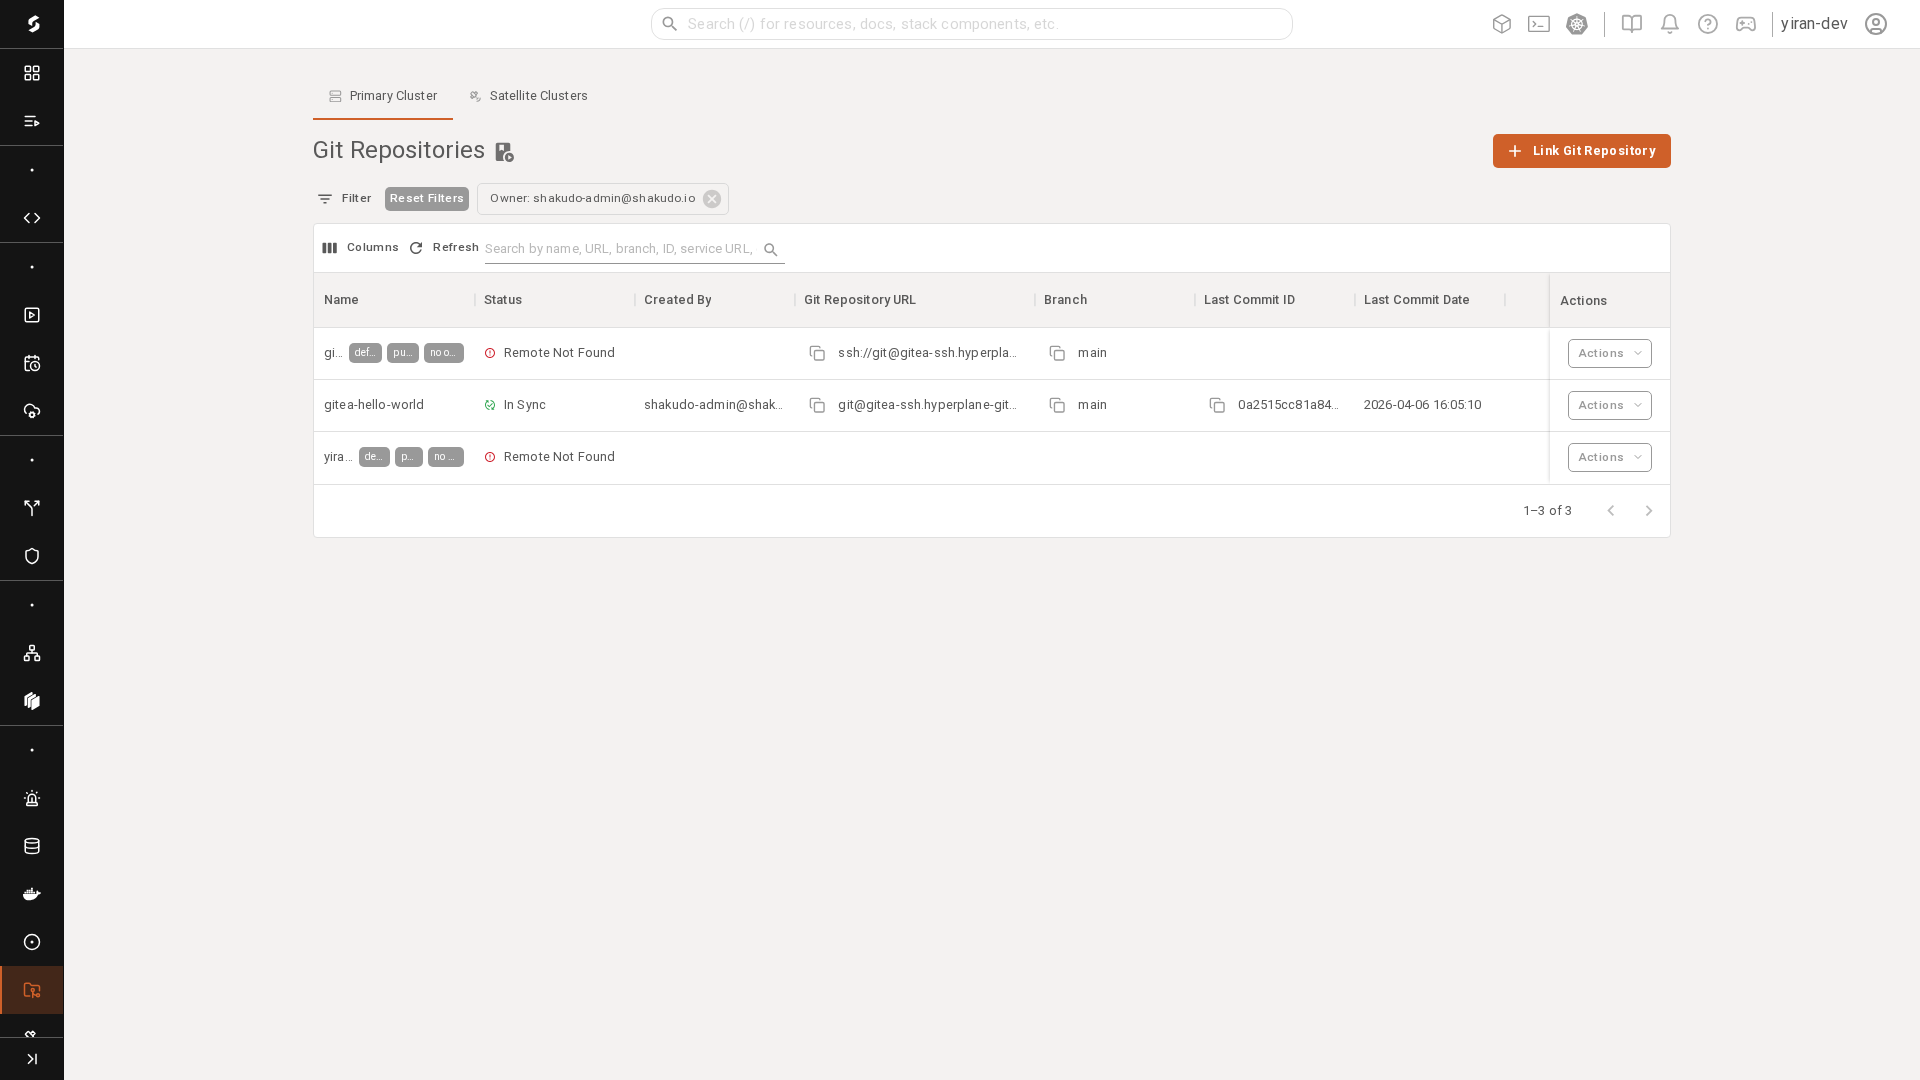
Click Link Git Repository.
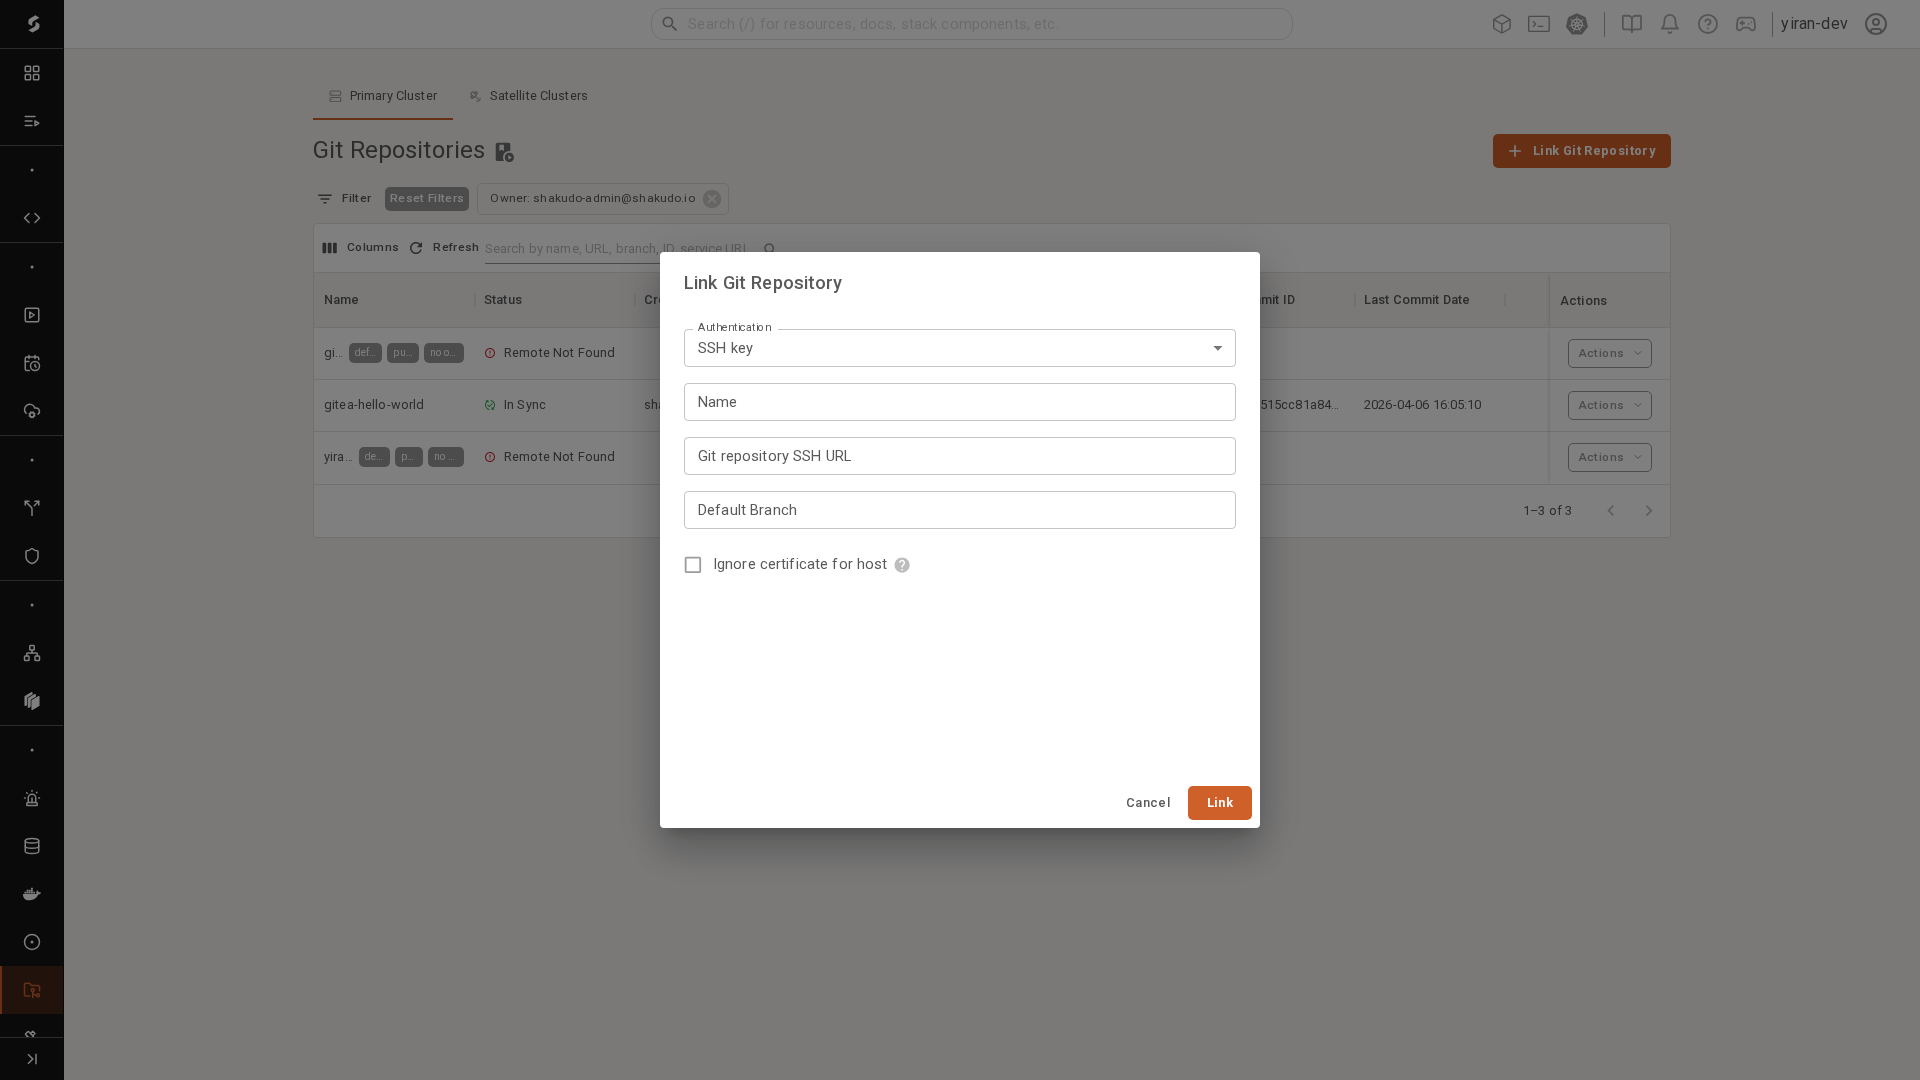
For this public example repo, we used:
- Authentication:
Public (no credentials) - Name:
shakudo-examples-public-docs - Git repository URL:
https://github.com/devsentient/shakudo-examples.git - Default Branch:
main
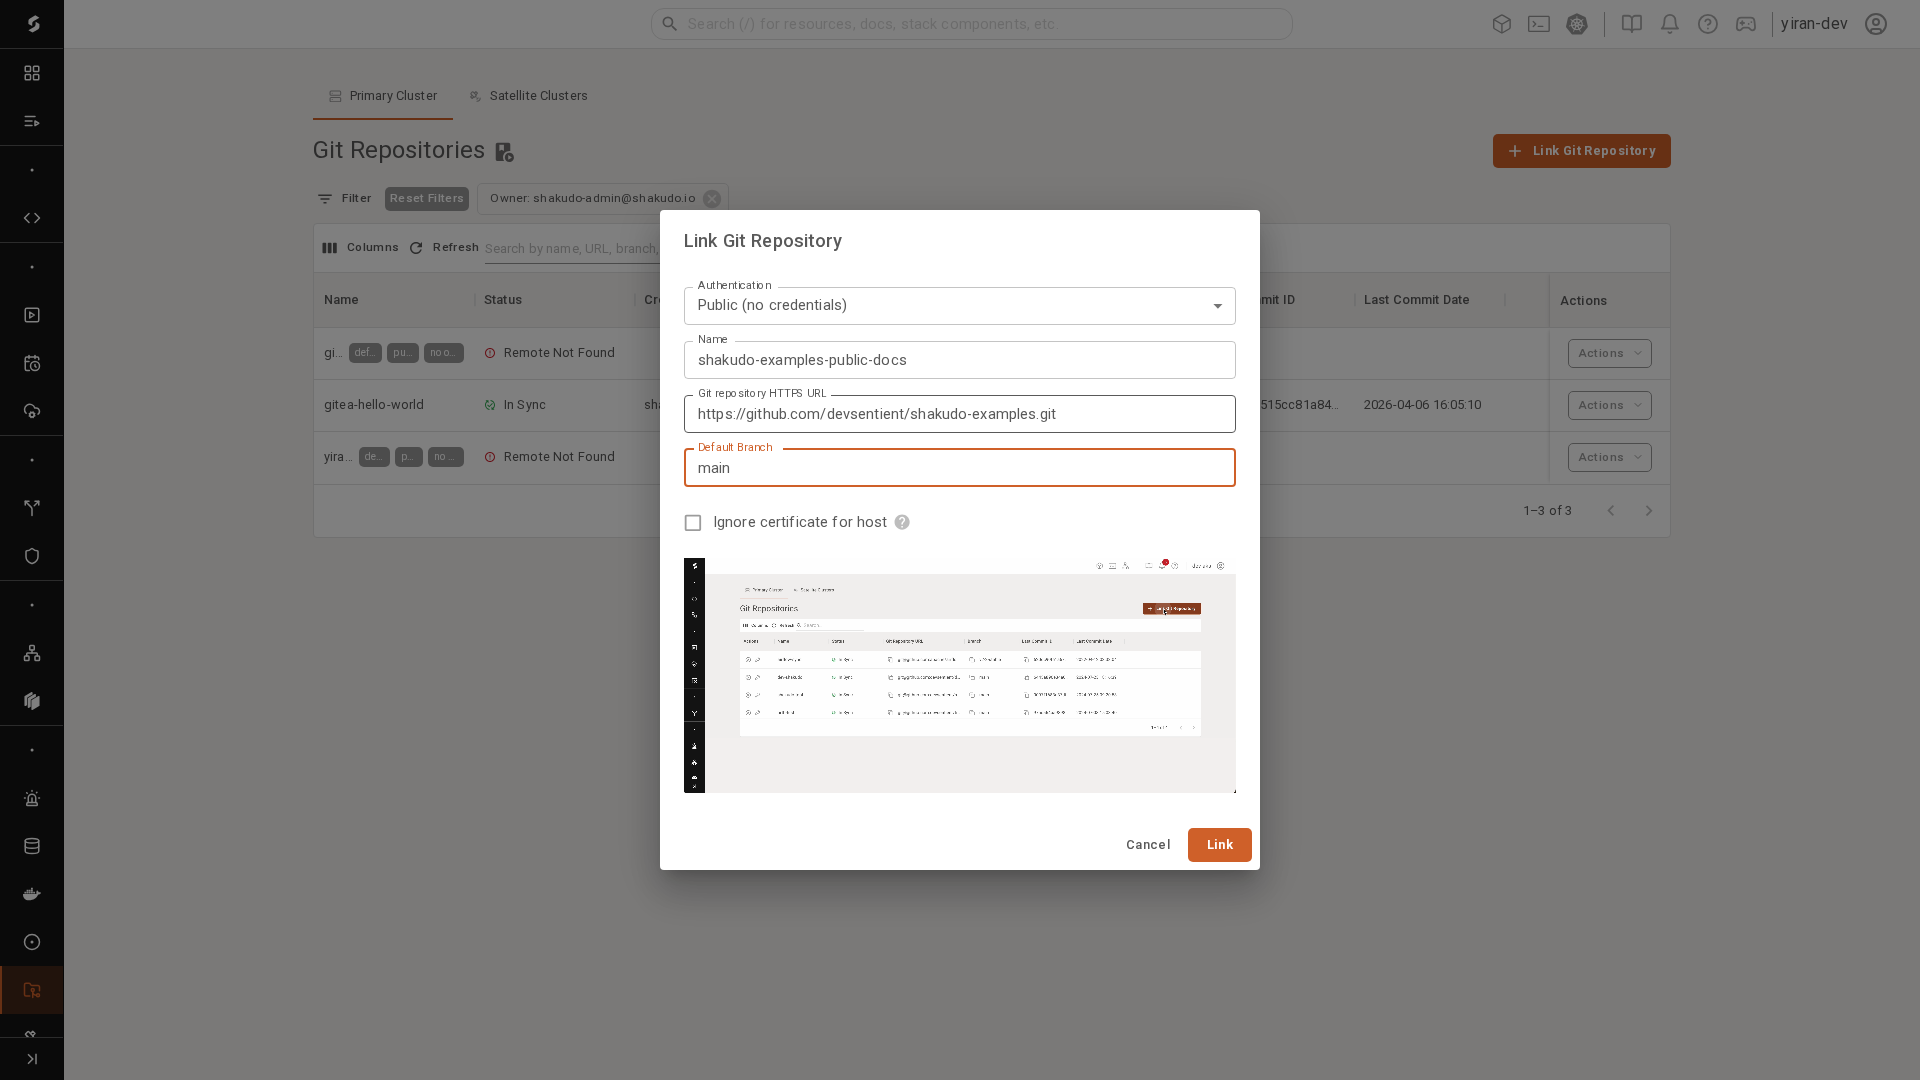
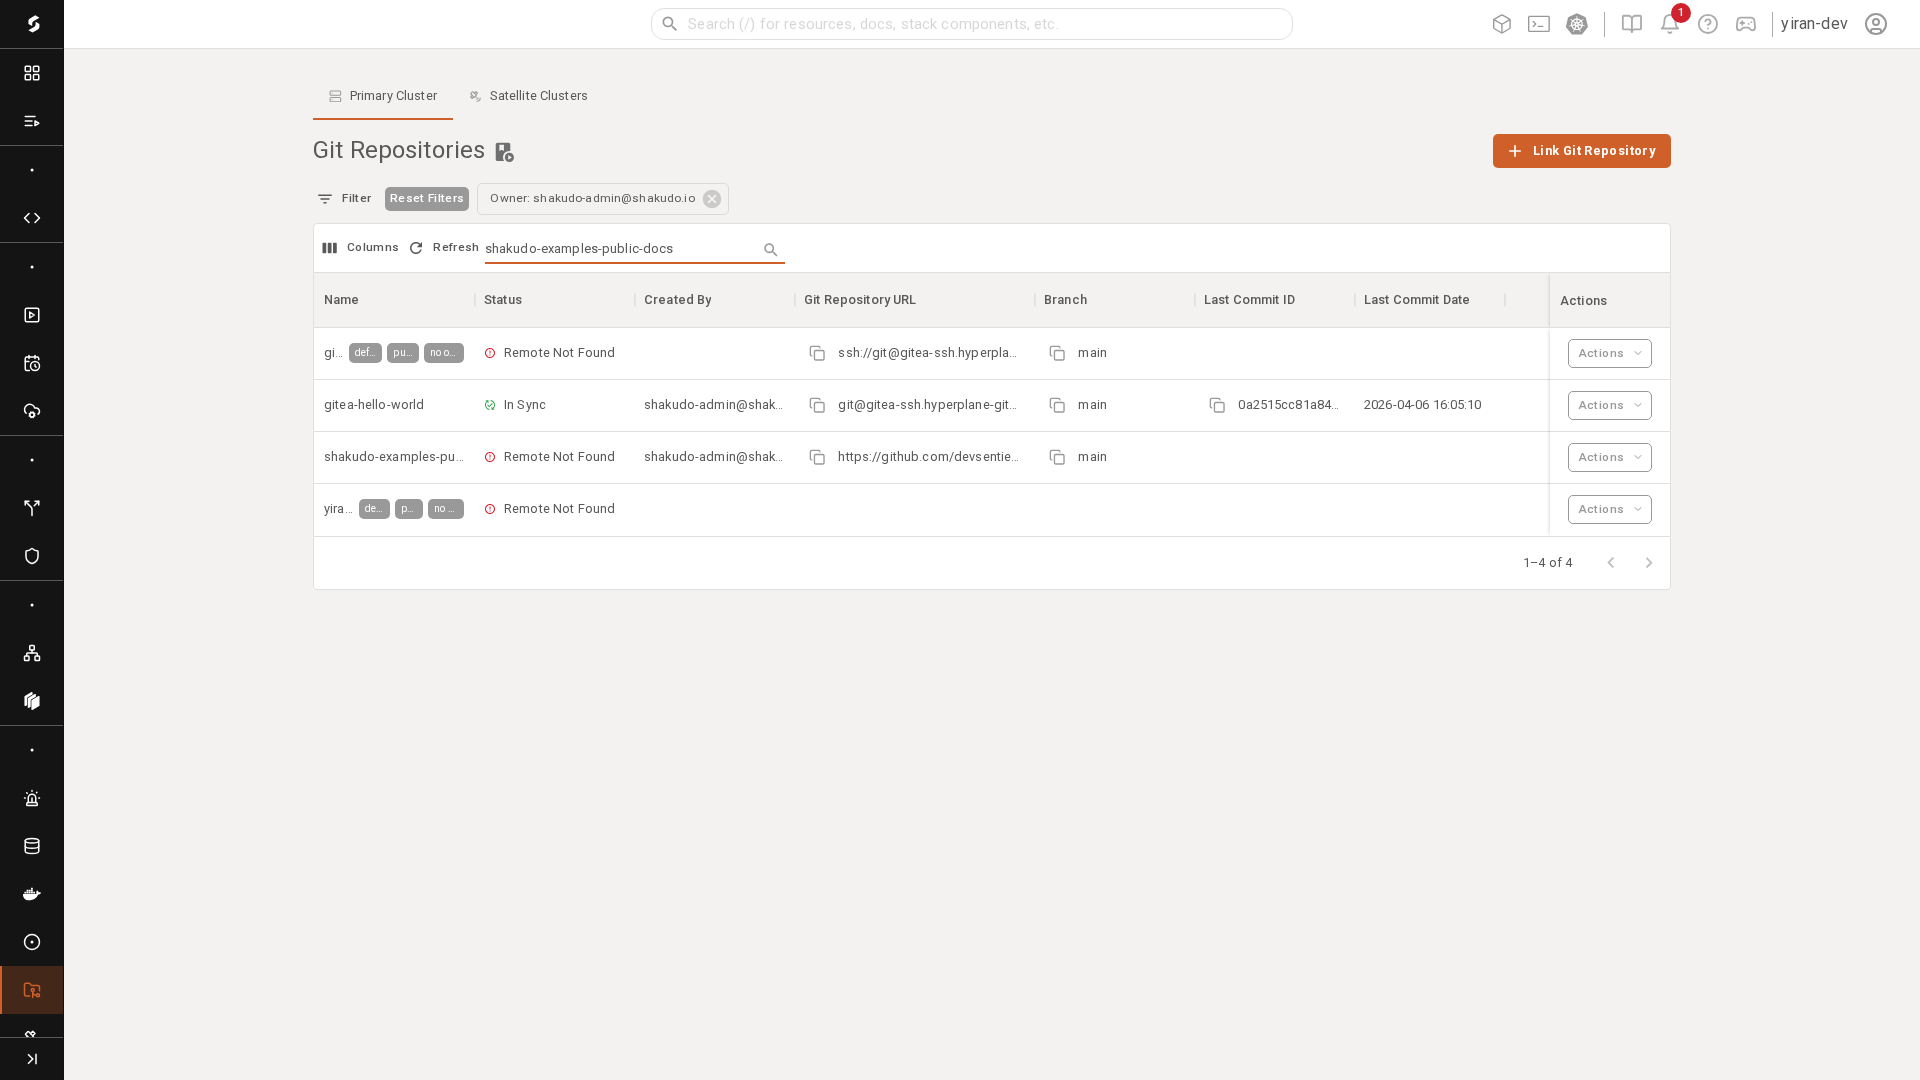
After linking, the repo appears in the Git Repositories table.

Wait until the repository status is In Sync.
Why this step matters
Linking a repository in Shakudo gives the platform its own managed connection to the source repository. That allows platform workloads to:
- resolve the repository as a reusable platform object
- sync branches and commits independently of any one user's Session
- verify whether the repository is available and in sync
- use that repository as an input for Jobs and Microservices
This is the handoff from:
- developer workflow inside a Session
to:
- deployment workflow inside the Shakudo platform
Until the repository is linked and synced, Jobs and Microservices cannot reliably pull the code on their own.
Why only admins can do this
Repository linking is intentionally restricted to platform administrators or maintainers because it changes shared platform state.
When a repository is linked in Shakudo, the platform stores and manages information such as:
- the repository URL
- the default branch
- the platform-side authentication method
- the sync status used by shared workloads
That makes repository linking an operational capability, not just a personal development action.
In practice, this restriction exists because a linked repository can be reused by multiple workloads and multiple users. Without access controls, users could accidentally create broken, duplicate, or insecure repository connections for the whole platform.
6. Use your Git repository for different workloads
Once the repository is linked and synced, the same source code can be used by different workload types depending on what you want to run.
At this point, Shakudo is no longer using the repository only as developer source code inside a Session. It can now use that repository as a platform-managed source for deployment and execution.
Option A: Jobs
Use a Job when the code should run to completion. Jobs are the right choice for scripts, pipelines, and one-time or scheduled executions.
Typical use cases:
- batch processing
- notebook execution
- scheduled pipelines
- ETL or data refresh tasks
- model evaluation or offline inference
Jobs usually point to a pipeline YAML or a single bash script stored in the repository.
Option B: Microservices
Use a Microservice when the code should stay running and expose an endpoint. Microservices are the right choice for APIs, web applications, internal tools, dashboards, and other long-lived services.
Typical use cases:
- APIs
- internal tools
- dashboards
- web applications
- streaming or real-time services
Microservices are the right choice when you need a URL, a port, and a long-lived process.
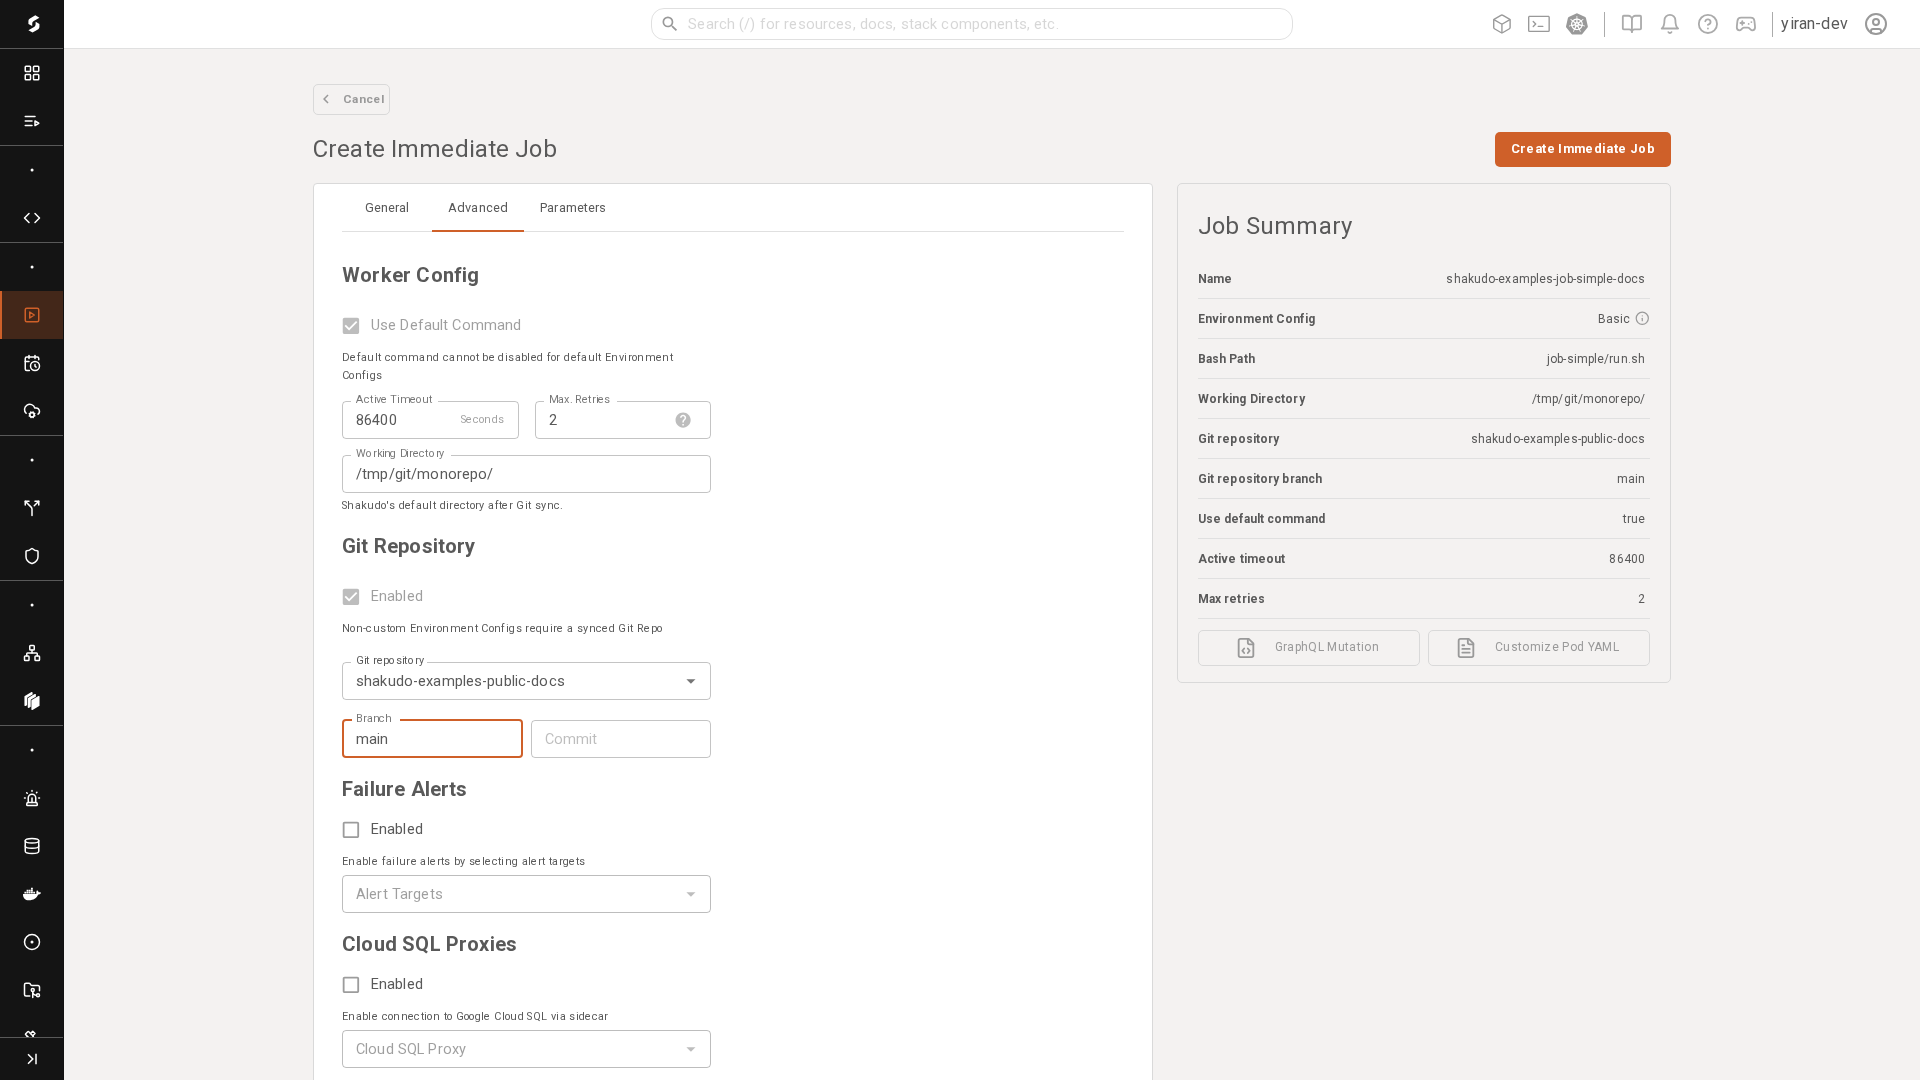
What the Git link looks like during workload creation
When you create a Job or a Microservice, one of the most important inputs is the linked Git repository. This is where you tell the platform which synced repository to use as the source for the workload.
The repository is selected from the workload creation dialog rather than typed in ad hoc each time. That helps ensure the platform uses a known repository connection with a known sync state.
The screenshot below shows the Git repository being selected during Job creation. The same idea applies when creating a Service.
7. Deploy the example as an Immediate Job
For this walkthrough, we deploy the repo as an Immediate Job using the script:
job-simple/run.sh
Open the Immediate Jobs panel.
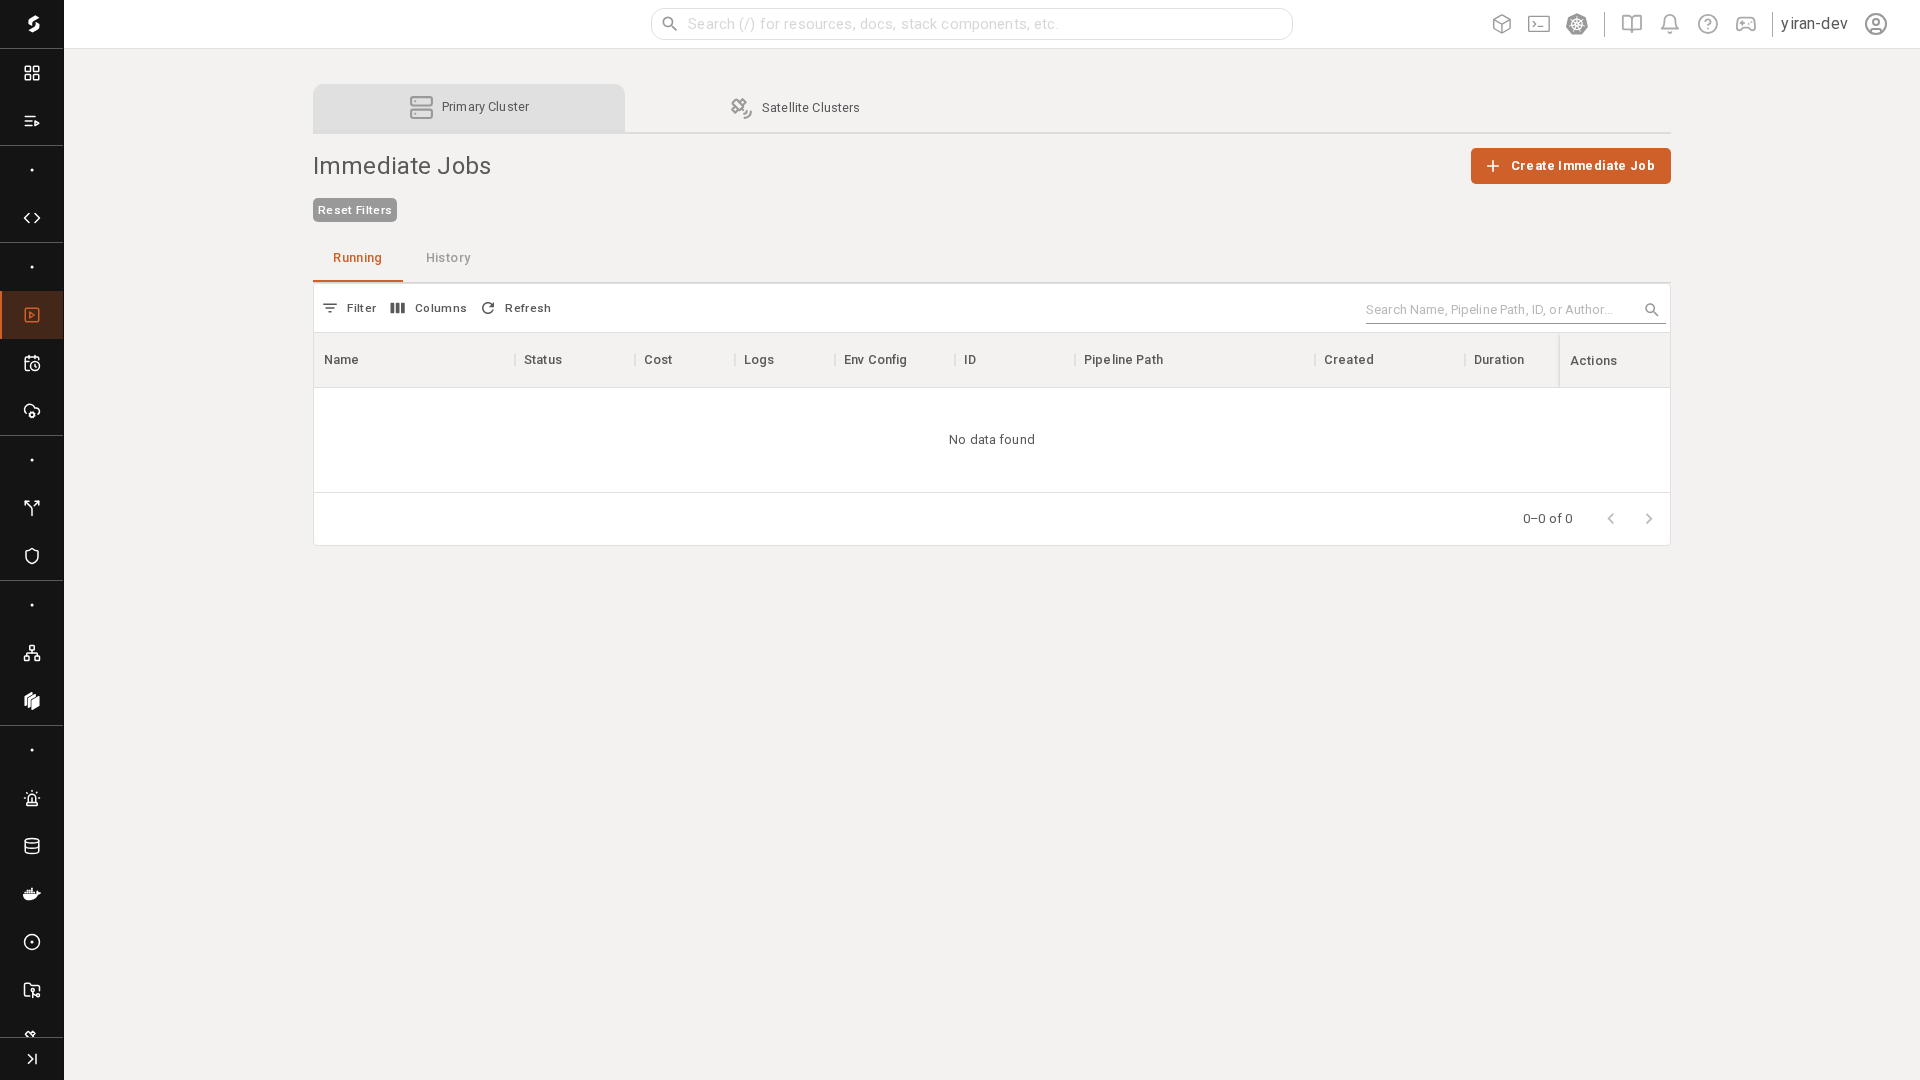
Click Create Immediate Job.
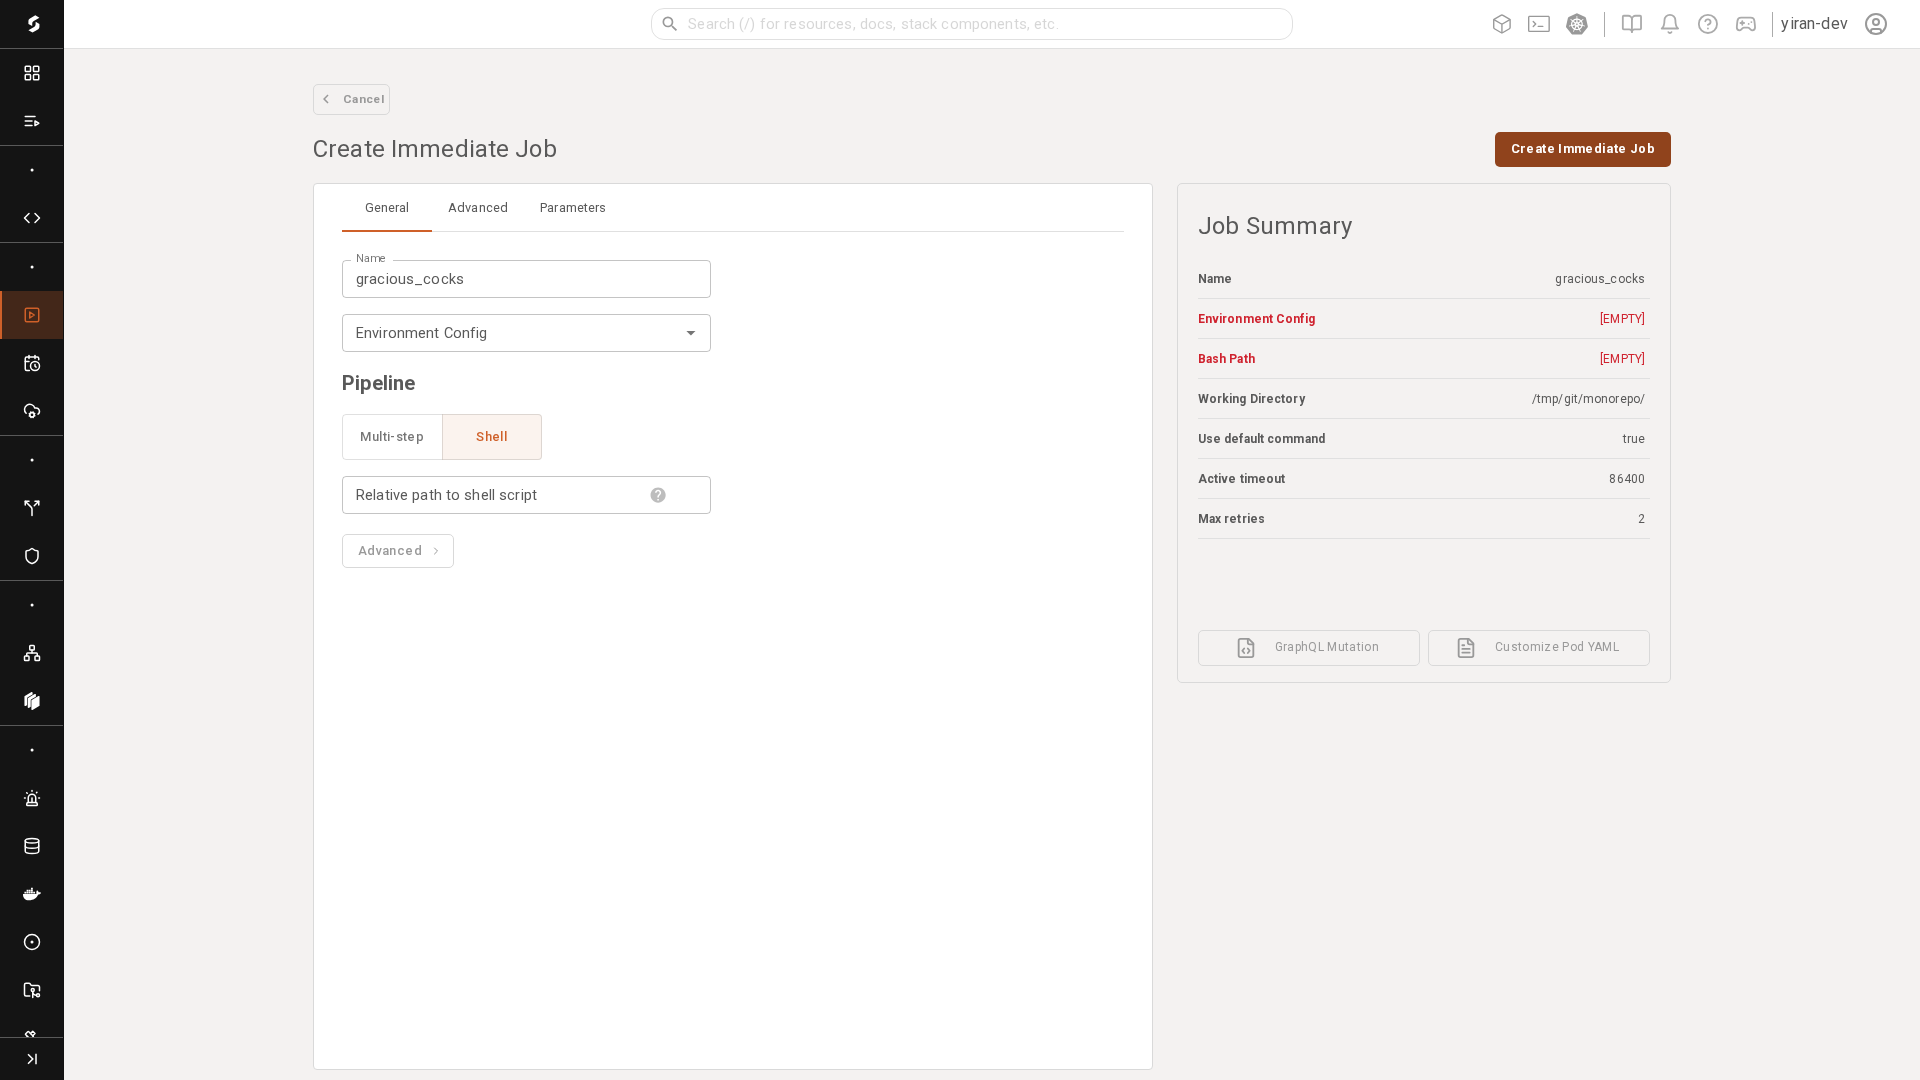
On the General step, fill in:
- Name:
shakudo-examples-job-simple-docs - Environment Config:
Basic - Pipeline:
Shell - Relative path to shell script:
job-simple/run.sh
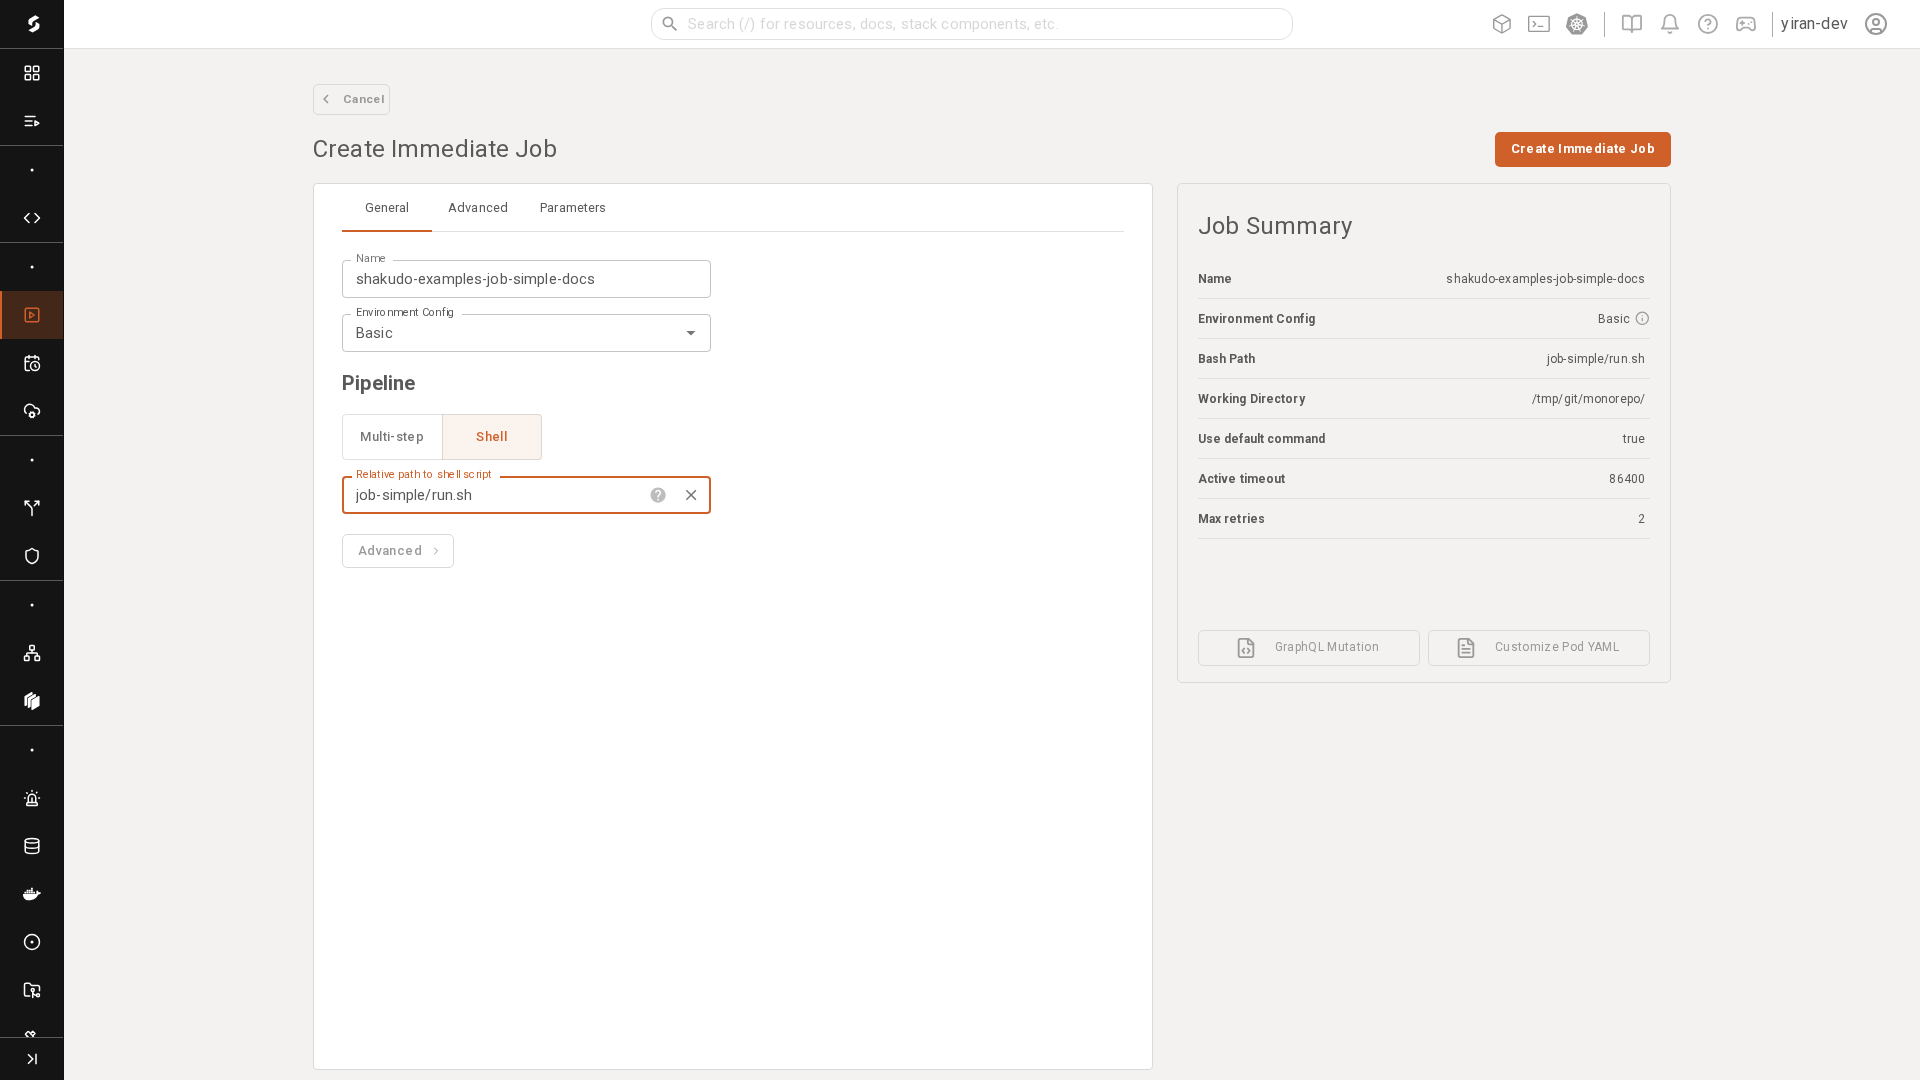
Then open the Advanced step and set:
- Git repository:
shakudo-examples-public-docs - Branch:
main
Submit the job.
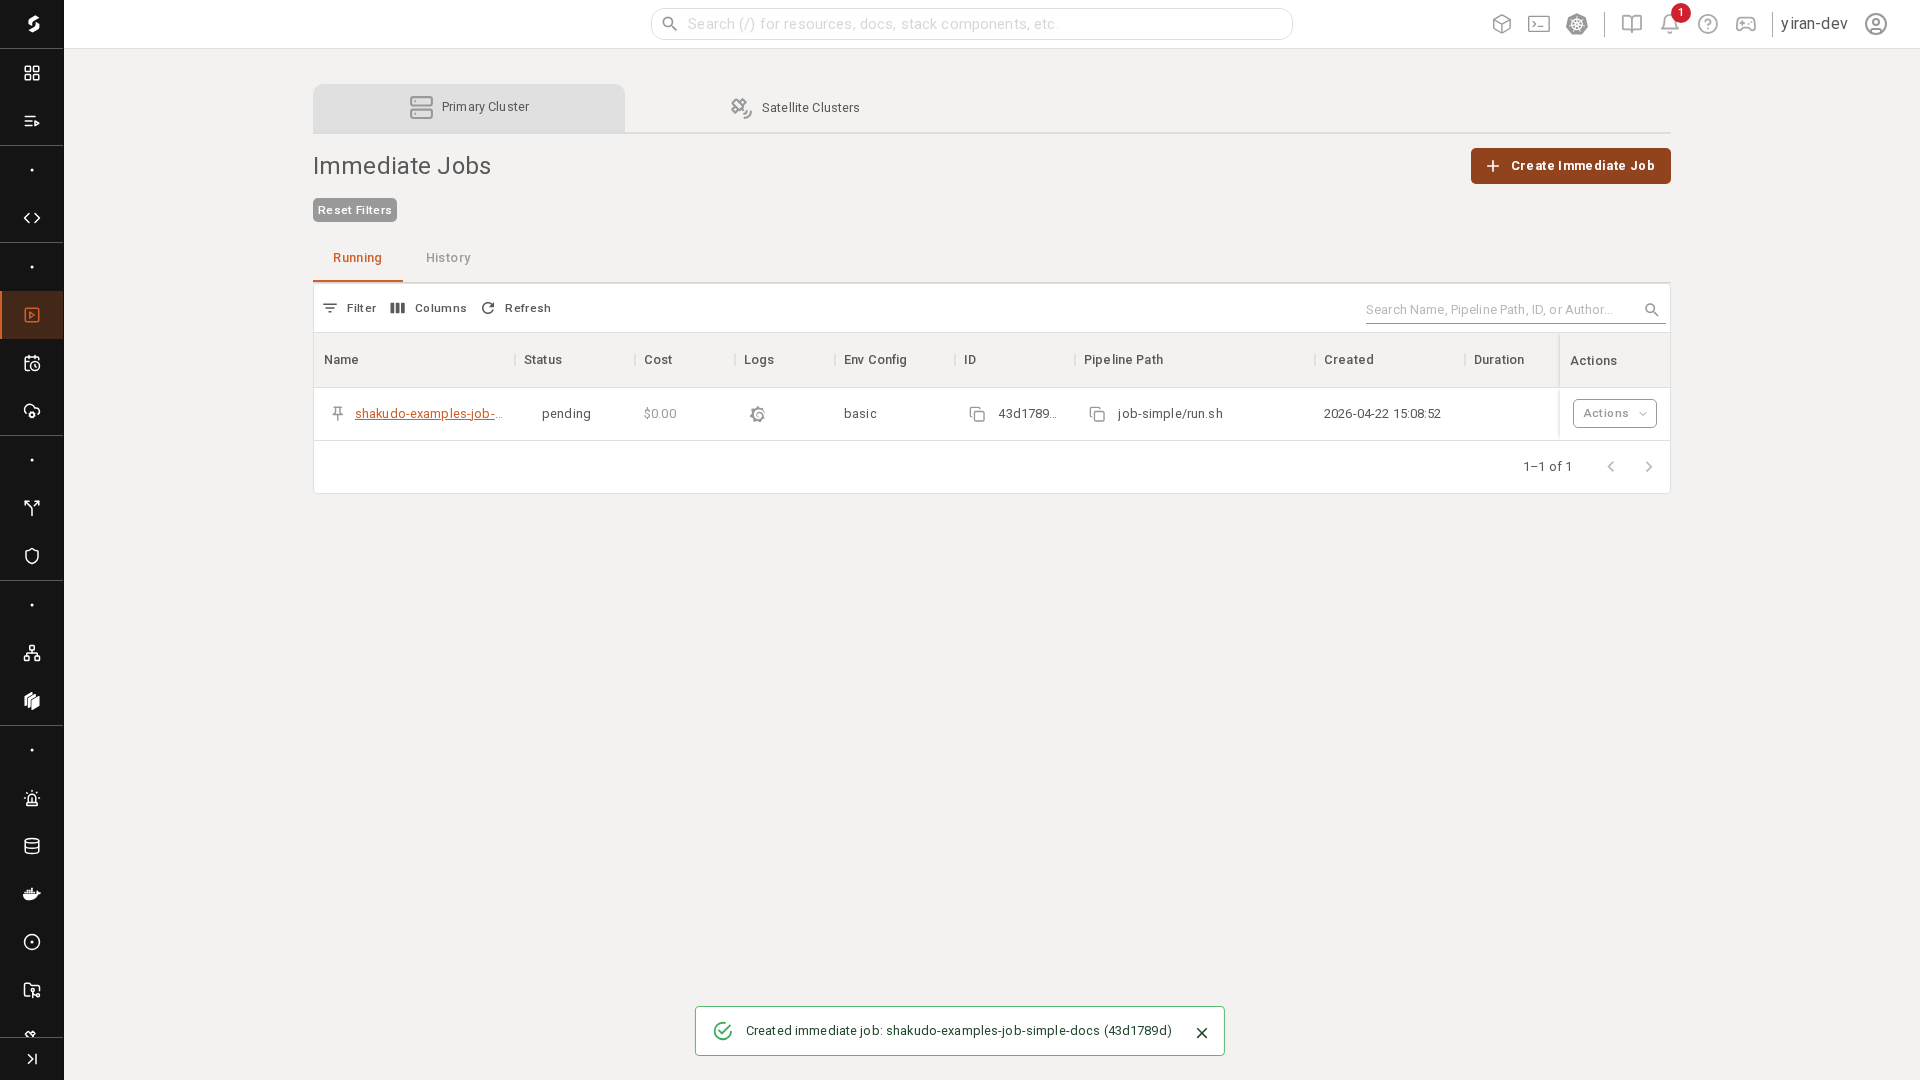
After creation, the new job appears in the Immediate Jobs table.
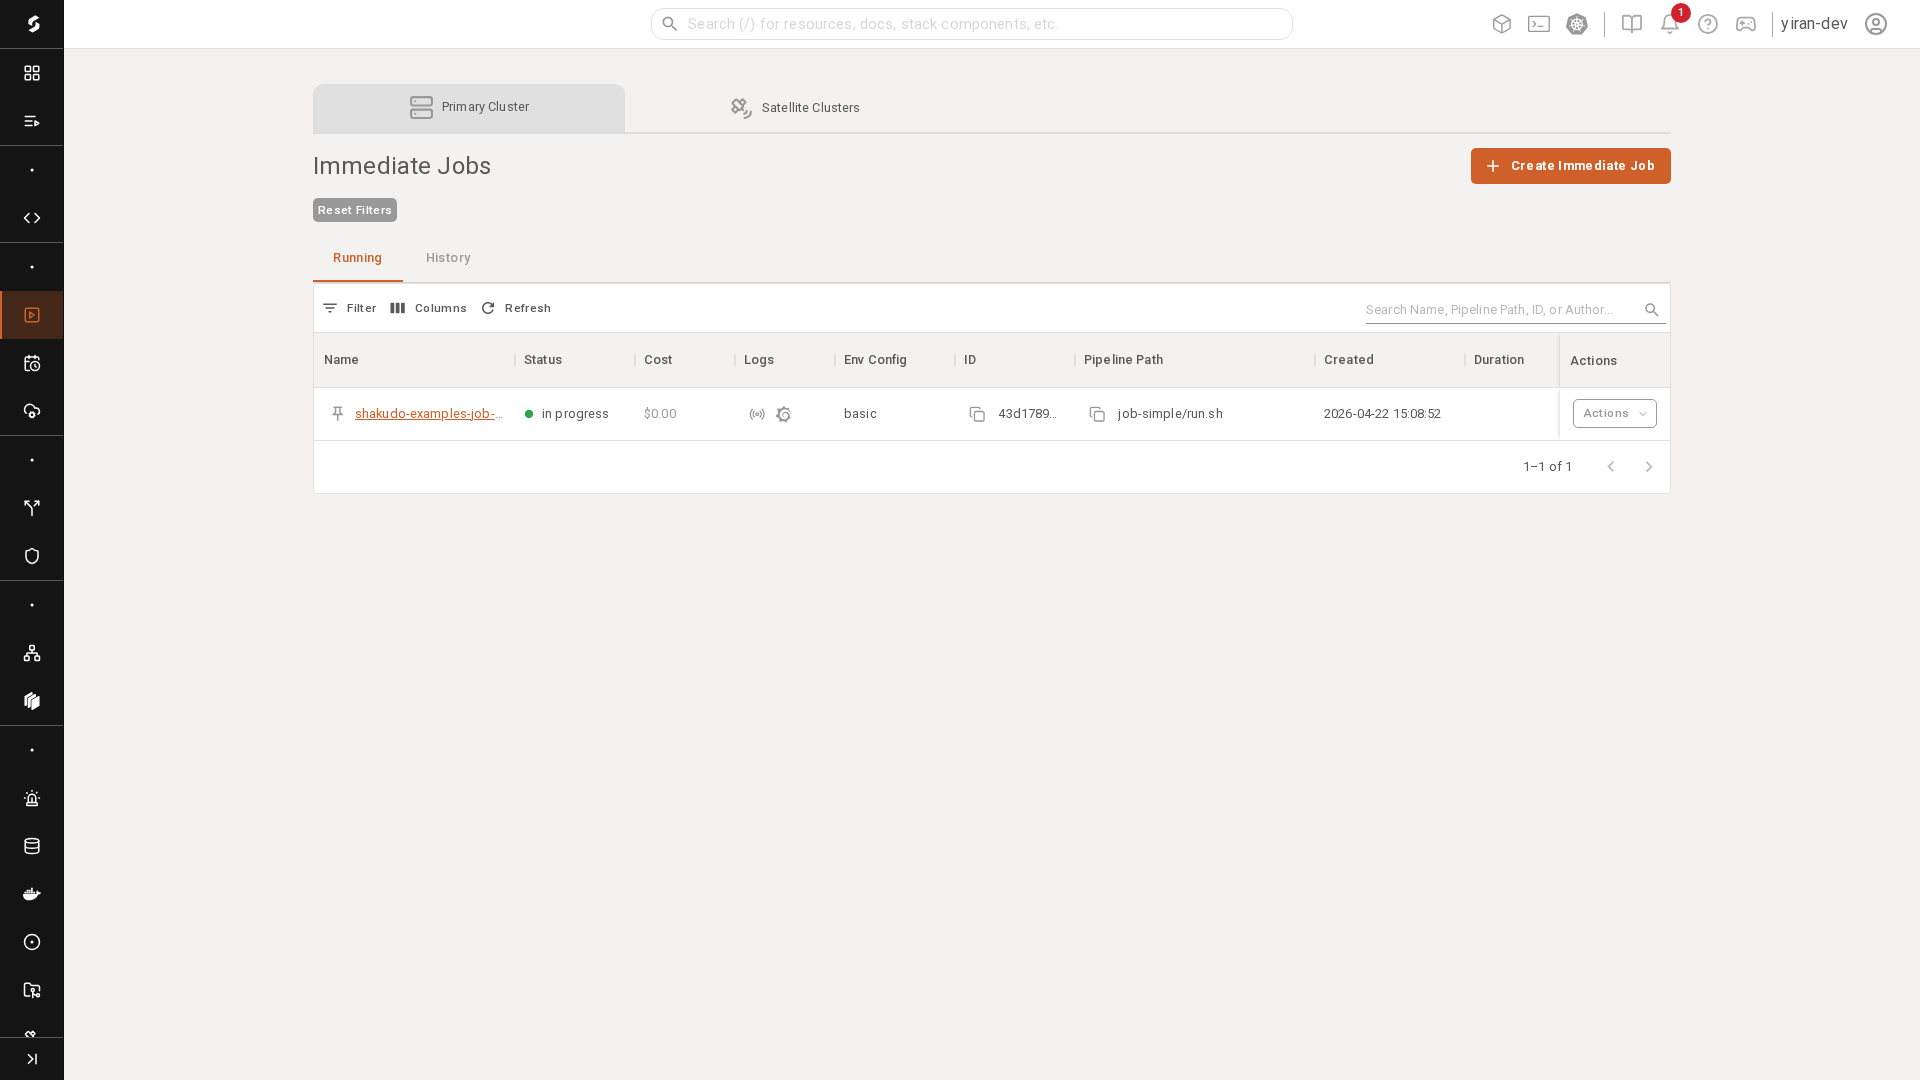
After polling/refreshing, you can inspect the latest visible job status from the table.

8. What to validate after deployment
After deployment, validate using the platform UI and runtime signals.
For Jobs, check:
- run status
- logs and events
- output artifacts or downstream effects
- whether the correct Git repository and branch were used
For Microservices, check:
- service status
- ready replicas
- logs and events
- endpoint behavior
- any health or readiness probes
A good validation loop is:
- confirm the workload started successfully
- confirm the expected repo and branch were used
- confirm the application behavior matches what you tested in the Session
9. The repeatable developer loop
Most day-to-day iteration follows the same cycle:
Session → clone repo → edit → local test → commit → push → Shakudo repo sync → rerun or restart → validate
That loop is the core Shakudo develop-to-deploy workflow.
Summary
The end-to-end model is simple:
- Sessions are where you develop
- normal GitHub repositories are where your code and history live
- Shakudo Git Repositories are the platform links to those repos
- Jobs are for finite execution
- Microservices are for long-running deployed apps
If you keep those responsibilities separate, the platform workflow becomes much easier to understand.