Create a Flask App
You can create a Flask application on Shakudo Platform as a service. Follow the steps below to get started!
1. Prepare your Flask App
First and foremost, you need to have a working Flask API program. You can either develop it using Shakudo's Session or on your local machine. We have a simple working version that you could find here Flask Program
Then push this code to a repository that are in-sync on Shakudo platform.
2. Set up micro-service on Shakudo dashboard
From the sidebar, go to Microservices panel and click to Create Microservices button on the right hand side.

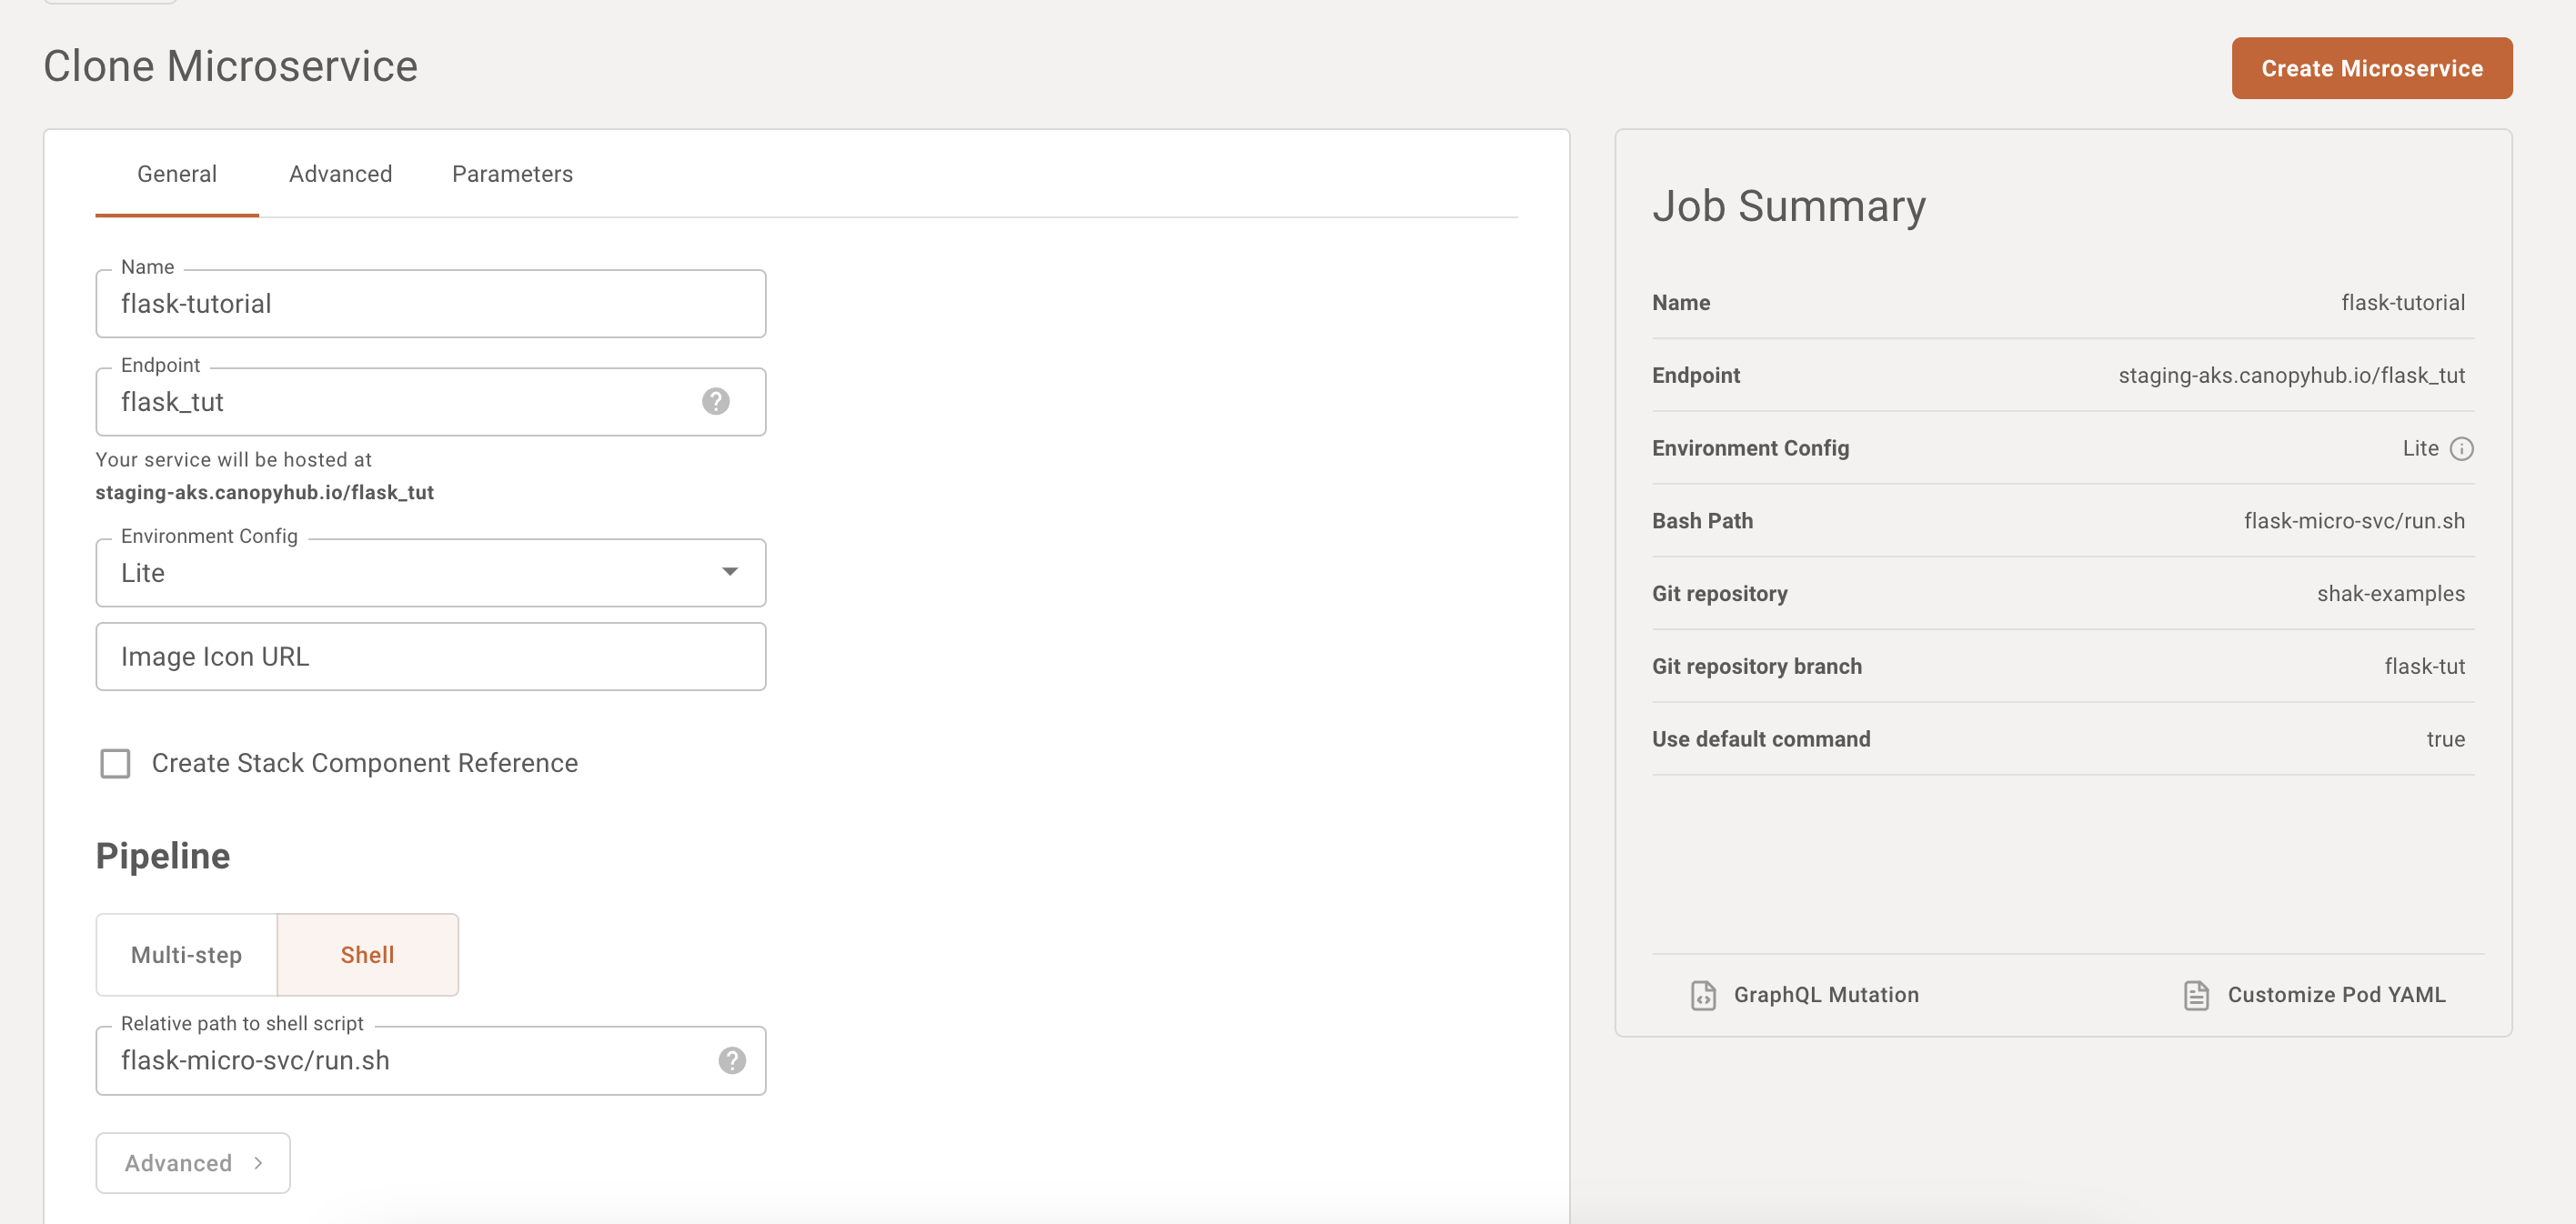
On the General tab, you have to choose the value for the following field:
Name: The name of your serviceEndpoint: How you like the public URL would be. For example if you choose.flask_tutas endpoint, the public URL would behttps://staging-aks.canopyhub.io/flask_tut, in whichhttps://staging-aks.canopyhub.iois the url of the platform.Environment Config: This includes hardware requirement and base environment to run the micro-service.In the
Pipelinesection, you will need to point to the program's entrypoint.

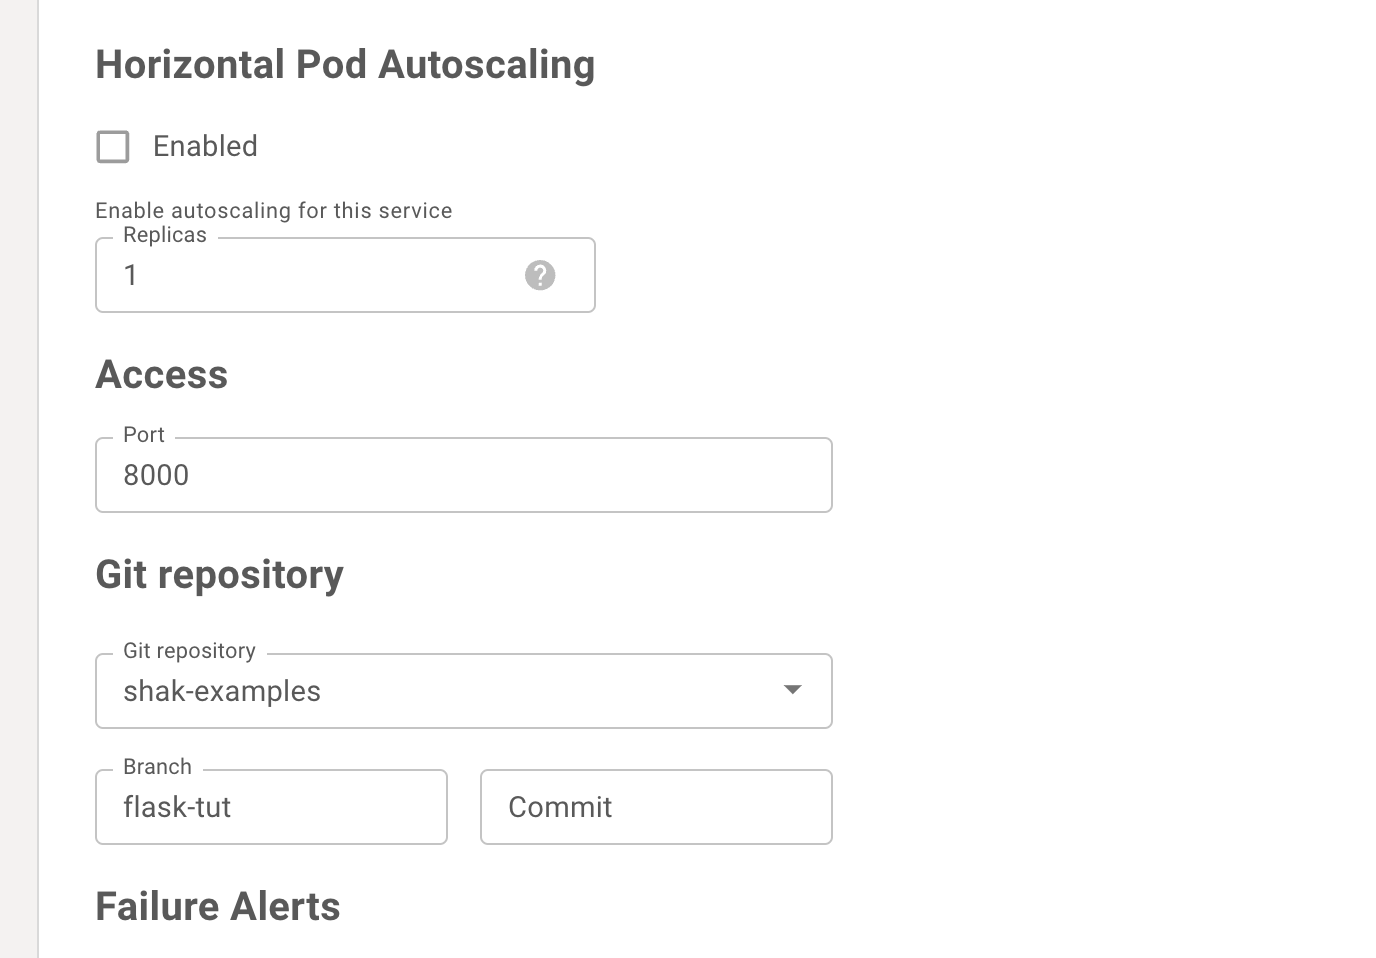
On the Advance tab, choose the git repository in which the code is stored. Apart from that, we need to set up the value for port.
In this example, I choose 8000 since this is the port being used by the micro-service in the example.

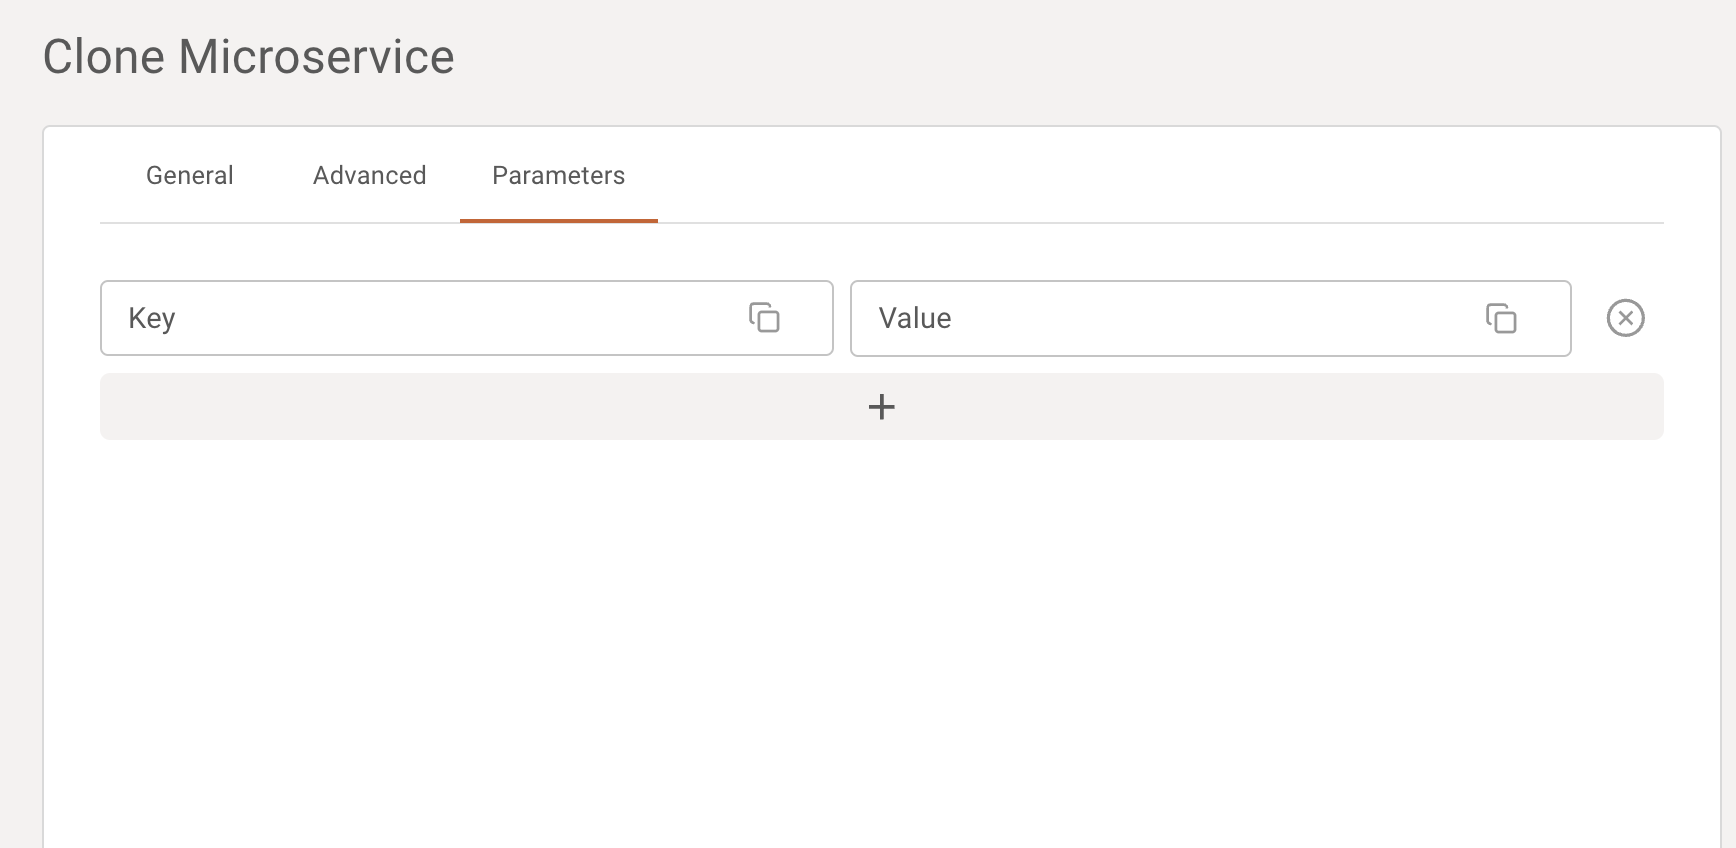
On the Parameter tab, you can set up some environment variables being used by the app.

Once the configuration is done, click to Create Microservice to set up the service.
3. View micro-service status
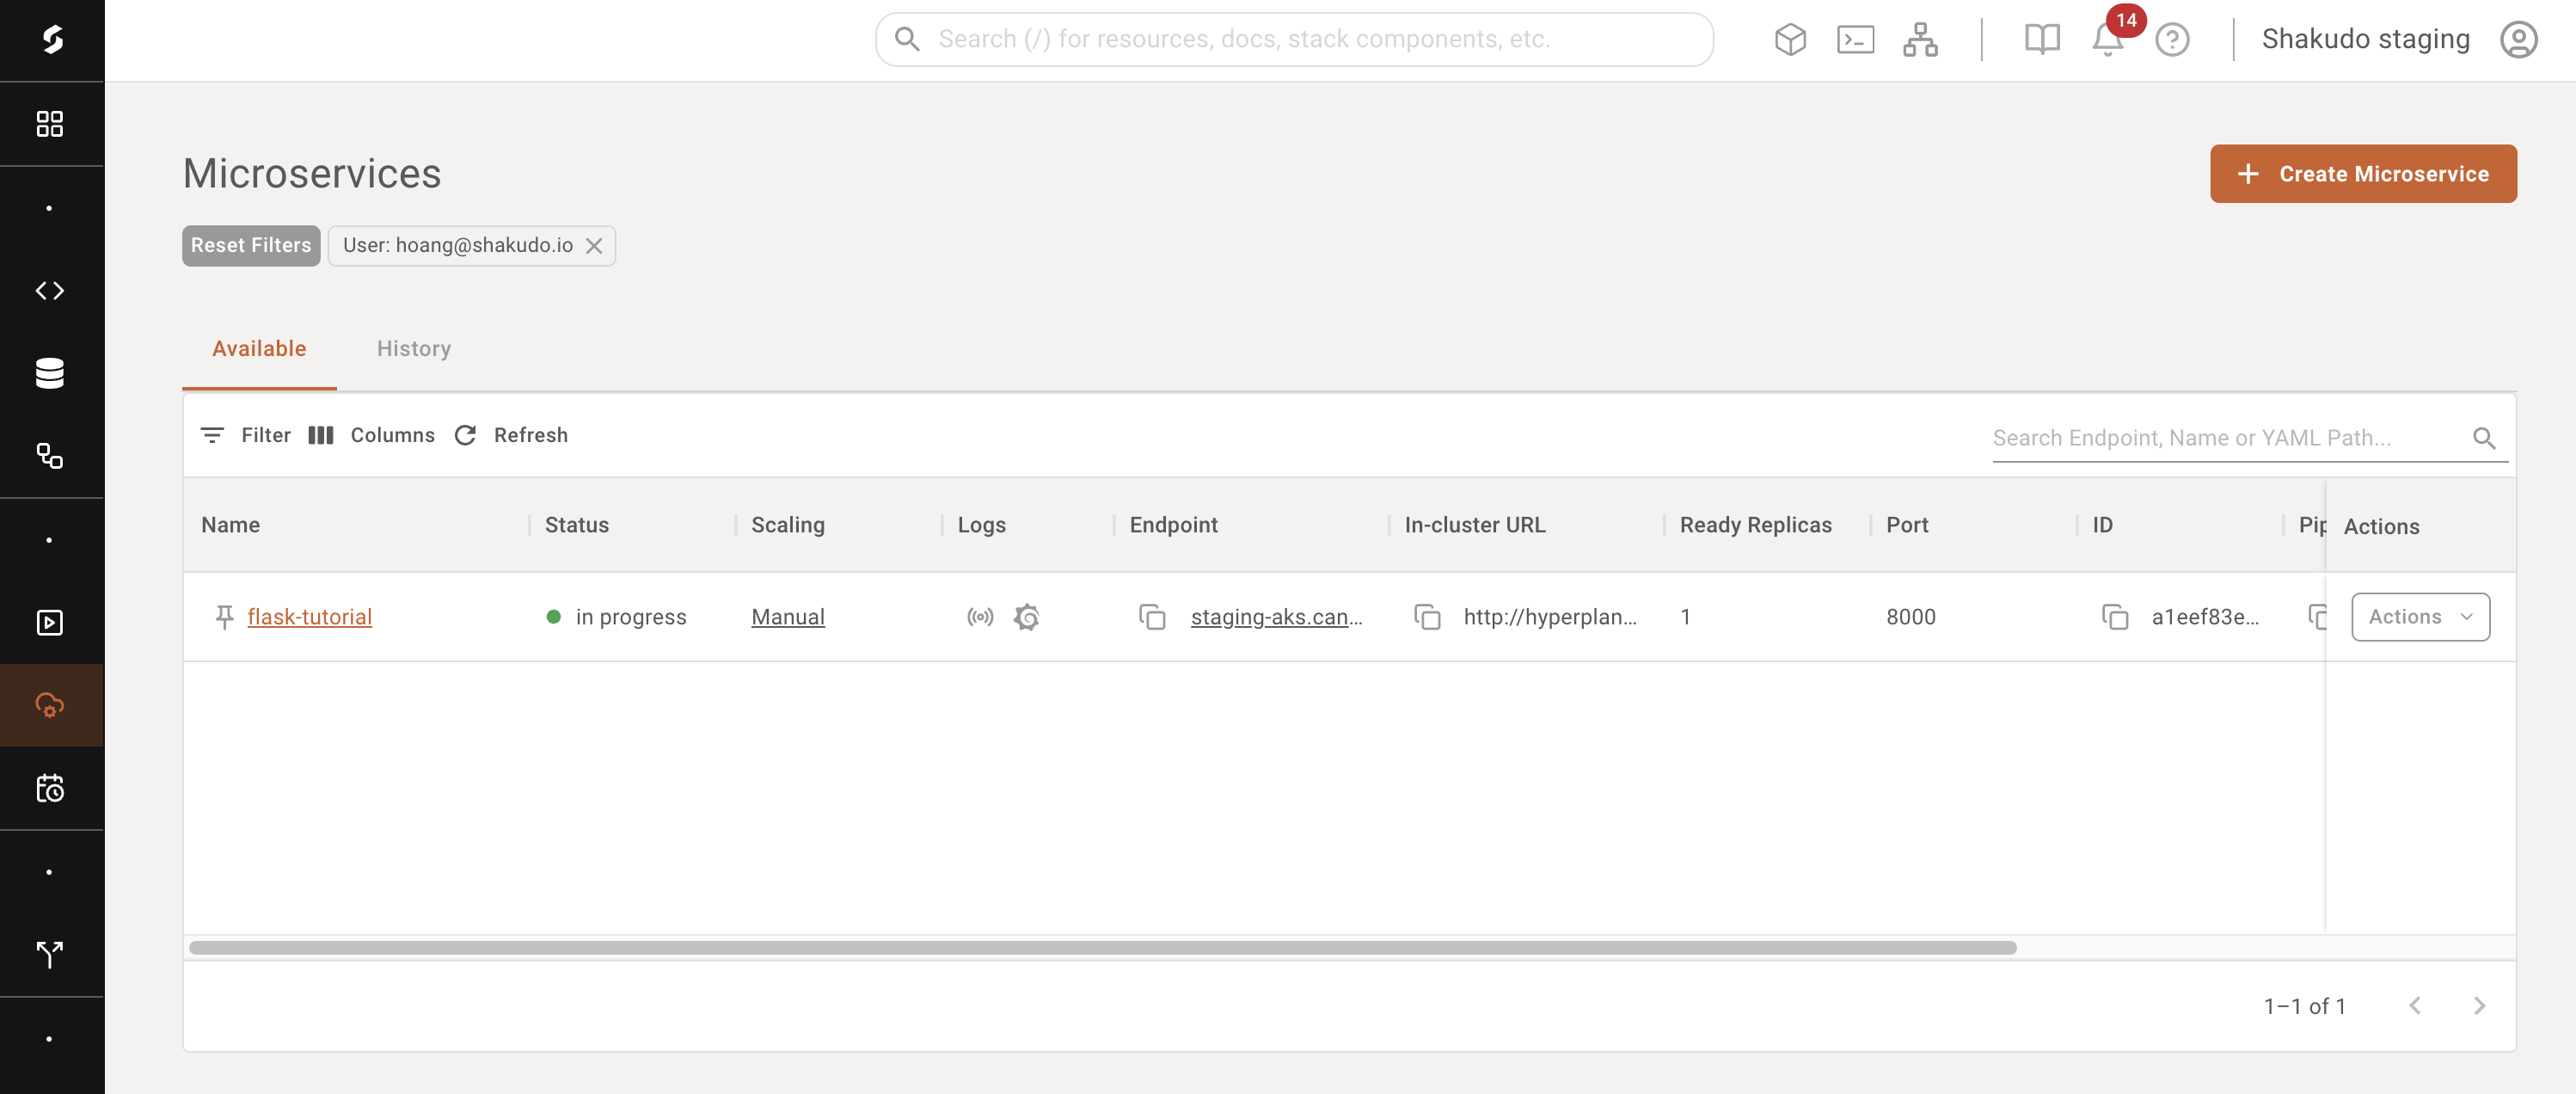
Once the service is up, you can view its corresponding status or its endpoint on the dashboard. Moreover, we provide options for the user to interact with the microservice if necessary:
Turn off: Scale down the service if it's not being userRestart: Redeploy the service with the latest code, in-cluster URL will be the samePublish: Allow other users to see the status of this serviceClone: Create a new service based on the current settings.
