Build and Deploy with Streamlit on Shakudo
In this tutorial, we will create a data app with Shakudo and Streamlit, the popular python library to build and share data apps in minutes.
While streamlit will let us build a webapp with no fuss or web expertise required, it will not scale by default. Shakudo automatically handles scaling and redundancy for you, so that you can deploy your app with confidence no matter your future workloads.
Building the App
Let's create a small dashboard for demonstration purposes. We will call it dashtest.py. Before we get started, let's create a script called run.sh so we can just execute the script to easily run our streamlit app. Its contents should be as follows:
streamlit run streamlit_example/dashtest.py --server.port 8787 --browser.serverAddress localhost
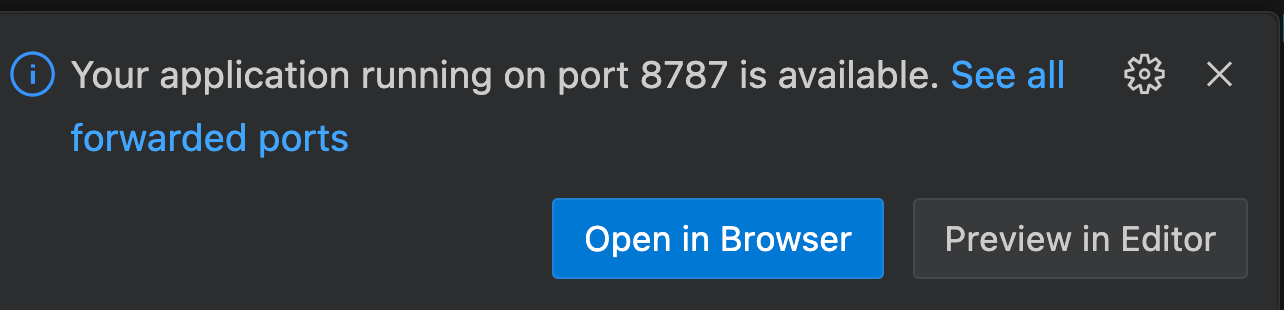
Remember to adjust your paths! When developing on Shakudo, the localhost port will automatically be forwarded when using vscode or codeserver. In vscode, the following notification will pop up to access the app from the local browser:
We will also maintain a requirements.txt file to keep track of our dependencies (in this case, that will be streamlit alone). It is recommended to keep track of the exact version of your dependencies to ease reproducibility, but that is not necessary for this demo.
streamlit
Now let's get started with the app proper.
import streamlit as st
Let's set the page title and icon in our dashtest.py script:
st.set_page_config(
            page_title="Shakudo Streamlit Example",
            page_icon=":shark:"
        )
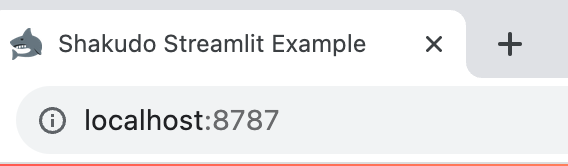
And run the startup script to make sure everything is working fine. If all goes well, you should be able to access the page on localhost:8787. While the page is blank, the title should look like in this picture:
Next, let's organize a basic layout and play with some simple widgets:
st.title("This is an example Title")
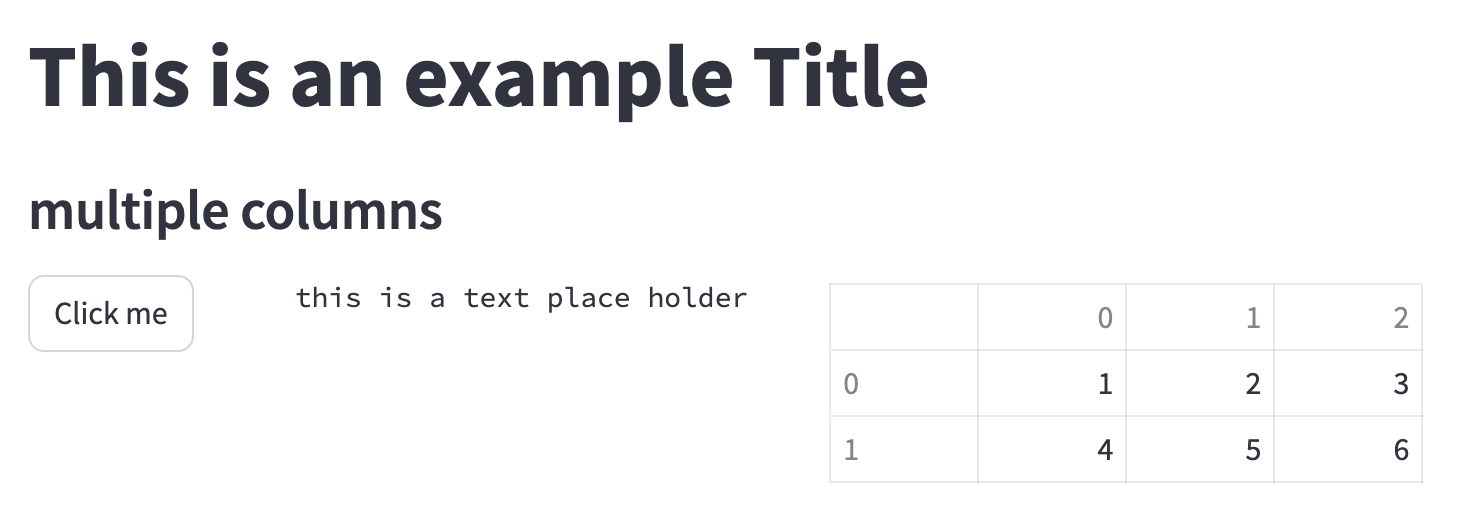
st.subheader("multiple columns")
col1, col2, col3 = st.columns([2, 4, 5])
with col1:
st.button("Click me", on_click=lambda: st.balloons())
with col2:
st.text("this is a text place holder")
with col3:
st.table([[1, 2, 3], [4, 5, 6]])
Here we created 3 columns spanning 2, 4, and 5 units of space. We then filled the first column with a button, the second with a simple text, and the third with a table. If all went well, we can now run our start script and Streamlit will load the page in the default browser. The result should look like this:
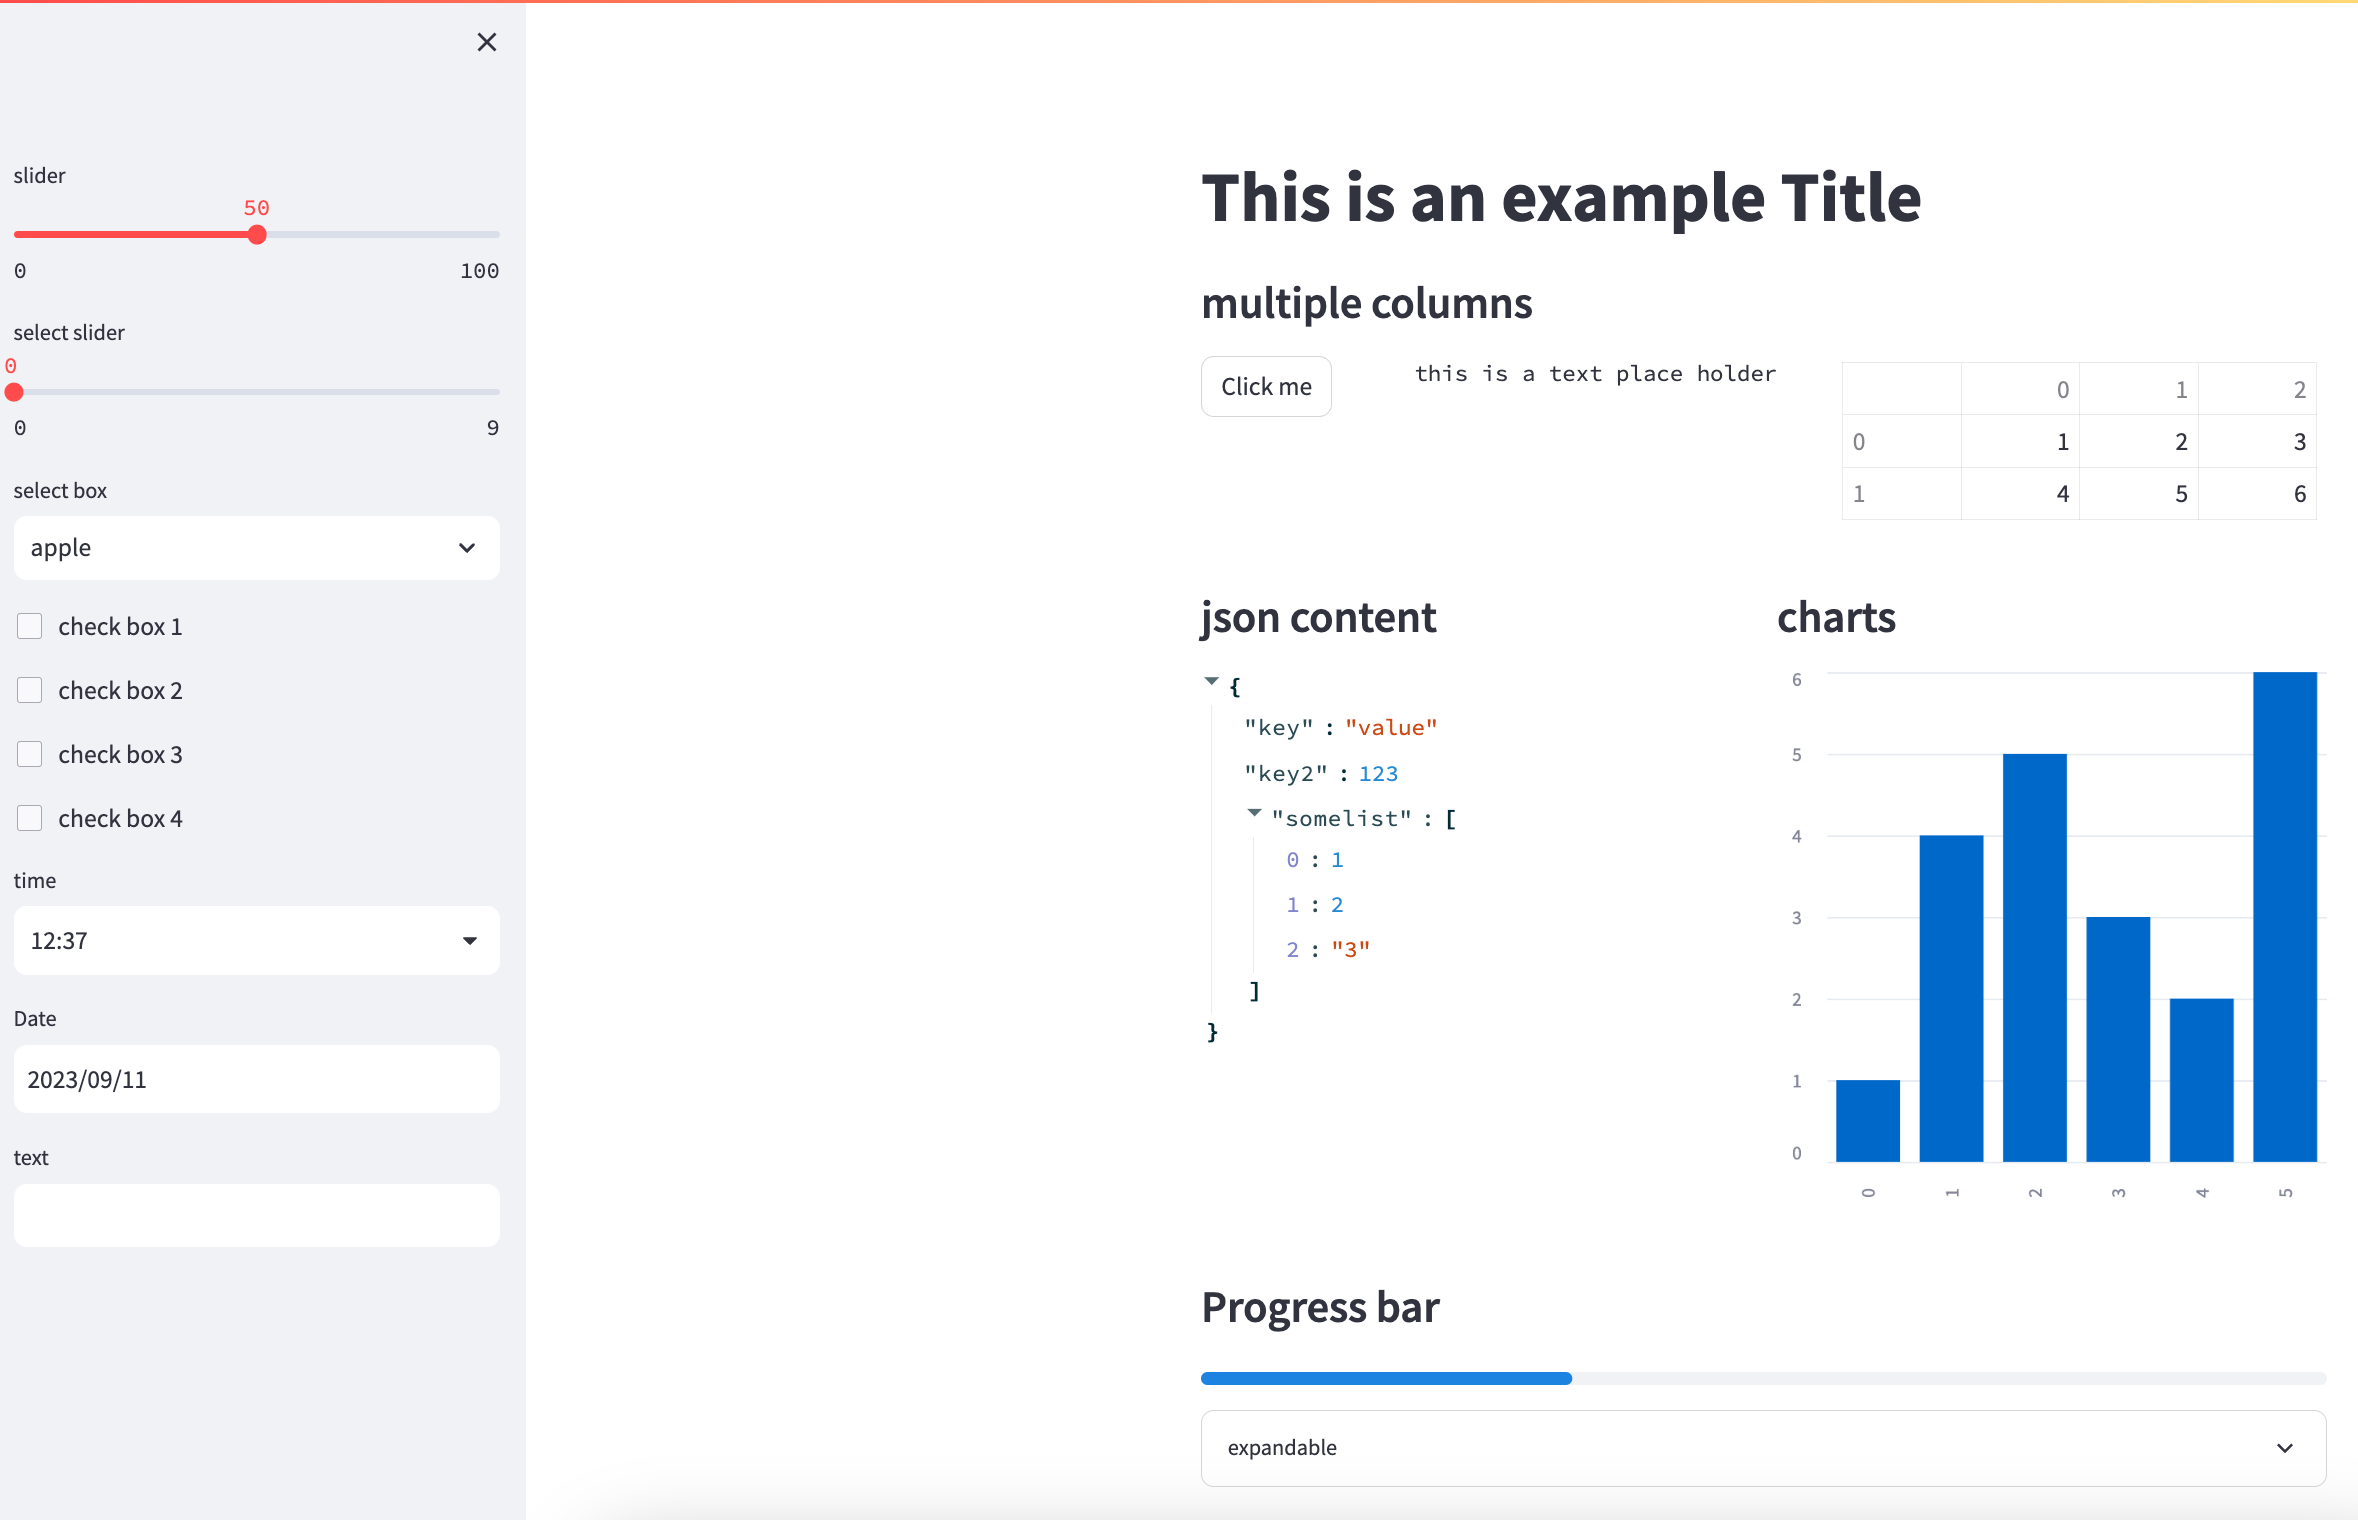
col4, col5 = st.columns([5, 5])

with col4:
    st.subheader("json content")
    st.json("""{
        "key" : "value",
        "key2" : 123,
        "somelist" : [1, 2, "3"]
    }""")
with col5:
    st.subheader('charts')
    st.bar_chart([1, 4, 5, 3, 2, 6])
Streamlit supports many kinds of elements, including json displays and various charts, which are displayed beautifully without any user styling or tweaking.

st.subheader("Progress bar")
import time
progressbar =  st.empty()
n = 0

with st.expander("expandable"):
    st.text("""This is some text.
            """* 30)

with st.sidebar:
    st.slider("slider", 0, 100, 50)
    st.select_slider("select slider", list(range(10)))
    st.selectbox('select box', ['apple', 'banana', 'pear'])
    st.checkbox('check box 1')
    st.checkbox('check box 2')
    st.checkbox('check box 3')
    st.checkbox('check box 4')
    st.time_input("time")
    st.date_input("Date")
    st.text_input("text")

while 1:
    n += 1
    with progressbar:
        st.progress(n)
    time.sleep(1)
    if n == 100:
        n = 0
Here we show how streamlit allows us to easily interact with controls such as progress bars: it's as simple as a st.progress after "entering" the progressbar in a with block. Streamlit also allows quickly creating common UI elements like sidebars and supports various user inputs, like dates, times, dropdown selectors, and more. The final result is shown below.
Deploying on Shakudo
For long-running tasks, Shakudo provides Services, which are defined with a simple yaml file that described the set of steps to run. For our deployment, all we need is the following pipeline definition:
pipeline:
  name: "streamlit"
  requirements: "streamlit_example/requirements.txt"
  tasks:
  - name: "dashbaord example"
    type: "bash script"
    port: 8787
    bash_script_path: "streamlit_example/run.sh"
That's it! Now we can create a service, specify the repository where we pushed the code and yaml, the path from the repository's root, and run the service. Our app is now available on port 8787 at the endpoint we selected during service configuration on Shakudo.