Shakudo Cloud Shell
Available on Shakudo version 3.34.2+
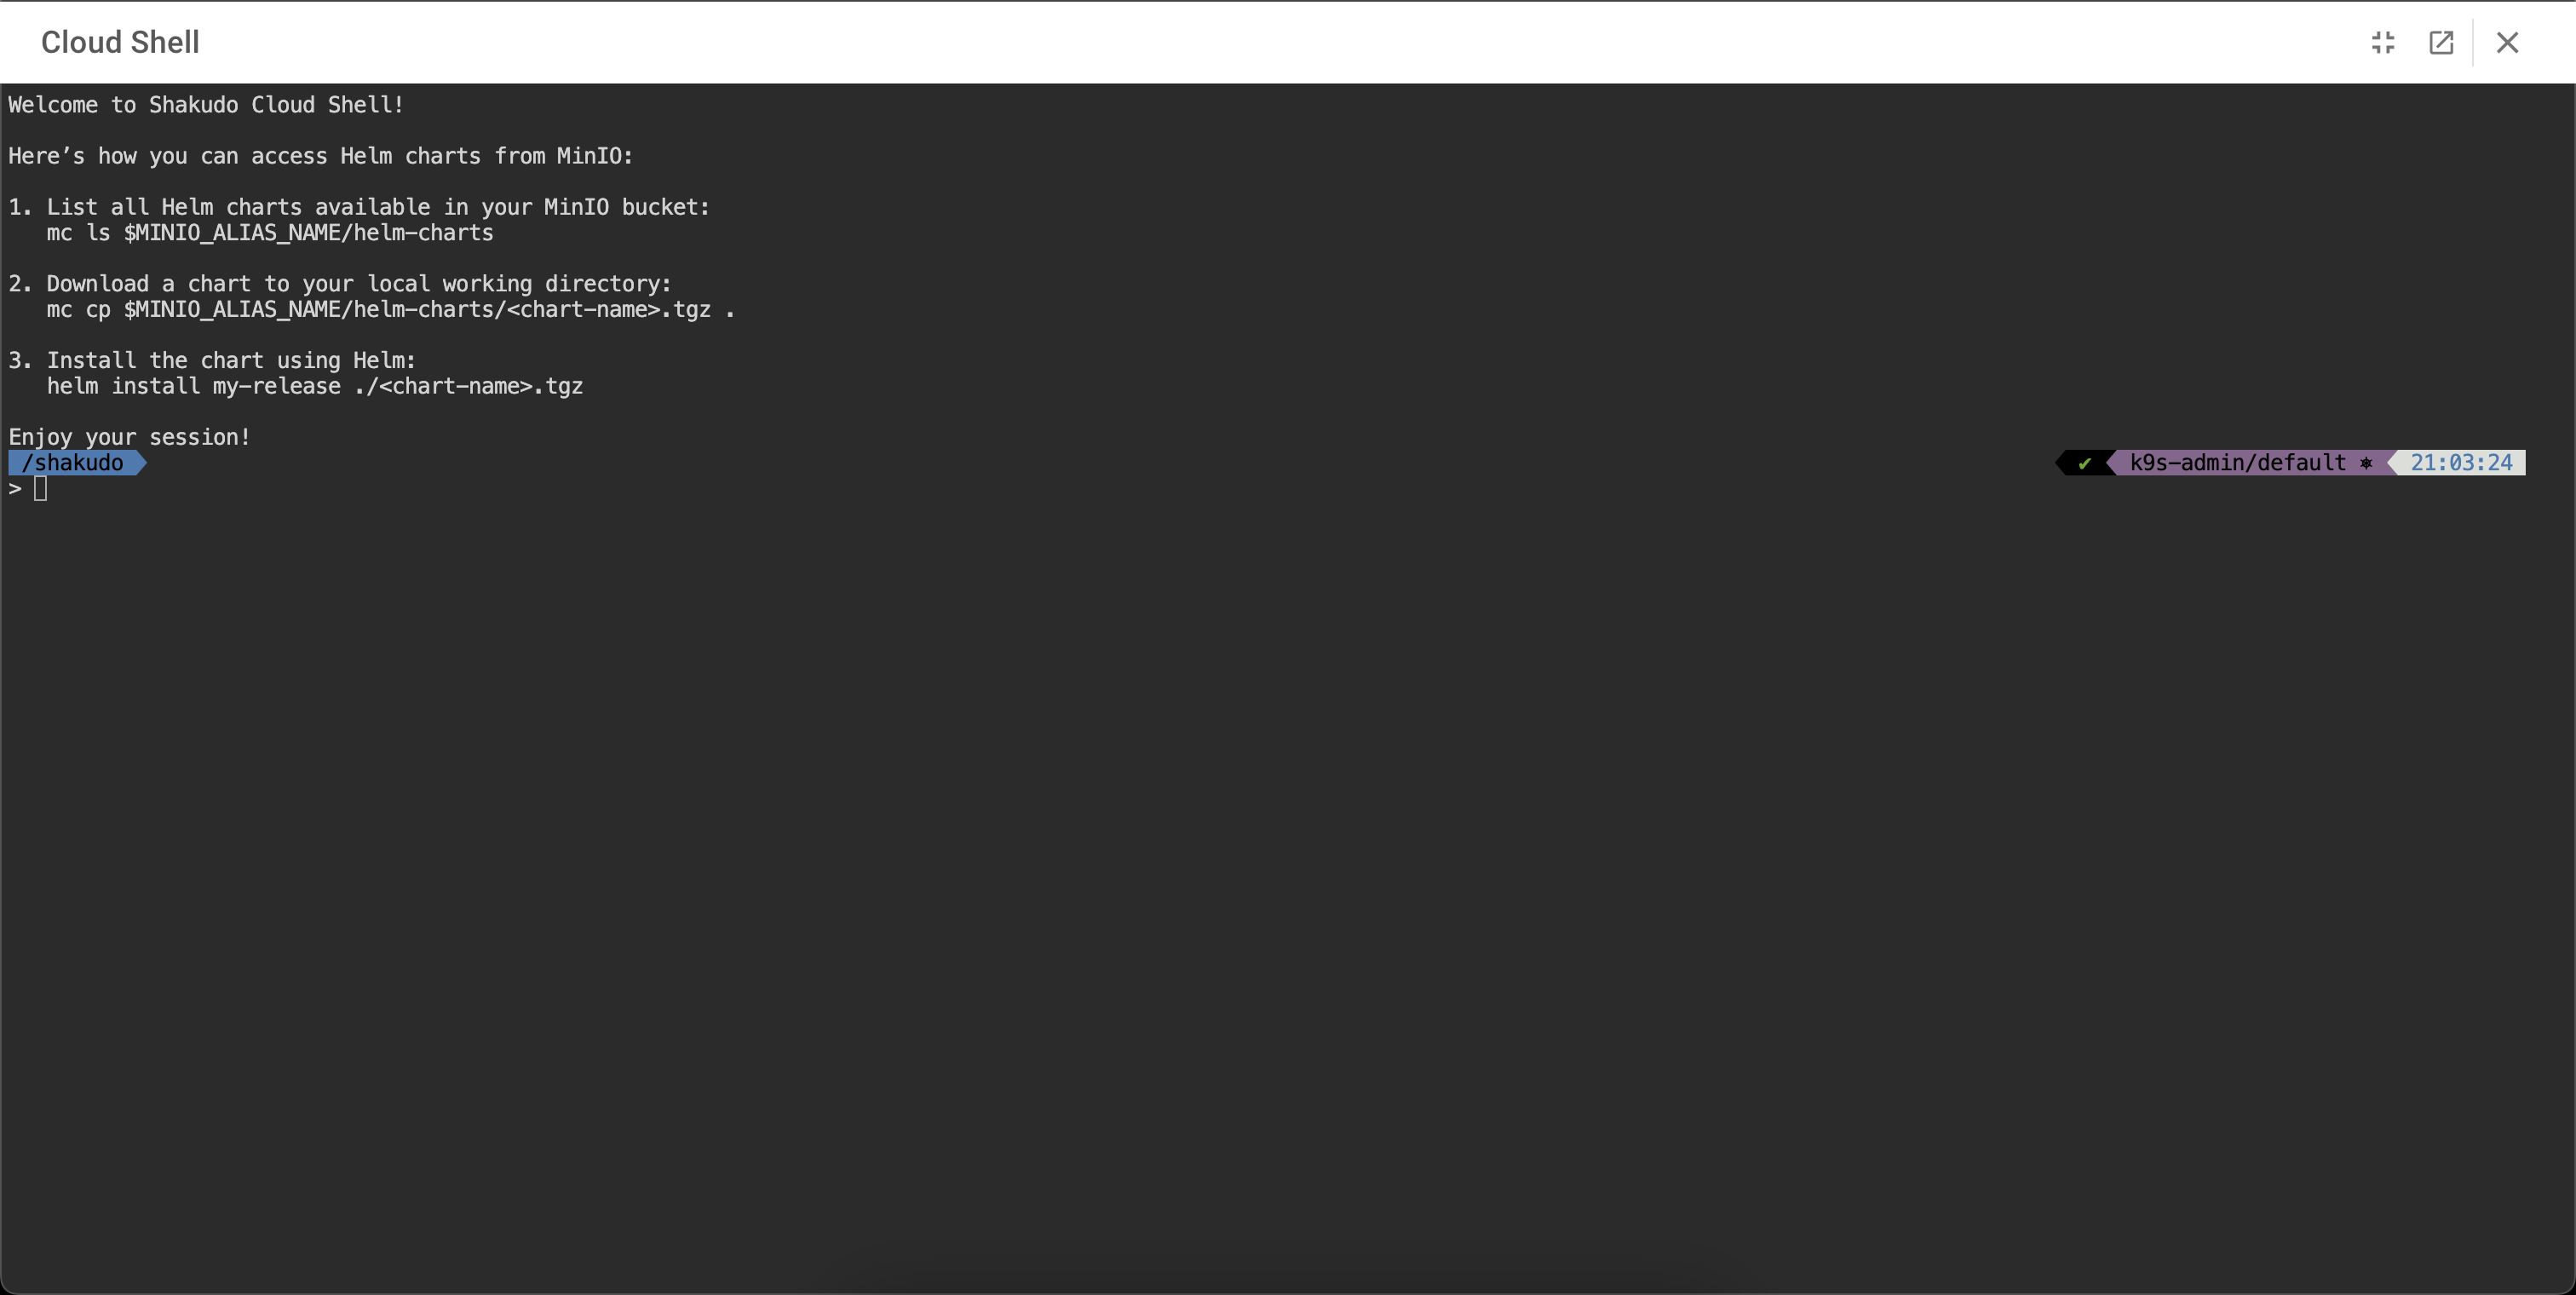
The Shakudo Cloud Shell is an all-in-one, browser-based command-line interface designed to offer Shakudo users seamless and secure access to their cloud environments. With admin kubectl permissions, it allows users to perform administrative tasks, granting full control over their Shakudo clusters without the need for external setups or local configurations.
This versatile tool streamlines the management of Shakudo resources by enabling direct execution of development, testing, deployment, and troubleshooting tasks. Whether it's deploying applications, inspecting resources, or managing configurations, the Shakudo Cloud Shell ensures a frictionless experience by providing a fully pre-configured terminal with all the necessary tools.
Equipped with essential tools such as kubectl, helm, and k9s, users can efficiently interact with Kubernetes clusters, manage Helm charts, and monitor resources. Additionally, it comes integrated with advanced AI-powered utilities like ai-shell, enhancing productivity by providing intelligent command suggestions and automation capabilities.
In essence, the Shakudo Cloud Shell simplifies cloud operations by offering a robust, user-friendly environment tailored for developers, DevOps teams, and data scientists working within the Shakudo ecosystem.

Installing Stack Components using their Shakudo Helm Charts
What are Helm Charts?
Helm is a package manager for Kubernetes that simplifies the deployment and management of applications. A Helm chart is a collection of YAML templates and configurations that describe a set of Kubernetes resources required to deploy an application.
Tools and Environment
You will be using the Shakudo Cloud Shell, which comes pre-installed with Helm, Kubernetes CLI (kubectl), and other essential tools. Since permissions are already configured, you can directly install charts from the Shakudo registry.
Step-by-Step Guide of installing a Stack Component
1. Dry Run the Installation (Helm --dry-run=server)
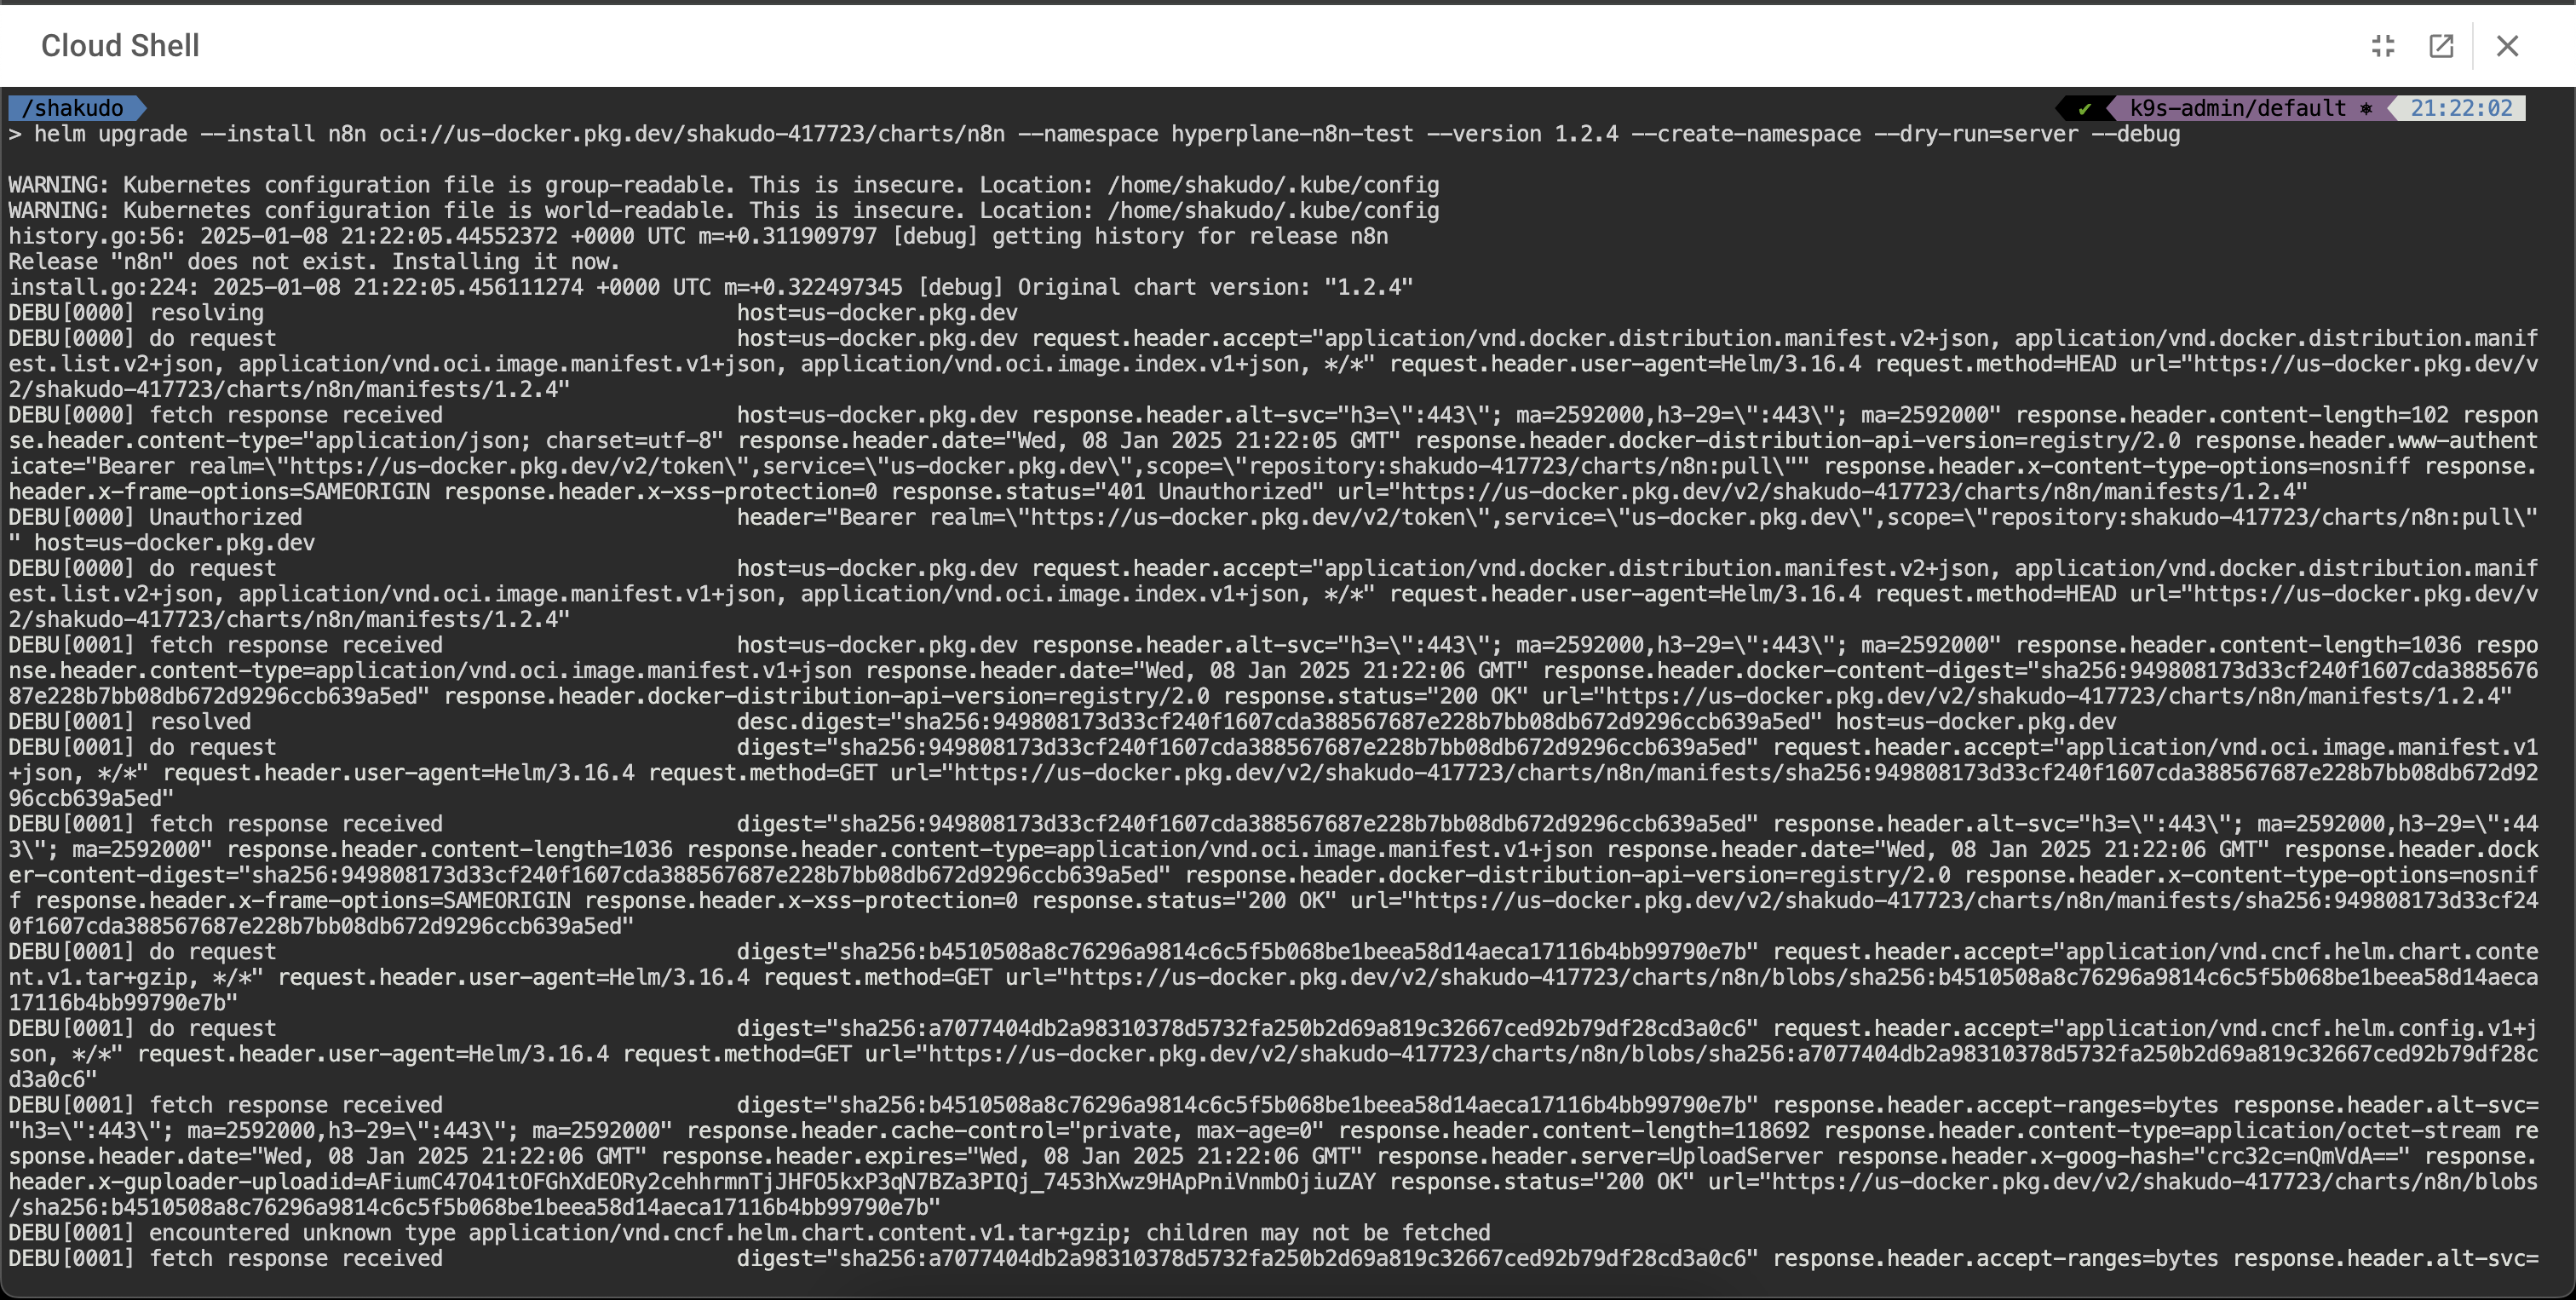
Before performing the actual installation, it’s a good practice to execute a dry run to ensure that the command will succeed without errors:
helm upgrade --install n8n oci://us-docker.pkg.dev/shakudo-417723/charts/n8n --namespace hyperplane-n8n-test --version 1.2.4 --create-namespace --dry-run=server --debug
This will simulate the installation and output what changes will be made, helping you verify that the installation parameters are correct.

2. Installing the n8n Stack Component (Example)
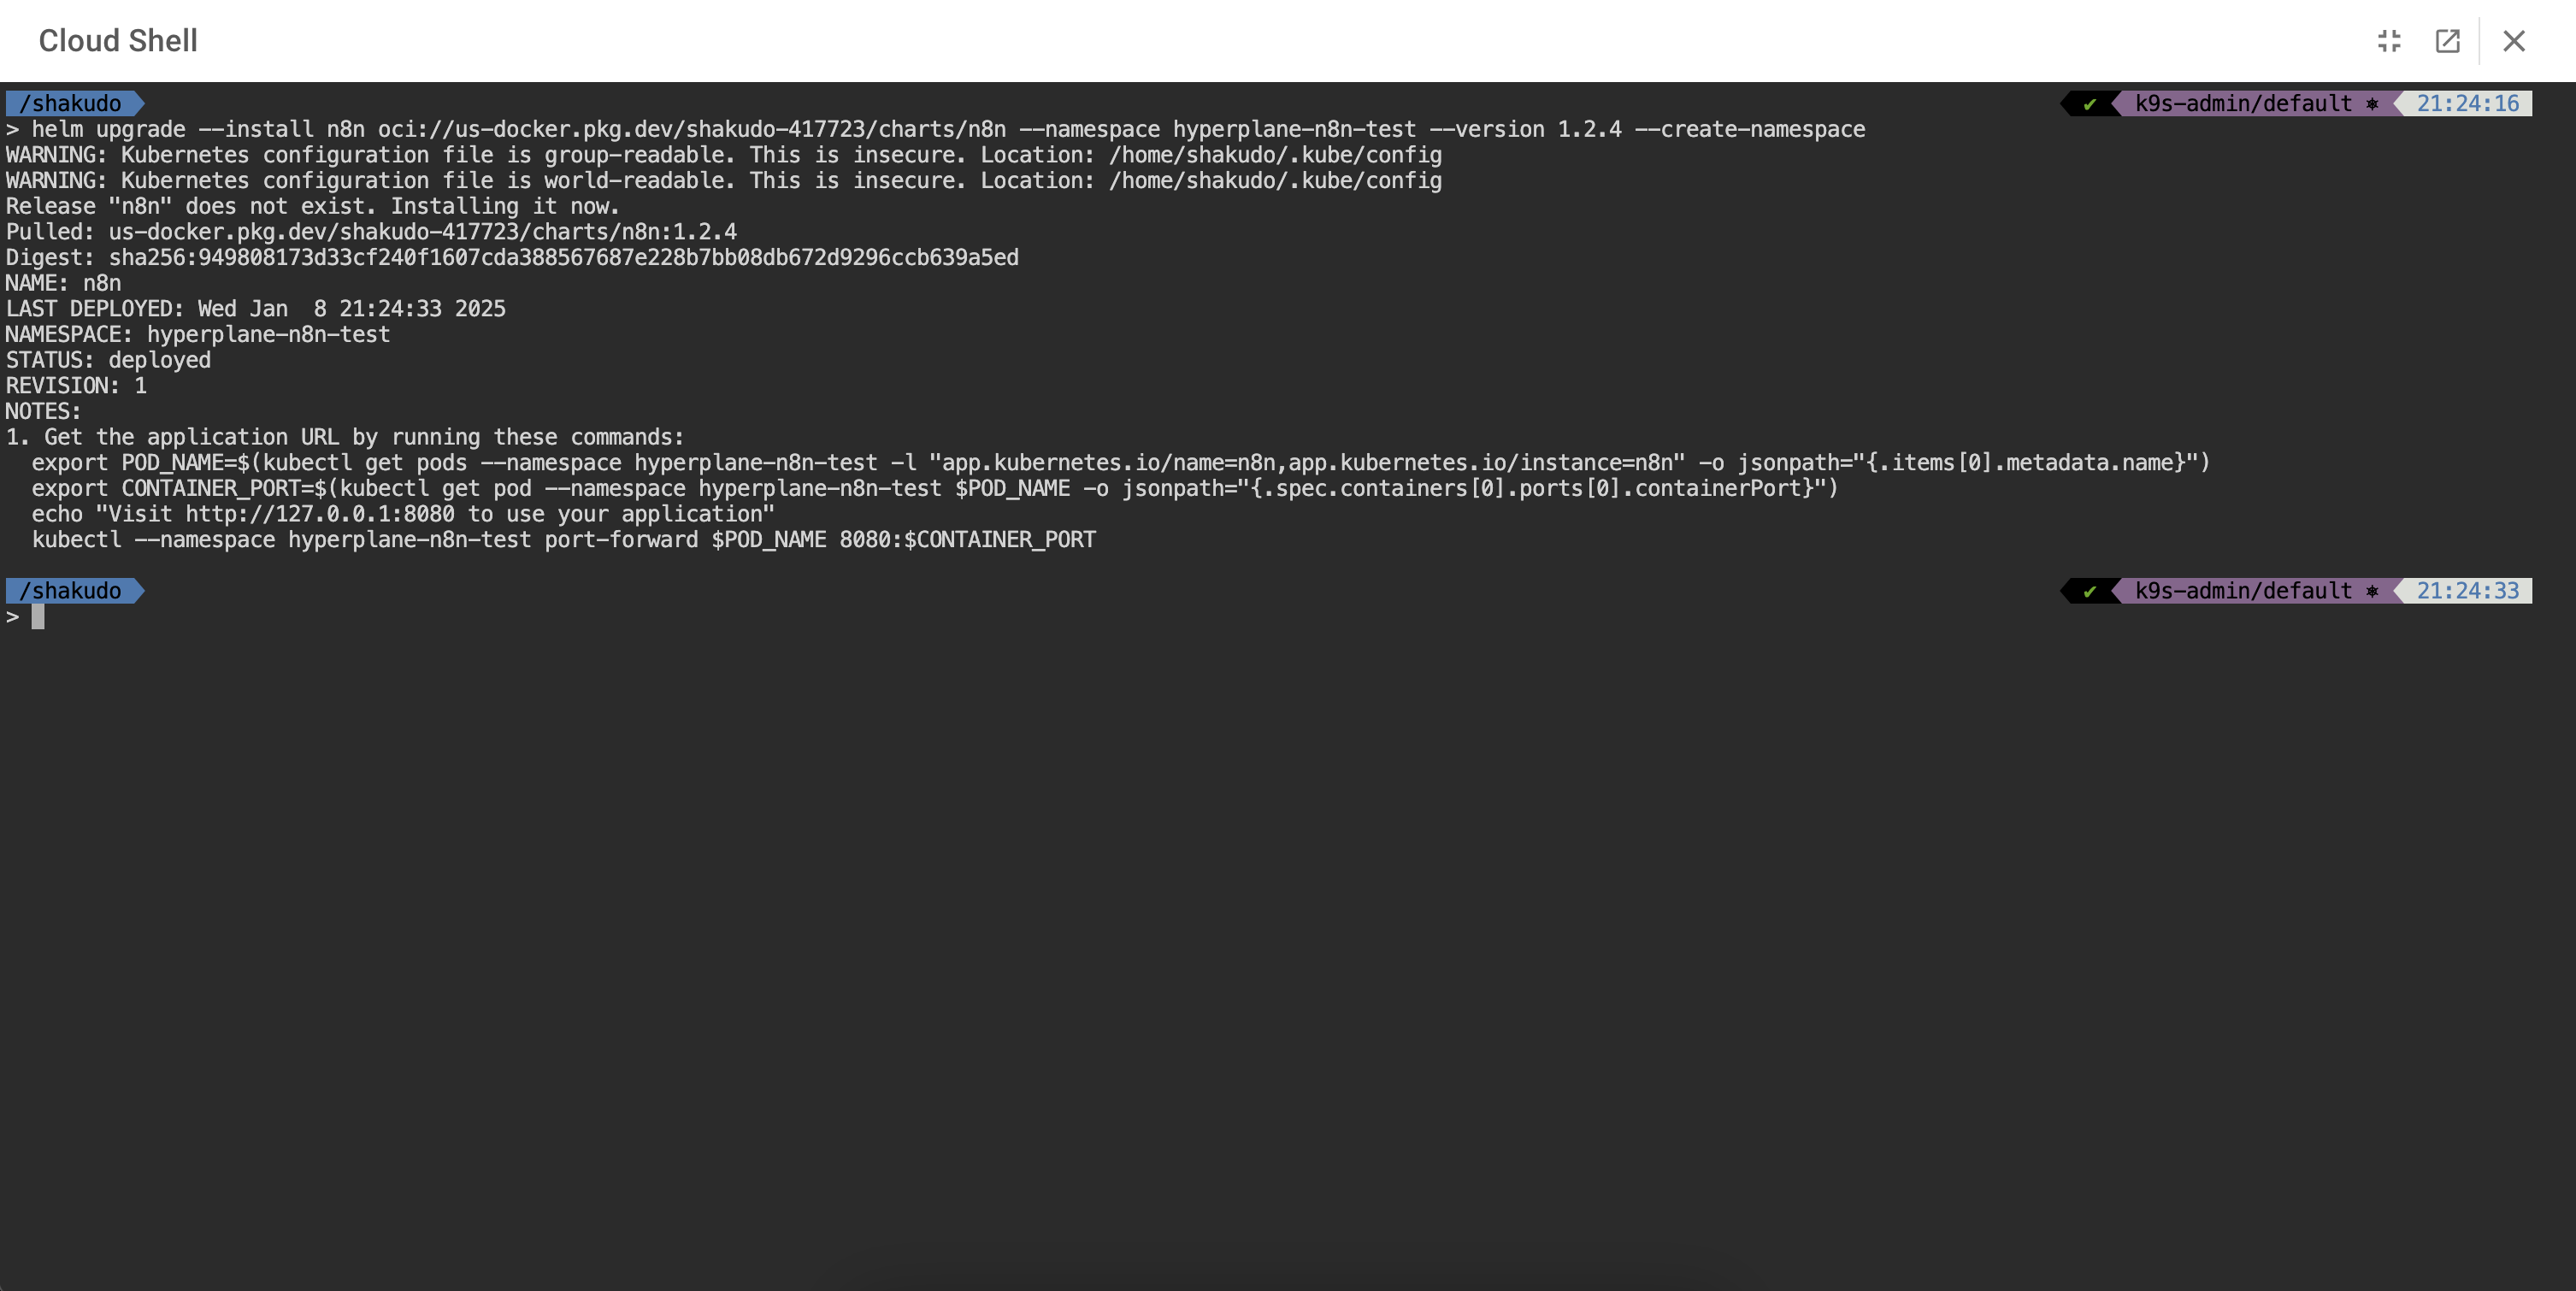
Let’s assume you want to install the n8n stack component, version 1.2.4, in the hyperplane-n8n-test namespace.
- Run the following command to install or upgrade the
n8nchart:
helm upgrade --install n8n oci://us-docker.pkg.dev/shakudo-417723/charts/n8n --namespace hyperplane-n8n-test --version 1.2.4 --create-namespace

Explanation:
upgrade --install: Ensures that if the release does not exist, it will be installed; otherwise, it will be upgraded.n8n: This is the release name you assign. You can choose any meaningful name.oci://us-docker.pkg.dev/shakudo-417723/charts/n8n: Refers to then8nHelm chart stored in the Shakudo registry.--namespace hyperplane-n8n-test: Specifies the Kubernetes namespace where the component will be installed.--version 1.2.4: Ensures that version1.2.4of then8nchart is installed.--create-namespace: Creates the namespace if it does not already exist.
3. Verifying Installation
After the installation completes, verify the deployed resources:
List Helm releases:
helm list --namespace hyperplane-n8n-test

Check Kubernetes resources:
kubectl get all --namespace hyperplane-n8n-test
This will display all the resources associated with the n8n stack component, such as pods, services, and deployments.

4. Customizing Installation with valuesOverride.yaml
If you need to customize the deployment, you can use a valuesOverride.yaml file to override default chart values. Here’s an example valuesOverride.yaml file for n8n:
# valuesOverride.yaml - you may want to name this different as there may be multiple values file for different stack components
resources:
  limits:
    cpu: "5000m"
    memory: "12Gi"
To install the chart with custom values, use:
helm upgrade --install n8n oci://us-docker.pkg.dev/shakudo-417723/charts/n8n --namespace hyperplane-n8n-test -f valuesOverride.yaml
Important Notes
- Permissions: Shakudo Cloud Shell is pre-configured with the necessary permissions, so you do not need to set up additional roles or service accounts.
- Namespace Management: Always specify the correct namespace during installation to avoid conflicts.
- Version Control: It’s important to specify the exact version of the Helm chart you want to deploy to ensure consistency across environments.
- Dry Run Before Install: Using
--dry-runbefore actual installation helps catch potential issues in advance and ensures a smooth deployment.
By following these steps, even users new to Kubernetes and Helm can successfully deploy and manage Stack Components using the Shakudo Cloud Shell.