Sessions
A Session is a platform component designed for interactive development. It provides access to compute resources in a workspace initialized with pre-configured environments. The specific resource and environment configuration is customizable.
Sessions also provide several options to start developing on them, including through in-browser IDEs like JupyterLab or VSCode, or an ordinary ssh session which can be used by standalone VSCode, or any other tool.
Shakudo undergoes frequent updates, and the documentation may be out of sync with your current deployment. However, the same principles remain applicable regardless of the specific interface currently in place.
Get started with Sessions
From the homepage, click the "start a session" button
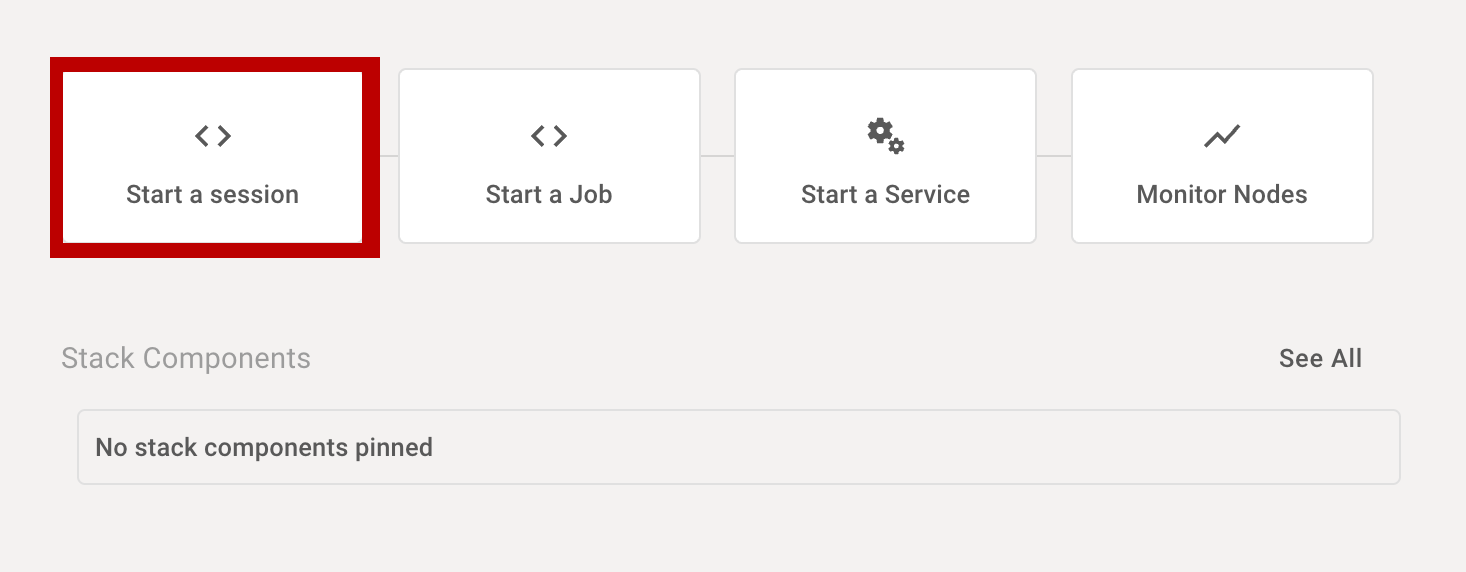
note
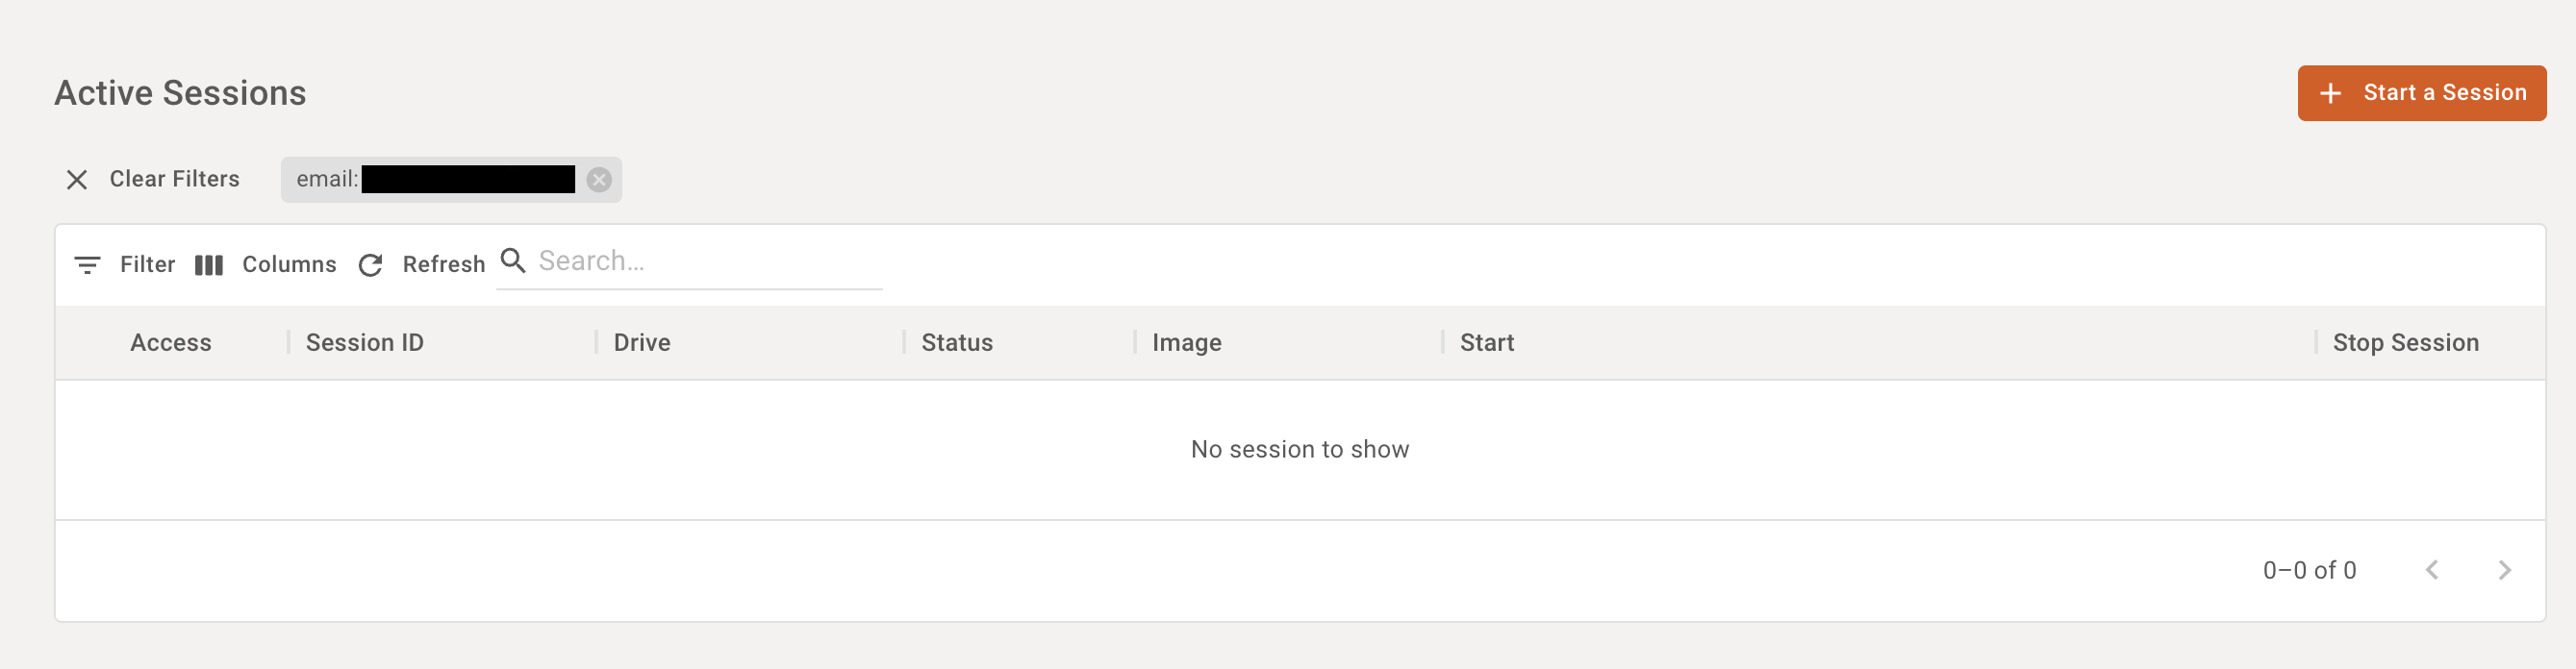
Alternatively, click the "start a session" button on the Sessions screen
Choose which type of session you’d like to use as your development environment
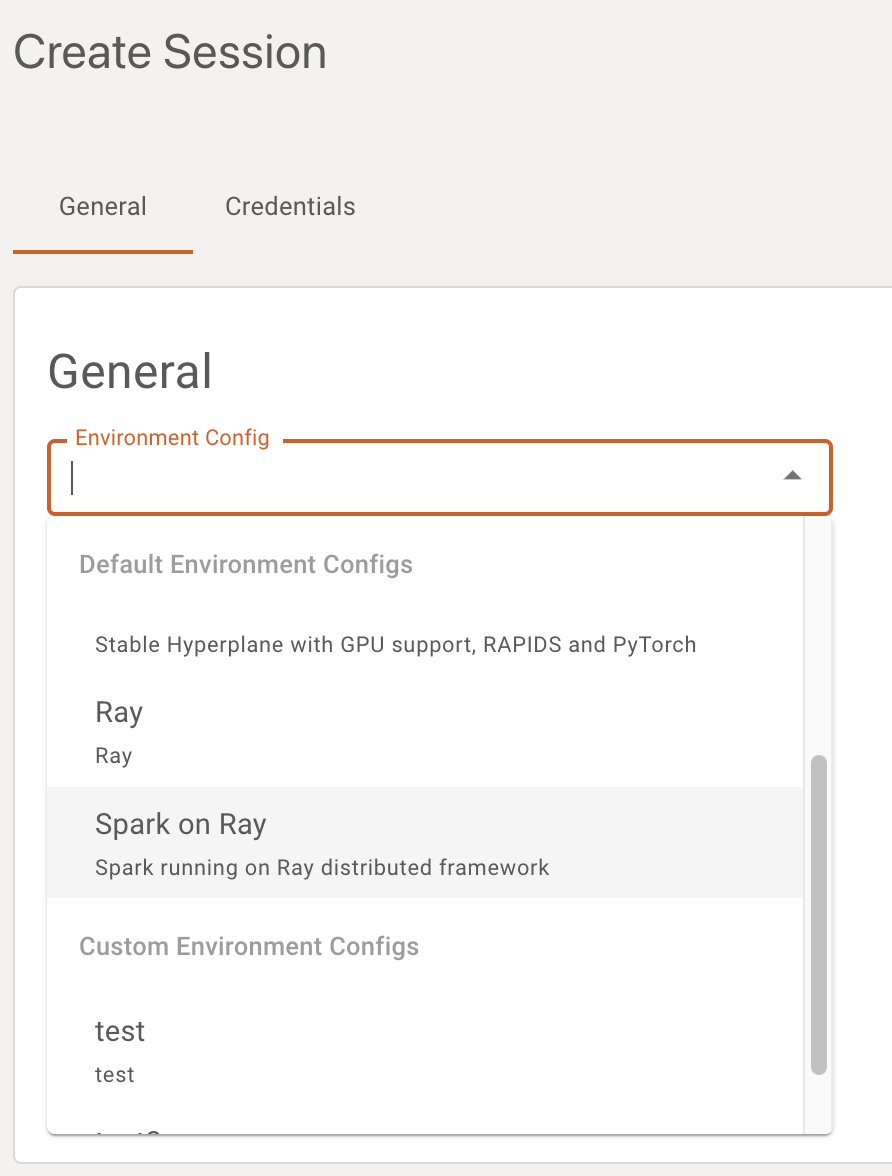
note
Optionally, setup any other details, like which drive or docker image to use
Click "start session" at the bottom of the page
note
The session spin-up may take a few seconds to a few minutes depending on your session type.
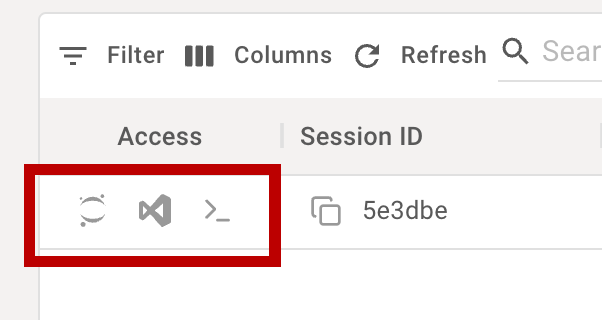
Once your session is ready, click an access button to connect to the session. Pictured from left to right: in-browser jupyterlab, in-browser vscode, ssh connection string.
note
while a session may appear as "running" or "active", until the access buttons beyond ssh appear (e.g. the jupyterlab and vscode access buttons), it may not yet have initialized all its components. If a connection cannot be established, it may simply be because the session is completing initialization. That is most likely the case if you do not see an error in the session logs.
Configurations
Session Type
The session type that you choose in the session creation popup will prepare your Session with a pre-configured development environment. Relevant packages, frameworks and tools will be made available and the environment will expose the selected hardware.
Details on what resources, volumes, and YAML are used for each of the session types can be found by navigating to the Environment Configs tab on the dashboard and clicking on the card for more details.
Contact us for any images that we do not currently support.
Timeout
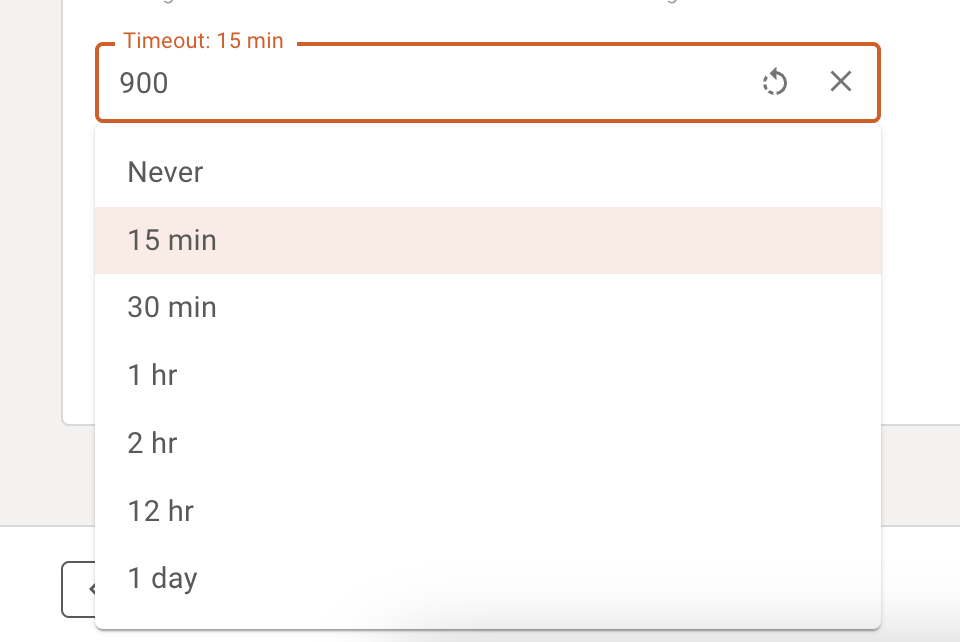
Set the Session timeout to your desired session lifetime. The time may be specified as an arbitrary value, in seconds. To disable the timeout completely, enter -1. Alternatively, a dropdown list of common expiry times is provided for convenience.
In the case of in-browser sessions, this value will be interpreted as an idle timeout and will reset every time activity starts again in the session.
For SSH connections, it is an absolute timeout: the session will terminate after the specified amount of time has elapsed since session spin-up.
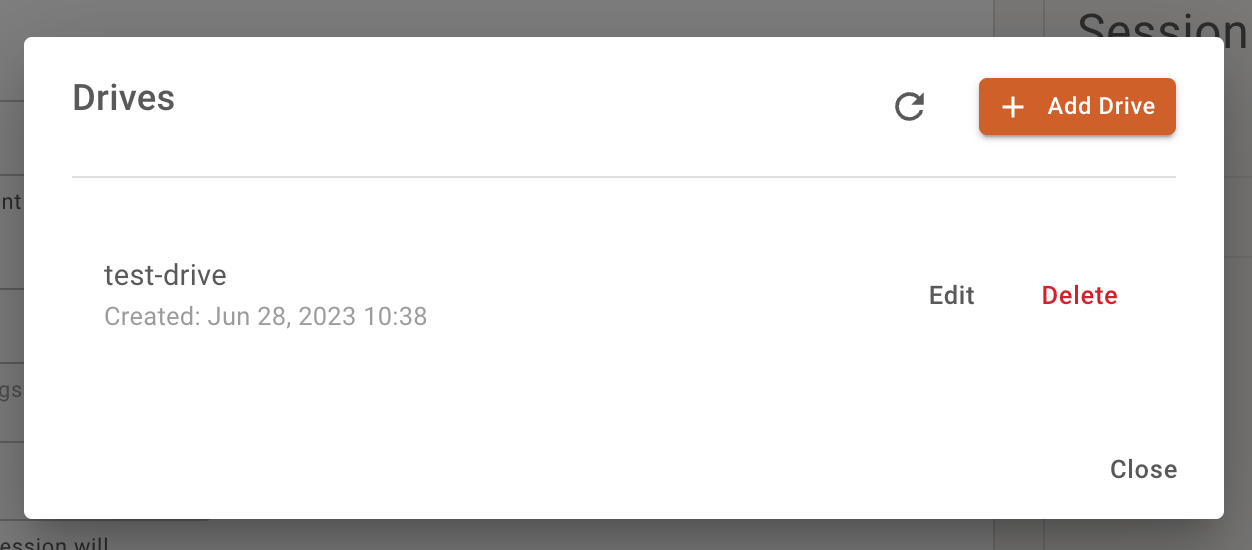
Drive Name - Spinning up multiple Sessions
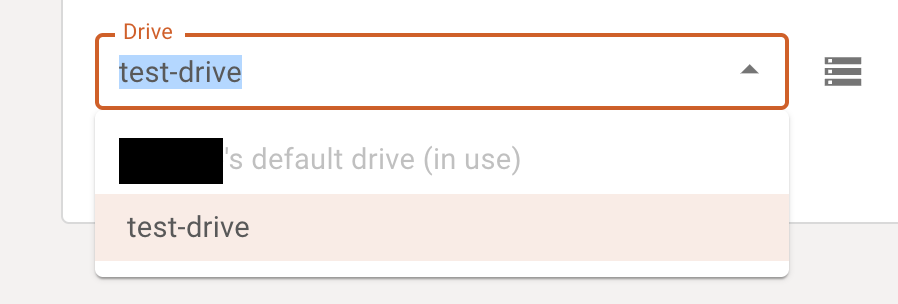
Each Session is connected to a drive containing your files and folders. Drives may only be used in one session at a time.
Each user has a default drive (called <username>'s default drive). Users can spin up multiple sessions by selecting a new drive or creating one if all drives are in use. The default drive is only accessible by the corresponding user, other (created) drives are accessible by anyone.
To create a drive, click on the drive management icon next to the Drive selection dropdown, then click the "add drive" button.