Integrating git into Sessions Jupyterlab
Jupyter users have often had difficulties applying version control with git to Jupyter notebooks, as commit histories have not clearly displayed changes made to Jupyter cell code, as would be present with traditional source code. Instead commit diffs have been cluttered by metadata updates for the notebook itself. As part of the nbdev2 package, developers at fast.ai have created a series of git workflows to address these issues.
In this tutorial we'll walk you through a basic example of setting up the appropriate git hooks and then show a sample demonstration of what handling version control will look like. The nbdev package comes pre-installed in all Shakudo images.
Features
All of the following features work under the hood to ensure that git commits are clean and allow for better integration between Jupyter and git.
Merging notebooks with git
Jupyter has often had a problem with handling merge conflicts, often causing notebooks to break. nbdev iincludes a merge driver that leaves conflicts in a state that is appropriate for Jupyter. It works in all git commands that use merge under the hood, including merge, pull, rebase, and stash.
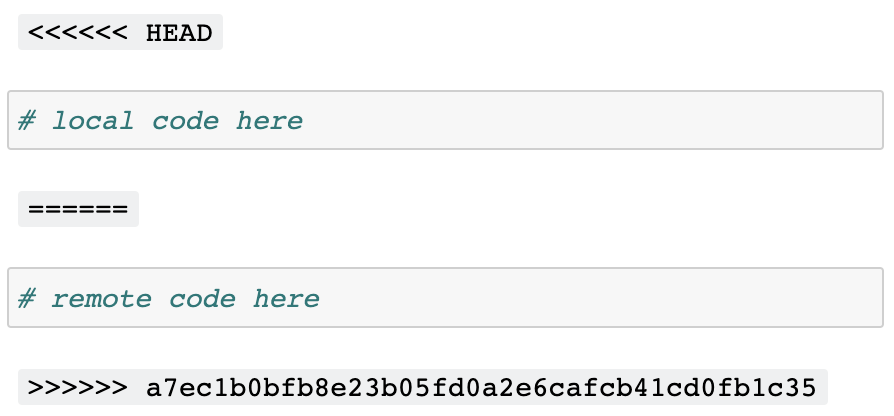
Here’s what the conflict looks like in Jupyter with nbdev’s merge driver:
For more information on the underlying functionality, read the following docs.
Making commits with clean diffs
Jupyter notebooks store a variety of metadata that tend to pollute diffs in pull requests and git histories that often cause merge conflicts. nbdev includes a hook that cleans up unnessesary metadata that reduces the presence of insignificant changes.
  {
   "cell_type": "code",
-  "execution_count": 1,
+  "execution_count": 2,
   "metadata": {
     "hide_input": false
  }
vs
{
  "cell_type": "code",
  "execution_count": null,
  "metadata": {}
}
For more details on functionality, read the following blog post.
Tutorial
1. Start a Session
- Navigate to the Sessions tab on the dashboard
- Click the + Start a Session button. You will see a dialog window to start a session like the image below.
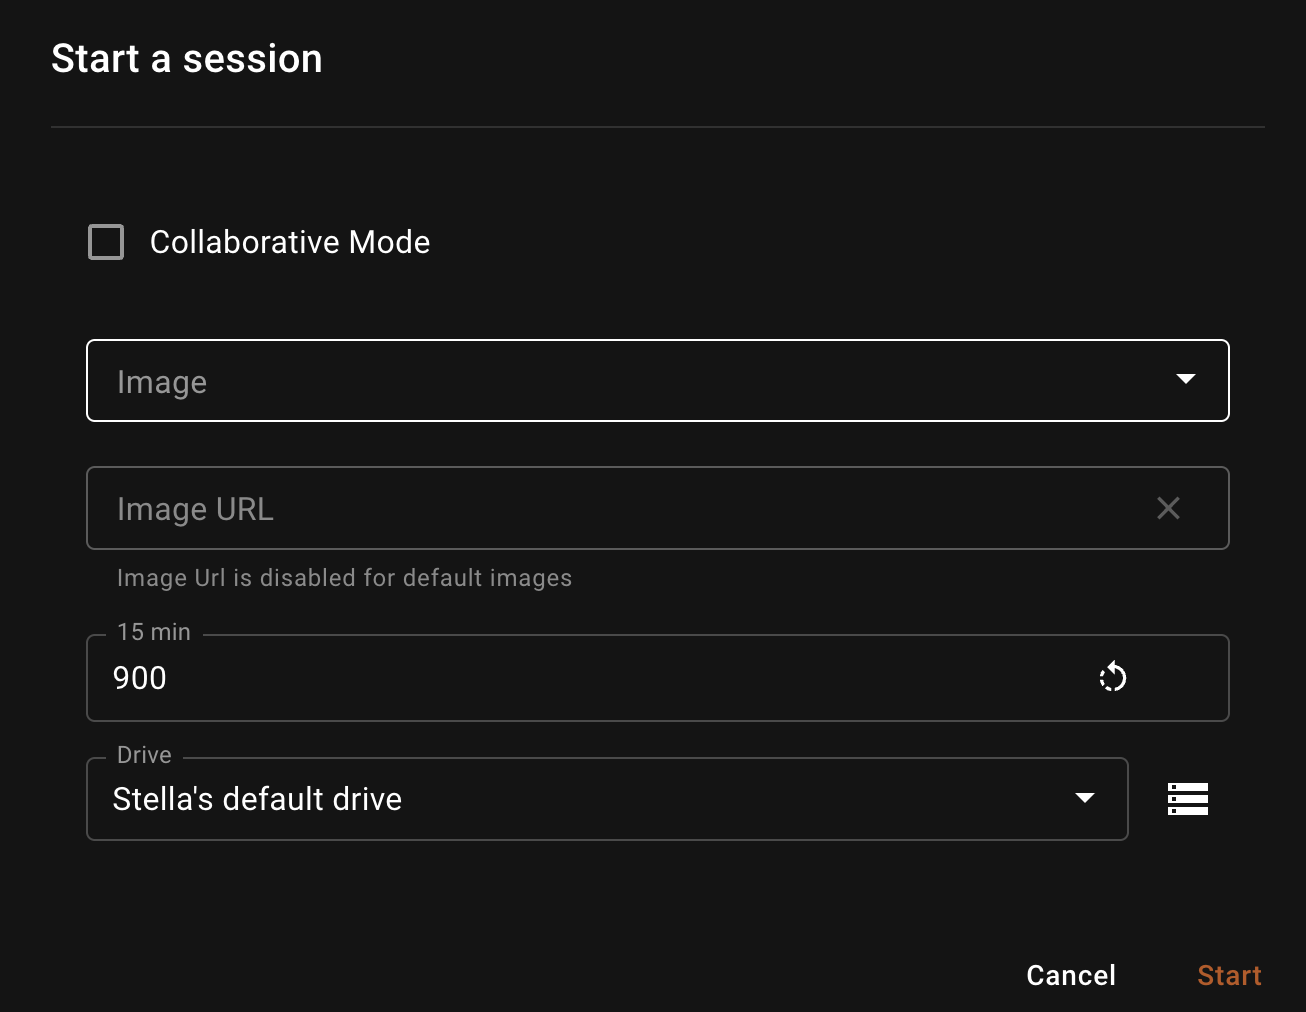
Image: Choose the image type to use in the session. In this example, we are going to use the
Basicimage in the dropdown. For more information on Session Types and other configurations check out the Guide on Sessions.ImageURL: You can paste any image URL in the Image Url field. This will overwrite the
Imageabove field that we have chosen and use the ImageURL instead. As we will be using theBasicimage, we will be skipping this.Timeout: Choose the idle timeout for the session. Idle timeout is defined as the number of seconds from which the session has been continuously idling. The default is 15 minutes.
Drive: Drive is the persistent volume that this session will use. Persistent volumes is a Kubernetes term, imagine it as a hard drive in a laptop. You can have multiple drives and manage your drives by clicking on the icon to the right of the
Drivefield. Select the drive you'd like to stick with for this session.
2. Access the Session
Once the Session is ready, you'll see a Jupyterlab icon among other options. Select the Jupyterlab option to begin using Jupyterlab.

3. Set up git
Within the Session Jupyterlab, users are able to use a terminal application to enter Linux commands.
Select the terminal application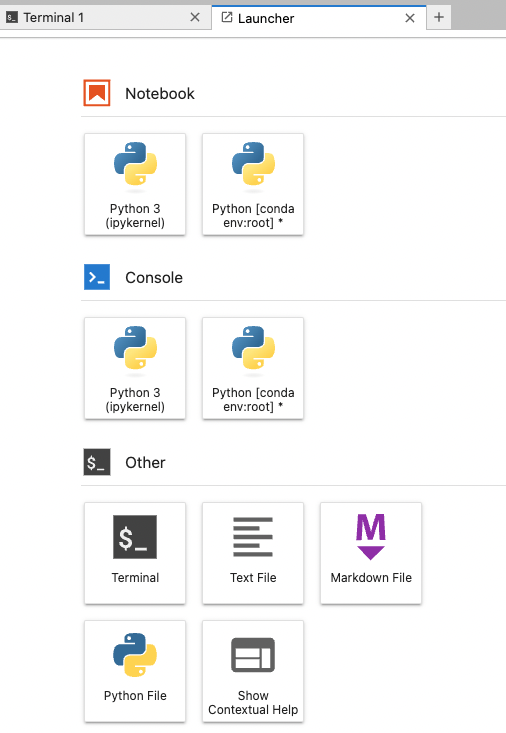
3.1 Set up ssh access to GitHub repositories
The standard method of connecting to GitHub securely is to set up Secure Shell Protocol (SSH) connections with GitHub when making any changes to a repository. This will only have to be done once per drive, as the portion necessary to establish connections will reside within the drive.
If you have done this previously, feel free to move on to creating the git repository.
- Run the following command, substituting in your GitHub email.
ssh-keygen -t ed25519 -C <your_email@example.com>
When prompted with "Enter a file in which to save the key", feel free to press "Enter" to accept the default file location. If you have previously created SSH keys it may cause you to rewrite that other key, so feel free to chance the location of the new key.
When prompted to type in a secure passphrase, feel free to enter in a passphrase of your choice. To avoid entering the passphrase every time you connect, you can securely save your passphrase in the SSH agent. Here's more information on how to work with the passphrase.
Start the ssh-agent.
eval "$(ssh-agent -s)"
- Add your SSH private key to the ssh-agent. If you changed the name of your key, feel free to substitute out
id_ed25519with the name.
ssh-add ~/.ssh/id_ed25519
- Copy the SSH public key to your clipboard.
 cat ~/.ssh/id_ed25519.pub
   # Then select and copy the contents of the id_ed25519.pub file
   # displayed in the terminal to your clipboard
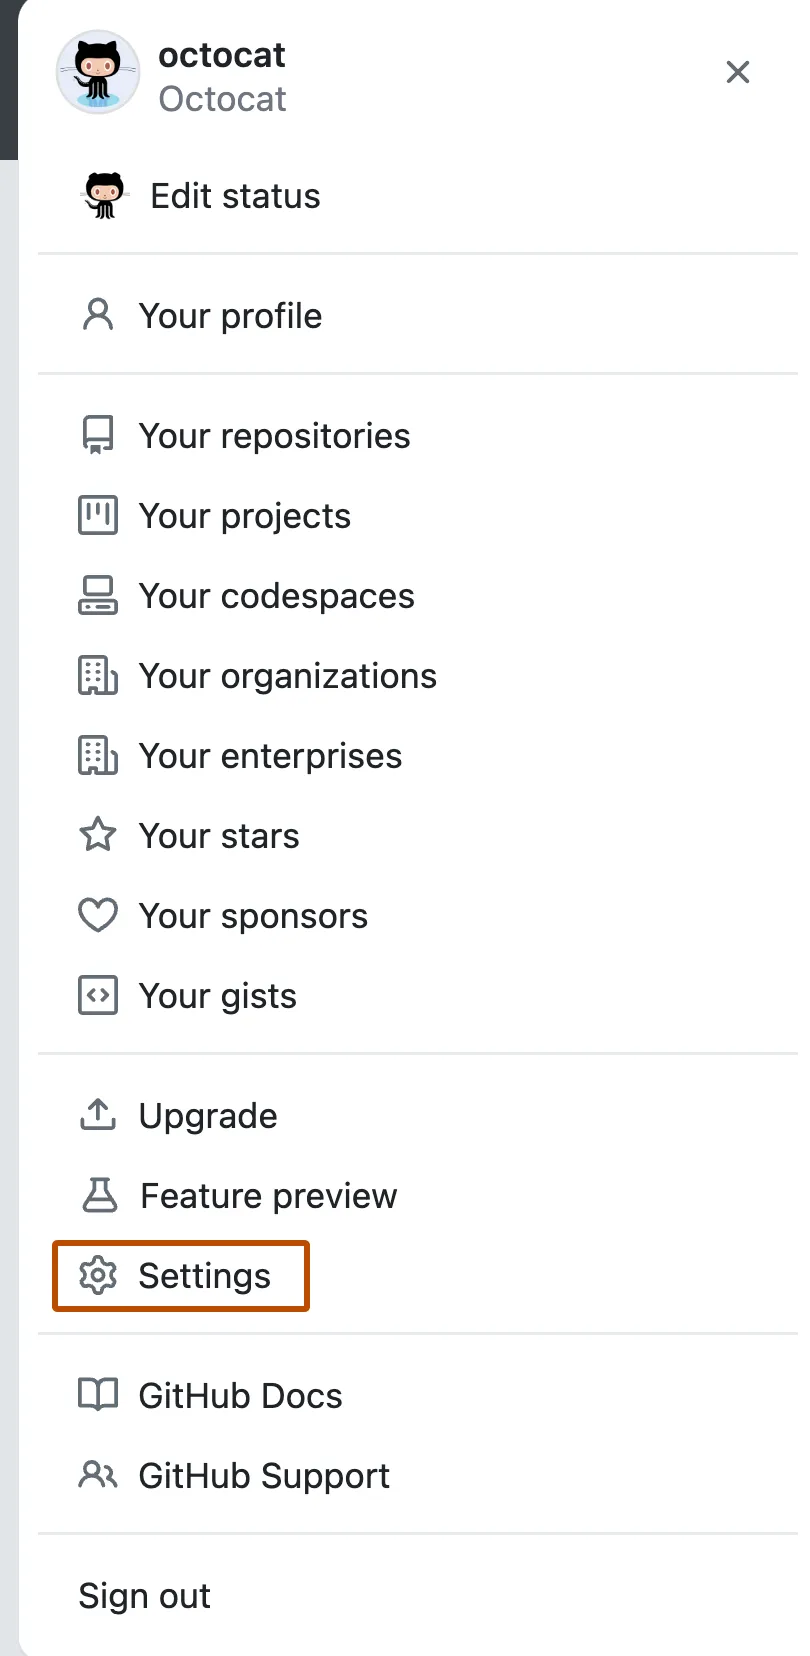
- In GitHub, in the upper-right corner of any page, click on your profile photo, then click on Settings.
In the "Access" section of the sidebar, click "SSH and GPG keys".
Click New SSH key.
In the "Title" field, add a descriptive label for the key.
In the "Key" field, paste your public key.
For more details, read the following docs.
3.2 Set up git repository
Create a new repository
New repository
mkdir <new directory>
cd <new directory>
echo "# New repository" >> README.md
git init
git add README.md
git commit -m "first commit"
git branch -M main
git remote add origin <remote repository url starting with git@github.com>
git push -u origin main
or clone an existing repository within the current directory.
Existing repository
git clone <remote repository url starting with git@github.com>
cd <repo name>
4. Verify that nbdev2 is installed
nbdev 2.0+ is the package required to use the current functionality. All default Shakudo images currently have nbdev2. Run this command to determine whether you have nbdev 2.0+
pip show nbdev
If not, install by running
pip install nbdev
Then check by running
pip show nbdev
5. Set up nbdev git hooks
As mentioned, nbdev uses git hooks to clean up git commits and allow for version control compatibility.
Within the base directory of the repo, type in the following:
nbdev_install_hooks
The response after running this command should be Hooks are installed.
Now you should be able to use git alongside Jupyter properly. For further support in installing nbdev git hooks, follow this tutorial.
Example
Here is an example of creating a Jupyter notebook file and seeing merge conflicts occur within the notebook.
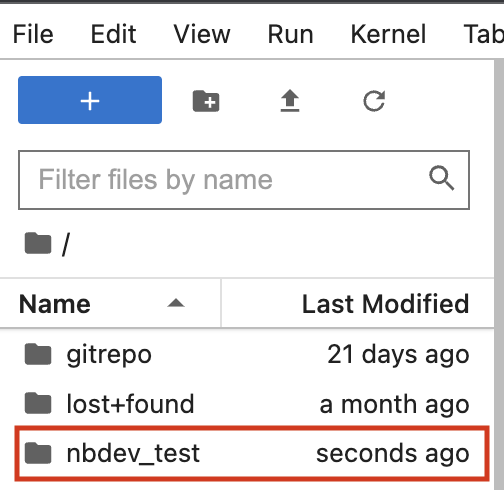
1. Verify that you are within the git repository within the graphical interface
The sample git repository has the name nbdev_test, so that is the directory that will be used.

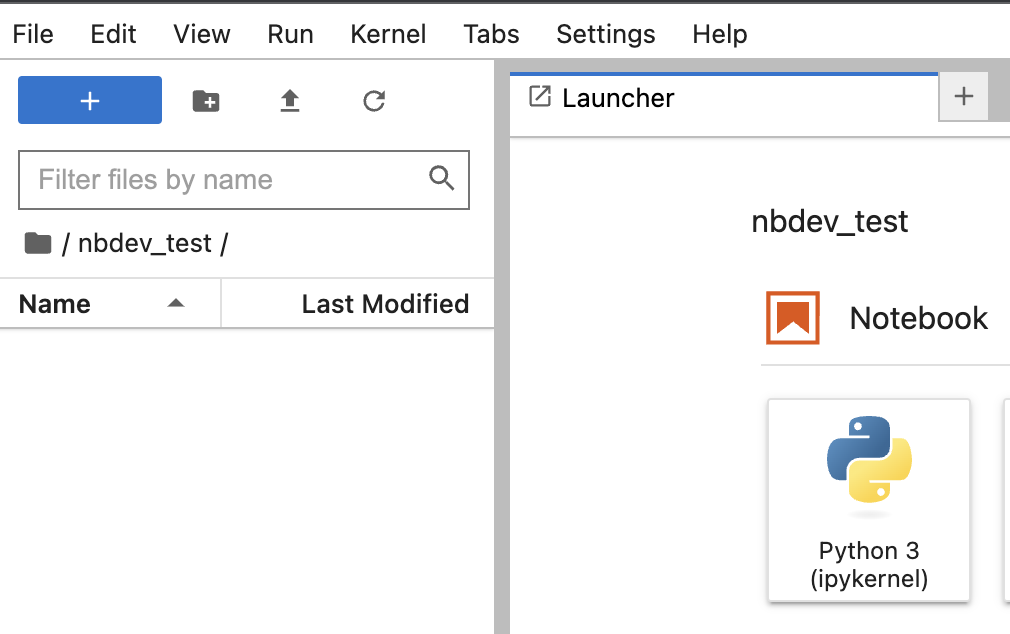
2. Create a notebook through Jupyterlab
3. Commit the new notebook to git
From the base directory of the repo.
git add .
git commit -m "Add blank notebook"
4. Create a new branch from the current branch
git checkout -b merge_branch_1
Where merge_branch_1 is a sample branch name.
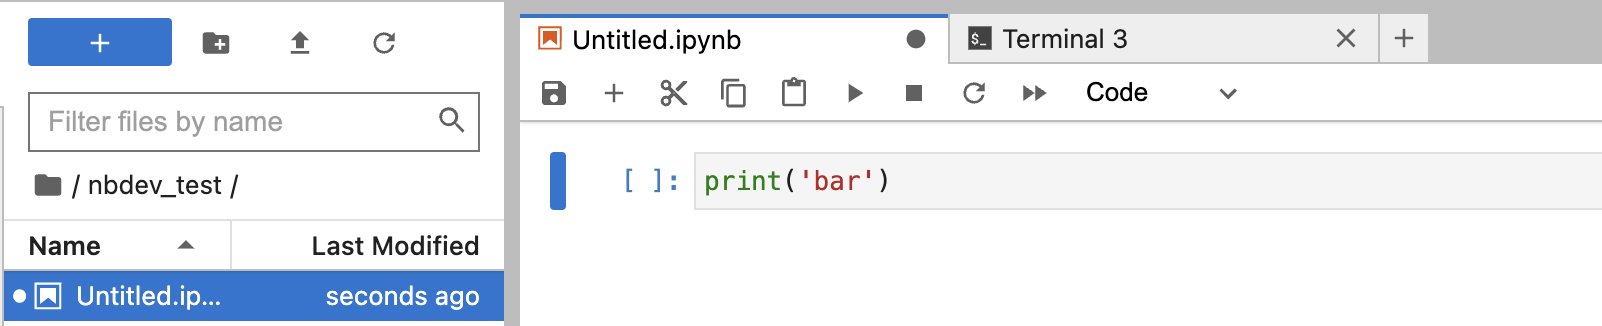
5. Enter text within the first cell and press save (CTRL/CMD+S)

6. Commit the file
git add .
git commit -m "Add foo print"
7. Checkout the parent branch
git checkout main
Feel free to replace main with whatever branch merge_branch_1 was based on.
8. Create another branch from the current/base branch
git checkout -b merge_branch_2
Where merge_branch_2 is a sample branch name.
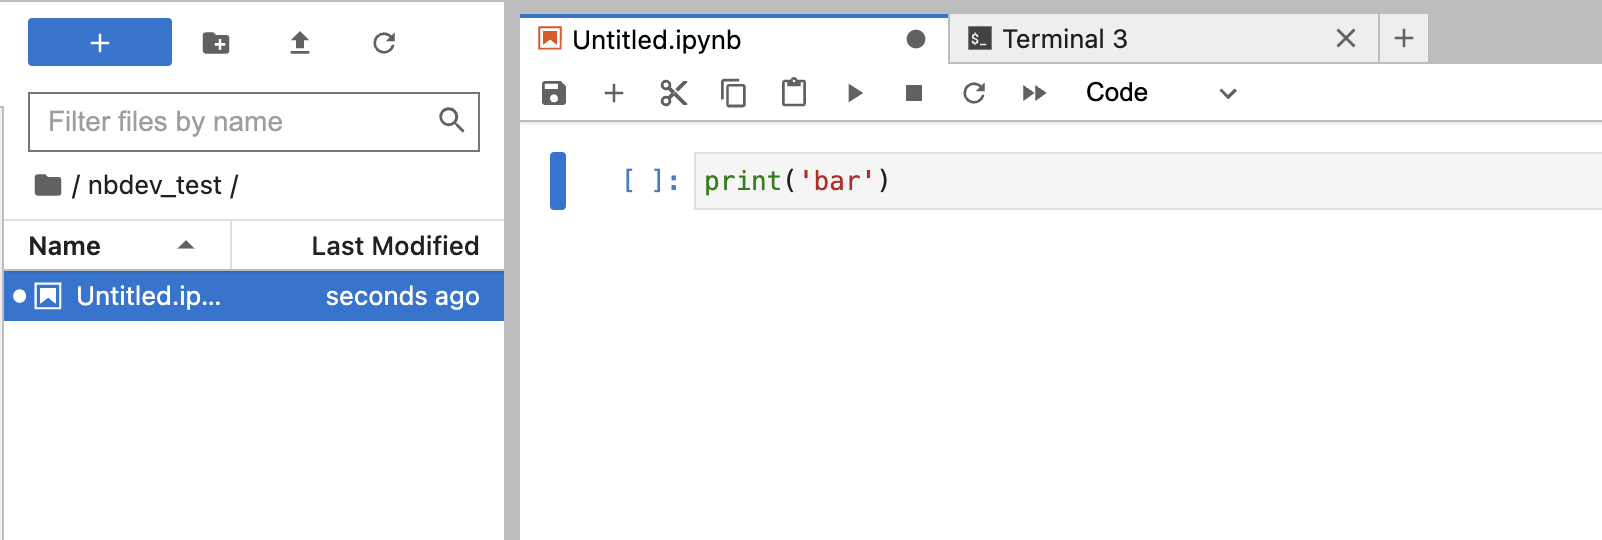
10. Enter differing text within the first cell and press save (CTRL/CMD+S)
11. Commit the file
git add .
git commit -m "Add bar print"
12. Run a merge from merge_branch_1 and check for merge conflict in Jupyter
git merge merge_branch_1
You will need to re-open the Jupyter notebook to see the new update.
You will now be able to see a merge conflict displayed cleanly in your notebook.
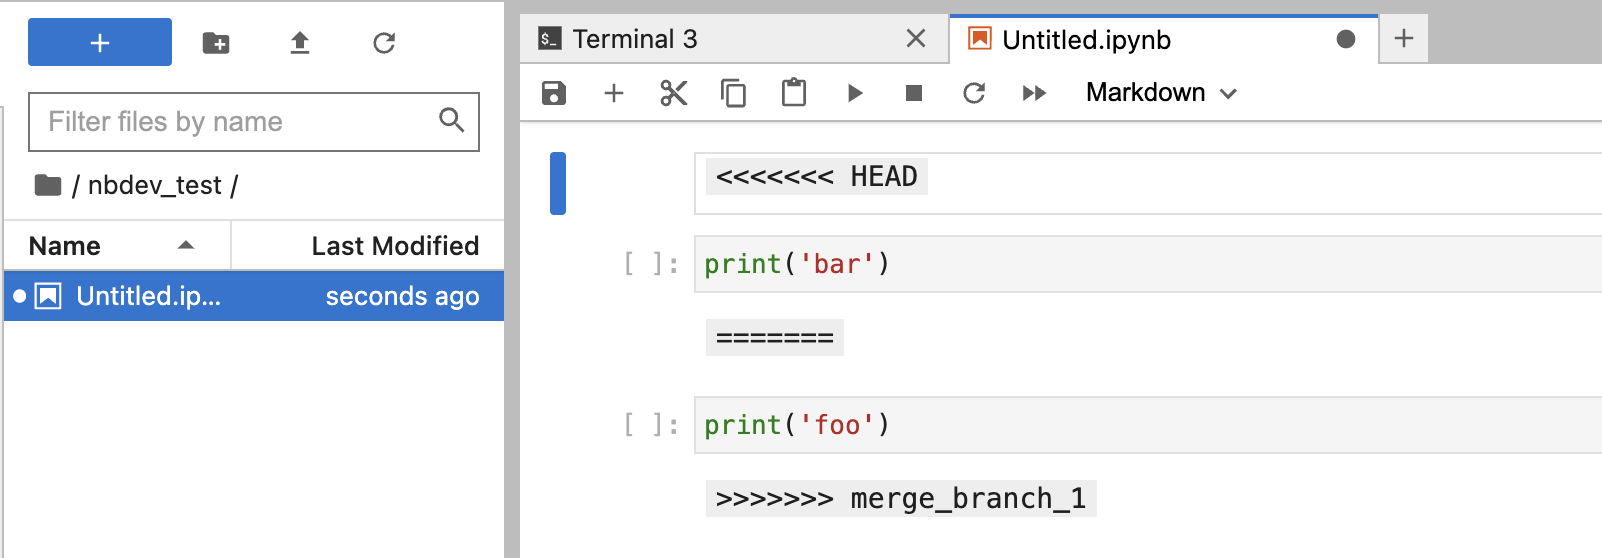
13. Resolve the merge conflict
Remove the diff lines <<<<<<< HEAD, =======, and >>>>>>> merge_branch_1 along with any lines you'd like to remove. Press Save to save changes.
14. Commit merge conflict changes
Then from the terminal, type:
git add .
git commit
and type CTRL+X to exit the nano editor.